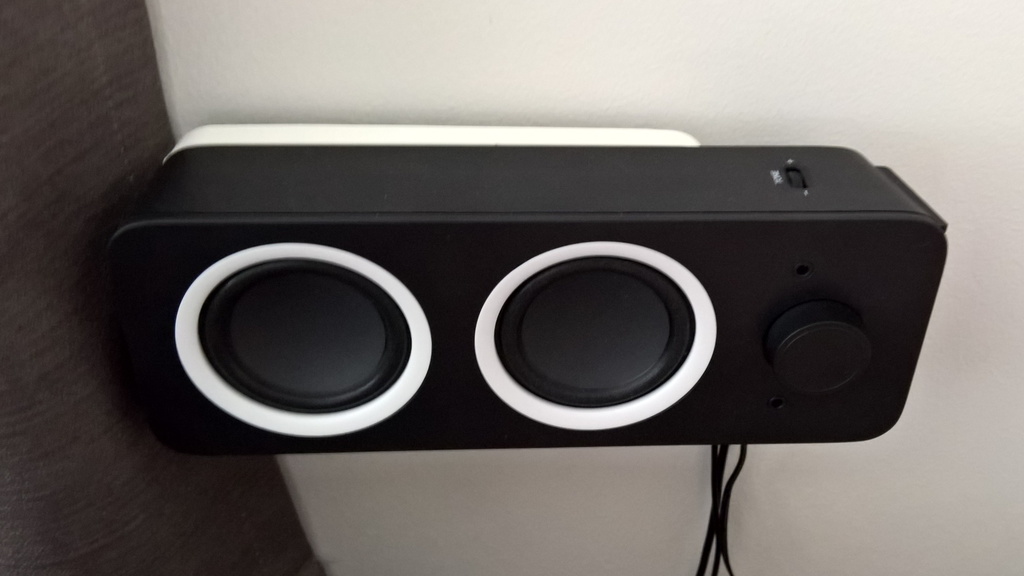
Logi Z200 wall mount
thingiverse
Wall Mount for Logi Z200 Speakers. This mount replaces the standard white frame and allows users to mount their speakers on a wall horizontally (left or right side up) or vertically (upright only) using one or two screws, much like a typical electrical panel. When printing support is required. Installation: 1. Remove the 8 screws from the back of each speaker and take off the cover. 2. Unscrew the 4 screws located inside each speaker behind the drivers. 3. Pull on the sides of the existing white stand to release it from its slots, using a gentle force if necessary due to vibration-dampening glue in the tabs; then slide the stand off the speaker box, working around two small clips at the top. 4. Slide the wall mount onto the speaker box by pulling on the sides and then allowing the tabs to snap into place, being mindful of the two clips at the top as well. 5. Replace the top 2 screws from inside the speaker box (the lower 2 will not be used). 6. Put back the rear cover and the 8 screws that held it in place. <b><font color="#FF0000">NOTE: A jack adapter is necessary; either replace the power adapter or swap out the existing plug with a right-angle jack as the current straight one extends too far. The plug type is a 4x1.7mm barrel, and the power adapter provides 5.5V at 1.3A center-positive.</font></b> Searching for '1.7mm jack' on Aliexpress will yield results; ensure that the outer diameter (OD) is 4mm. Alternatively, create a jack adapter with a 4x1.7mm socket connected to a 4x1.7mm right-angle jack if you prefer not to modify your existing plug.
With this file you will be able to print Logi Z200 wall mount with your 3D printer. Click on the button and save the file on your computer to work, edit or customize your design. You can also find more 3D designs for printers on Logi Z200 wall mount.
