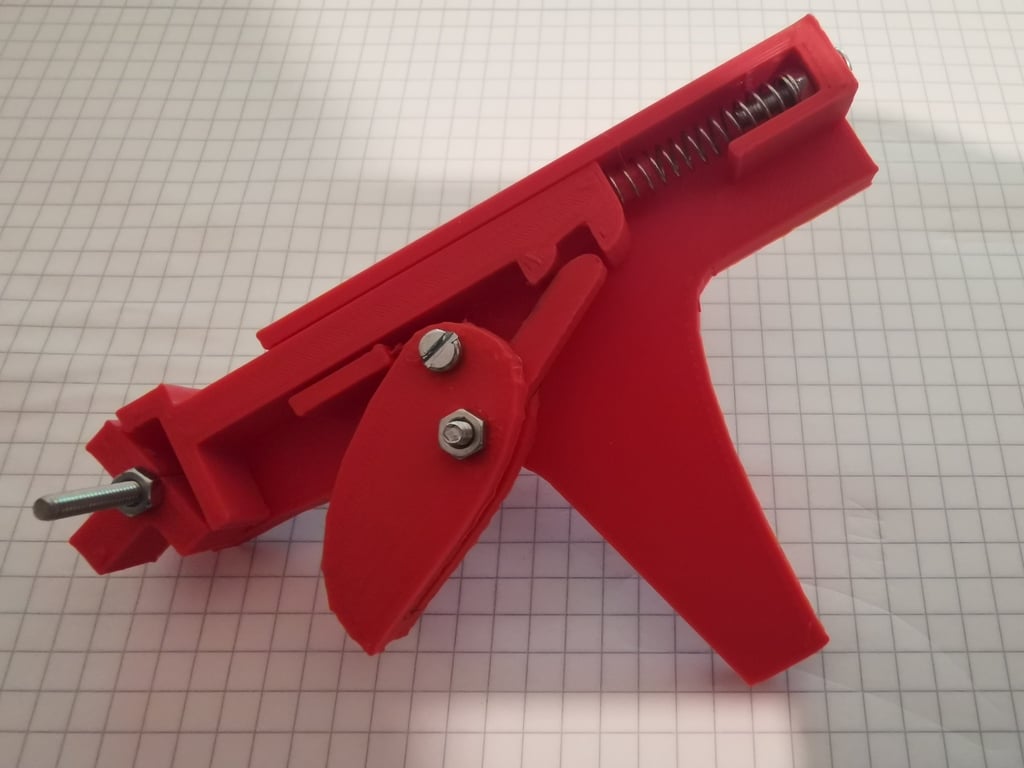
Lockpick gun
thingiverse
Here is the design concept for a lockpicking gun: Design and build instructions are not complete yet! Things may change, so feel free to submit your ideas and improvements. 1. Print all parts and smooth out the inside surfaces. 2. Buy or use an old metal measuring tape (e.g., Amazon's B0078E23NI). 3. Cut a 5cm section from the measuring tape; it will serve as a special spring component. 4. Assemble the two trigger parts by gluing them together. 5. Trim the measuring tape sides to fit between the trigger and lever. 6. Attach the measuring tape to the lever, securing it with an M3 screw while ensuring smooth movement. 7. Follow the picture to complete the entire snap gun assembly. The handle's back side is adjustable using an M3 screw with two bolts, allowing you to configure spring pressure. Log: August 15, 2019: (Blender file only) - Allowing for increased spring pressure. - Cutting and fixing the pressure stick spring. - Adding movement to the snap part wall. - Deepening the trigger hole impression.
With this file you will be able to print Lockpick gun with your 3D printer. Click on the button and save the file on your computer to work, edit or customize your design. You can also find more 3D designs for printers on Lockpick gun.
