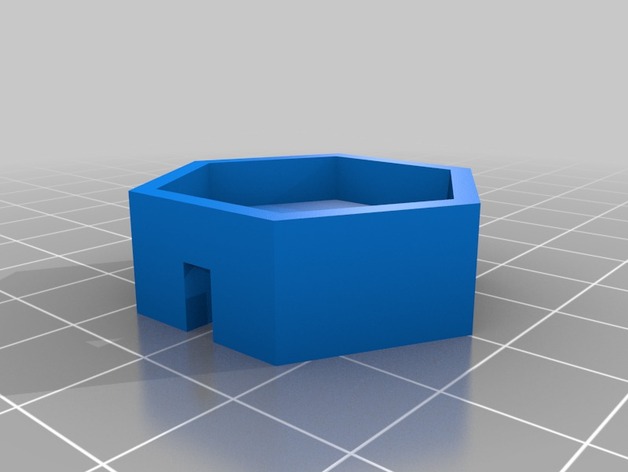
Lock Plate for Wheel bearing Nut on Golf II (Jumbo)
thingiverse
Loosen Nut for Front Right Wheel Bearing by Hand with Adjustable Wrench Before Removing Lug Bolts to Give Easy Access to Tighten Lock Plate After Adjusting Spacer Between Brake Hub and Steering Knuckle. Replace Old Rear Brake Shield if Necessary. Do Not Over-tighten the Lug Nuts. Install the Brake Rotor Mount, New Wheel Cylinder Seal, or Old One, If Applicable, Prior to Final Installation. Secure All Items by Using Correct Bolts Only, Never Using Them For Any Other Part, in Case Damage Could Possibly Occur When Loosening Lock Plate Tightener. Mount Brake Pads Properly onto Rotor Mounting Bolt First to Ensure Proper Wear After Installation is Completed on Either Wheel Bearing and Lug Nuts as Per Specs Prior. Be Aware of Parking Brake Mechanism for Potential Improper Adjustments to the Steering Knuckle, so Don't Make any Moves That May Void Warranty of Golf Vehicle by Removing Front Bumper or Rear Side Mirrors for Extra Access While Handling Components With Wheel Assembly Parts Still Inside!
With this file you will be able to print Lock Plate for Wheel bearing Nut on Golf II (Jumbo) with your 3D printer. Click on the button and save the file on your computer to work, edit or customize your design. You can also find more 3D designs for printers on Lock Plate for Wheel bearing Nut on Golf II (Jumbo).
