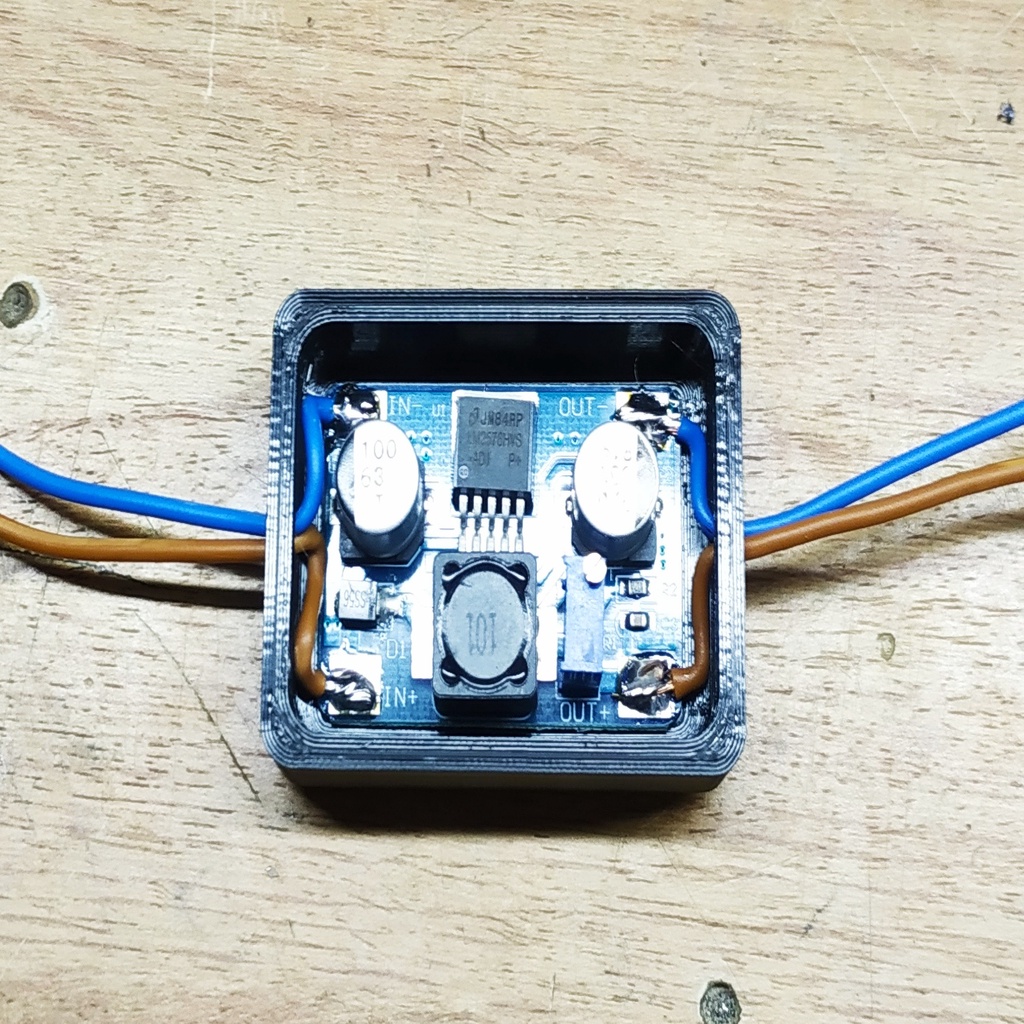
LM2576 Stepdown converter encasing
prusaprinters
<p>I printed out those half enhousings to put other DC-DC converters for my various e-bike projects where you often have to convert the voltage of the main battery (> 36V DC) to something more usable (e.g. 5V for USB charging or 12V for lighting).</p> <p>I ordered those converters from Ali: <a href="https://de.aliexpress.com/item/32335860410.html">https://de.aliexpress.com/item/32335860410.html</a></p> <p>Keep in mind that Chinese are often quite genereous in terms of power limits. Also those converters are not galvanic separated. So if the converter dies you will see full input voltage on the output. I guess I do not have to tell you what 42V will do to the 5V USB charging input of your smartphone for example. A simple fuse at the output might be a smart thing.</p> <p>In regard to limits I often play save. They list stuff like maximum output current of 3A and maximum power output under 20 Watts. I would never use more than 30% of this limit. Similar to input voltage. The converters listed in the link above are rated 5 V-60 V input voltage.</p> <p>For me using this for a 13S battery (13*4.2V=54.6V) as input seems somewhat "okayish" while a 14S battery with 58.8V maximum voltage is a bit too close to the</p> <p>limit for my taste.</p> <p>I putted the converter using black hotglue and only leaving the potentiometer accessible. I have had good experiences with hot glue in the past. Is is very resistant to weather. If you want to play safe you could also use epoxy. If you use higher current levels I would attach a small heatsink to the IC and leave it exposed to the air while puting circuit board itself.</p> Category: Electronics
With this file you will be able to print LM2576 Stepdown converter encasing with your 3D printer. Click on the button and save the file on your computer to work, edit or customize your design. You can also find more 3D designs for printers on LM2576 Stepdown converter encasing.
