Llzbot Taz 6: Single Extruder Fan Grills and Housing and 3D screws
thingiverse
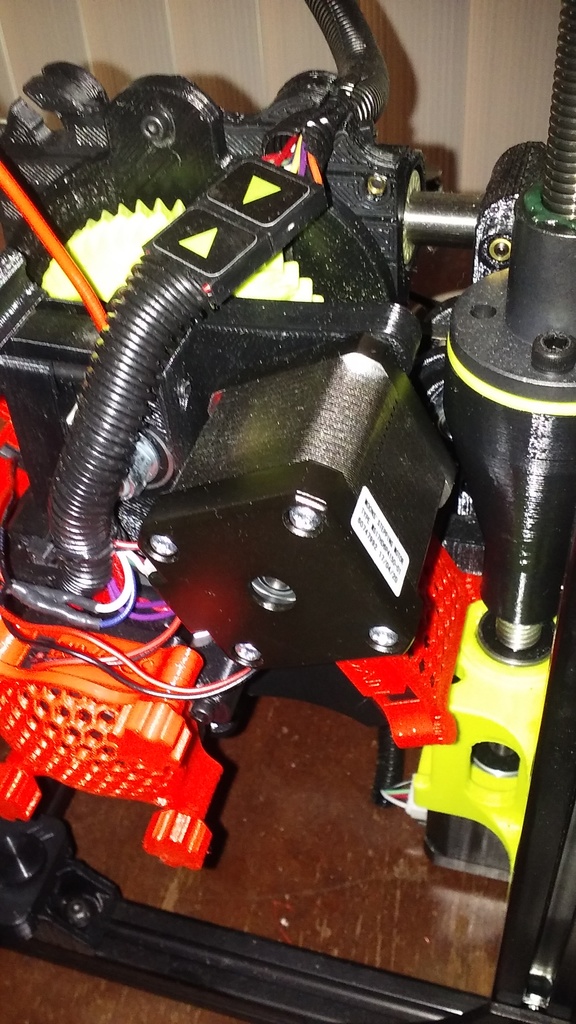
A couple of my friends are looking for a simplified version of my fan grills that they can use on their single extruders. Important Note: 1. The left fan grill and its corresponding 3D printed screws should be attached to the left fan. 2. The right fan grill and its matching 3D printed screws go directly onto the right fan. 3. The front fan grill and its coordinating 3D printed screws get installed on the front fan. Installation Tips: 1. After installing the housing and fan grills, ensure that both switches can move freely without any obstruction from the extruder. 2. Slowly push the extruder all the way to the right until you hear the right switch click into place. 3. Gradually pull the extruder all the way to the left until you hear the left switch snap into position. Additional Guidelines: 1. When installing the housings, make sure that the 3D printed side always faces you for future reference and alignment purposes. 2. Remember to enjoy your newly modified single extruders with fan grills!
With this file you will be able to print Llzbot Taz 6: Single Extruder Fan Grills and Housing and 3D screws with your 3D printer. Click on the button and save the file on your computer to work, edit or customize your design. You can also find more 3D designs for printers on Llzbot Taz 6: Single Extruder Fan Grills and Housing and 3D screws.