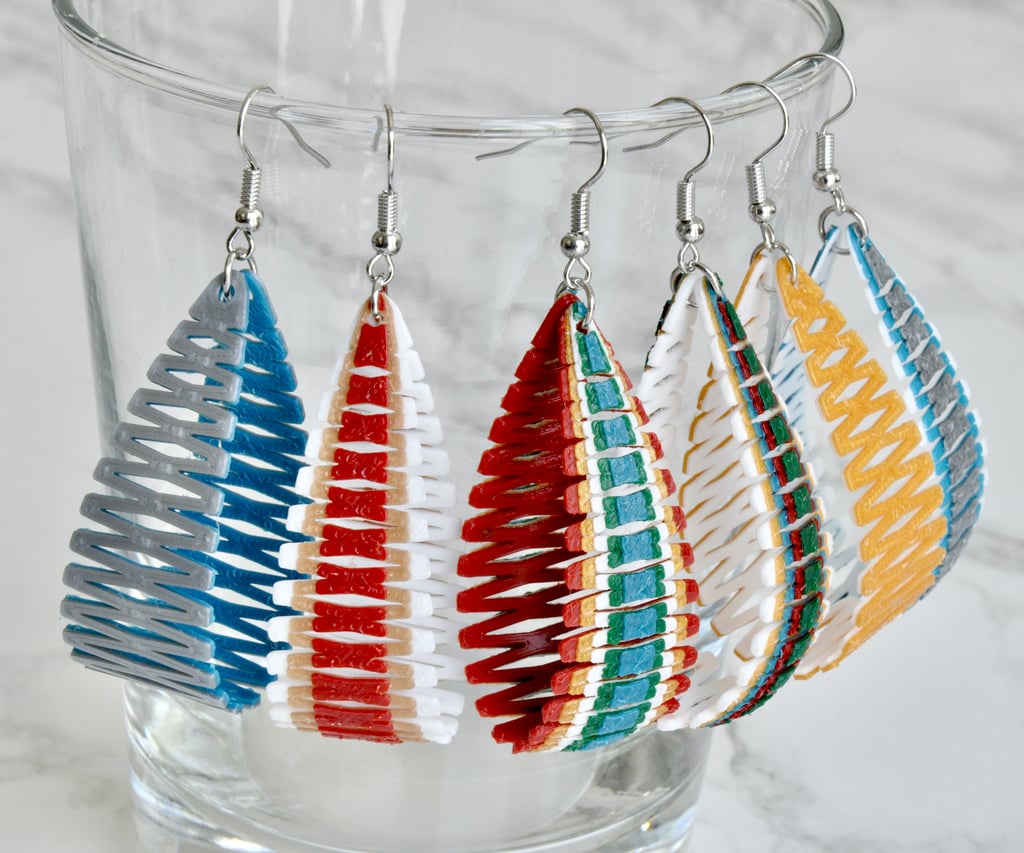
Living Hinge Earring
thingiverse
After seeing some laser cut living hinge earrings, I thought it would be fun to create my own 3D printed versions. I came up with a variety of designs and even experimented with layering some to make them multi-colored. I used Tinkercad to design these earrings and also have a tutorial on Instructables where I go into more detail about designing and printing them. Instructables: https://www.instructables.com/id/Living-Hinge-Earrings/ Tinkercad: https://www.tinkercad.com/things/1GWQ0EntjiY The pictures mostly show just one design (the diamond middle hinge), but I have eight different variations. I recommend printing single-color designs at about 1.2mm or six layers for the best combination of flexibility and stability. For some of the designs, I printed them up to 1/8" thick, but this can be challenging when attaching a jump ring. It's also possible that thicker prints may flop around. As mentioned earlier, most likely you'll print these earrings in one color, which is great, but switching colors halfway through can make the design pop even more when bent. For three or more color layer designs, be cautious. I found that adding too many colors made the earring unstable and prone to creasing instead of bending well. For these designs, the base color should be at least 1mm or five layers, while smaller colors can be as thin as .4mm or two layers each. The files are already designed this way, but I wanted to explain them for clarity.
With this file you will be able to print Living Hinge Earring with your 3D printer. Click on the button and save the file on your computer to work, edit or customize your design. You can also find more 3D designs for printers on Living Hinge Earring.
