Litz wire twister
prusaprinters
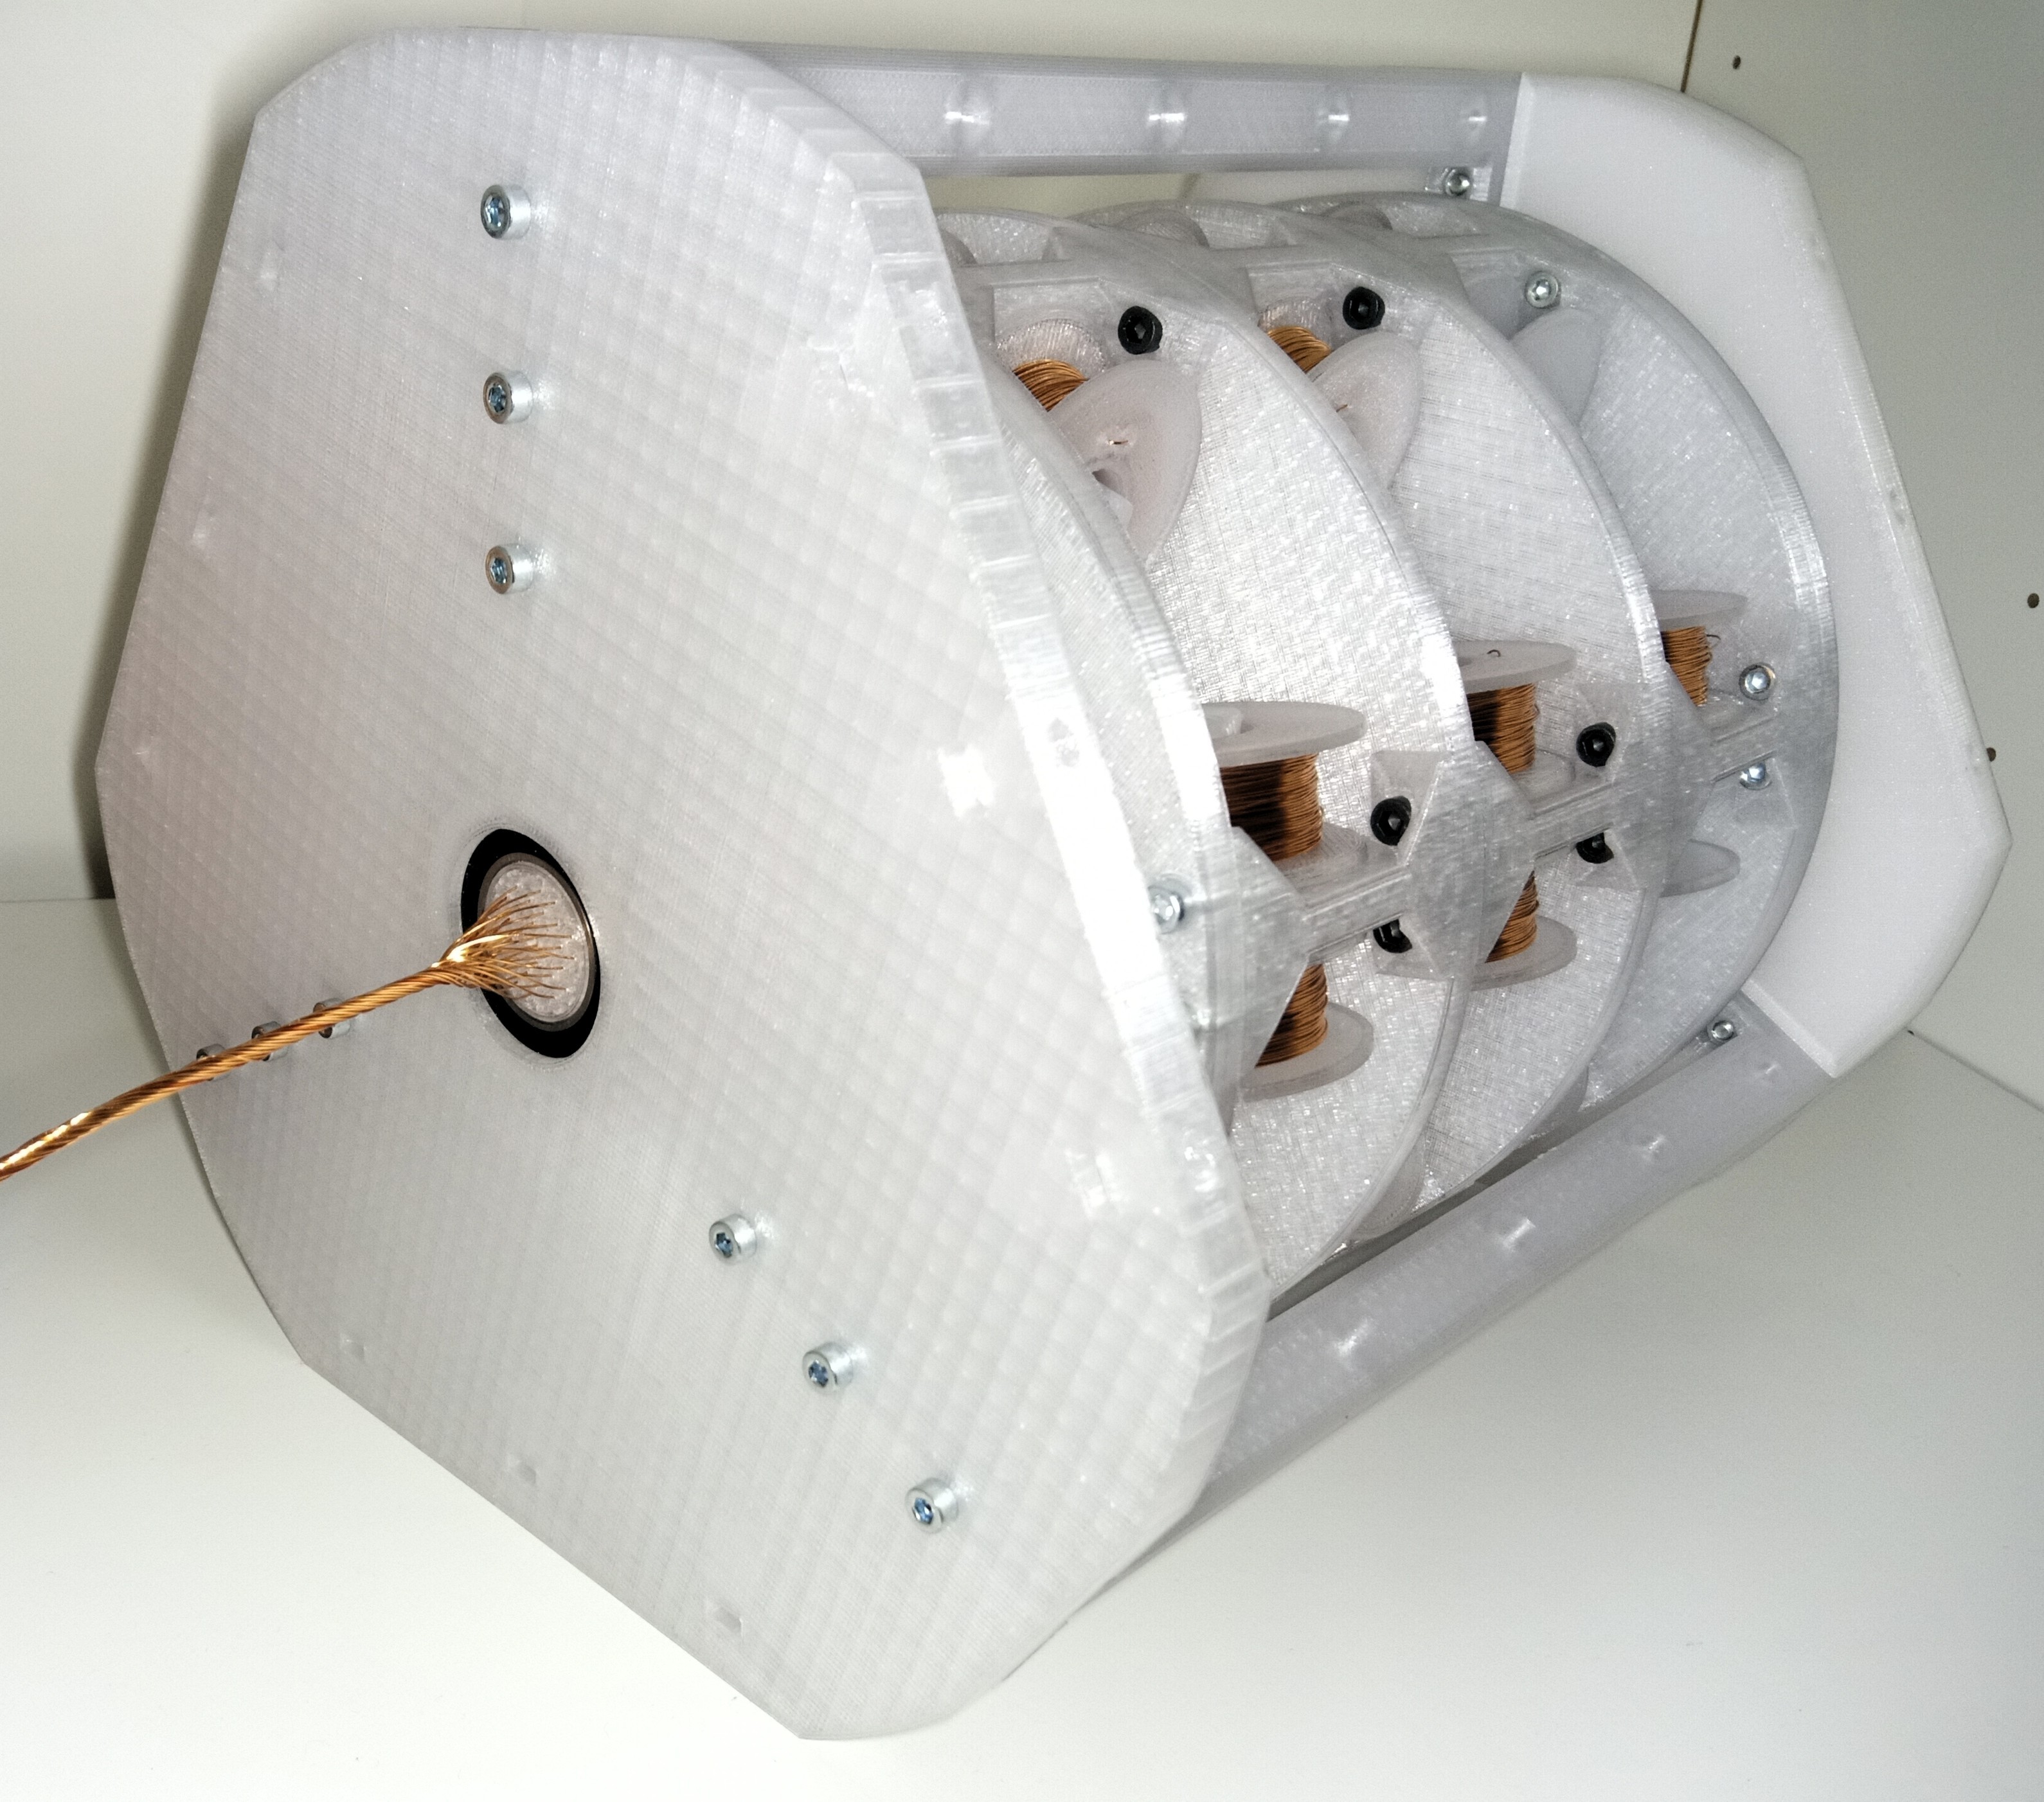
<p>Here I would like to share a tool I've created to produce litz wire at home.</p><p>The aim with this design was to build a tool which can produce a reasonably high strand count litz wire for a higher frequency electronics project and to do it in a limited space, preferably to fit on a table top. Since I needed litz wire out of about 30-35 strands of 0.3mm diameter enameled copper wire. For symmetry reasons I choose the number 31. However lower strand count can be also created and thicker wire may be work as well. I guess it would work up to 0.5 mm diameter wire should work as well, but it is not tested.</p><p>After it is built to get ready and fill the spools takes some time up to about 3-4 hours, it's boring and hard on the wrist. Then to pull in the wires into the corresponding channels on the rack's front panel is tricky. It is better to figure out the arrangement in advance. But once when it is fully loaded it can provide an estimate of 120-150 meters of litz wire.</p><p>The material I used is PETG, except for the spool holders for which I used PA12 instead.</p><p>The build consists of four dependent sub projects:</p><ol><li>frame, this holds the spool stack in place</li><li>spool stack, which holds the spools</li><li>spools and spool holders</li><li>spool adapter for filling the spools</li></ol><p>Frame</p><p>The frame is a fairly simple structure built by 3 main parts. The front plate, which is mainly solid and holds one bearing. The back plate which gives access for the inner cavity of the spool stack, and 3 backbones to hold them together.<br>Other materials needed:<br>- M3 / 20mm screw 9 pcs<br>- M3 / 12mm screw 3 pcs<br>- M3 / 16mm screw 6 pcs<br>- 6804 bearing 1 pc<br>- 6800 bearing 6 pcs</p><p> </p><p>Spool stack</p><p>The spool stack has two endings and 3 stack sections in between. One end has the wire organizer exit, the other is open to give access for wire refill. Each stack section can hold 12 spools of wire, the three sections can hold up to 36 spools, however the wire organizer can only has 31 exit holes. The screw holes on the top has one sacrificial layer which has to be removed during the post-processing.<br>Other materials needed:<br>- M3 / 16mm screw 75 pcs<br>- M3 / 12mm screw 20 pcs<br>- M3 nuts 95pcs</p><p> </p><p>Spools and holders</p><p>The spools and holders are designed to work in a snap in manner, no screws or other methods needed to secure the spools. The spool holder therefore has to be flexible and the spools should run evenly but with some friction. Unfortunately a PETG spool runs on a PETG holder has significant friction and it is running uneven. So the holder should be printed out of nylon, I use PA12. It is more flexible and has much less friction. I did some post processing the smoothing the roll action by trimming the edges of the holder and flatten the inner surface and inner edges of the spool. A 16mm long M3 screw and nut is needed to fix two of the spool holders to the stack section. The holders should be oriented in a way, that the filament strands are parallel to the arms of the holder, therefore supports are needed for printing. The spools also need supports.<br>Other materials needed:<br>- M3 / 16mm screw 12 pcs<br>- M3 nuts 12 pcs</p><p> </p><p>Spool adapter</p><p>The spool adapter's goal was to be able to attach the spool to an electric drill/screw driver to fill up the spools. The fit has to be tight but also detachable. It has four parts, an outer ring to hold the parts together, a main body, a small space holder and a wedge. For assembly a 25mm long M3 screw and 2 M3 nuts are needed. The two nuts at the two sides of the wedge assures that the piece can be pushed and also be pulled by the screw so it can be easily locked and unlocked. I printed all the parts out of PETG. The body should be printed the way the plastic strands are parallel with the arms therefore it needs supports for it's upper facing arm.<br>Other materials needed:<br>- M3 / 25mm screw 1 pc<br>- M3 nut 2 pcs</p><p> </p><p>Currently the tool is manually driven, spin with one hand, pull with the other which is far enough for the purpose I needed it. In the future it may be modified to be driven by two stepper motors, one to spin the spool stack and one to drive a pulling wheel. A more comfortable refill method may also be desirable.</p>
With this file you will be able to print Litz wire twister with your 3D printer. Click on the button and save the file on your computer to work, edit or customize your design. You can also find more 3D designs for printers on Litz wire twister.
