LITTLE-LIGHT
prusaprinters
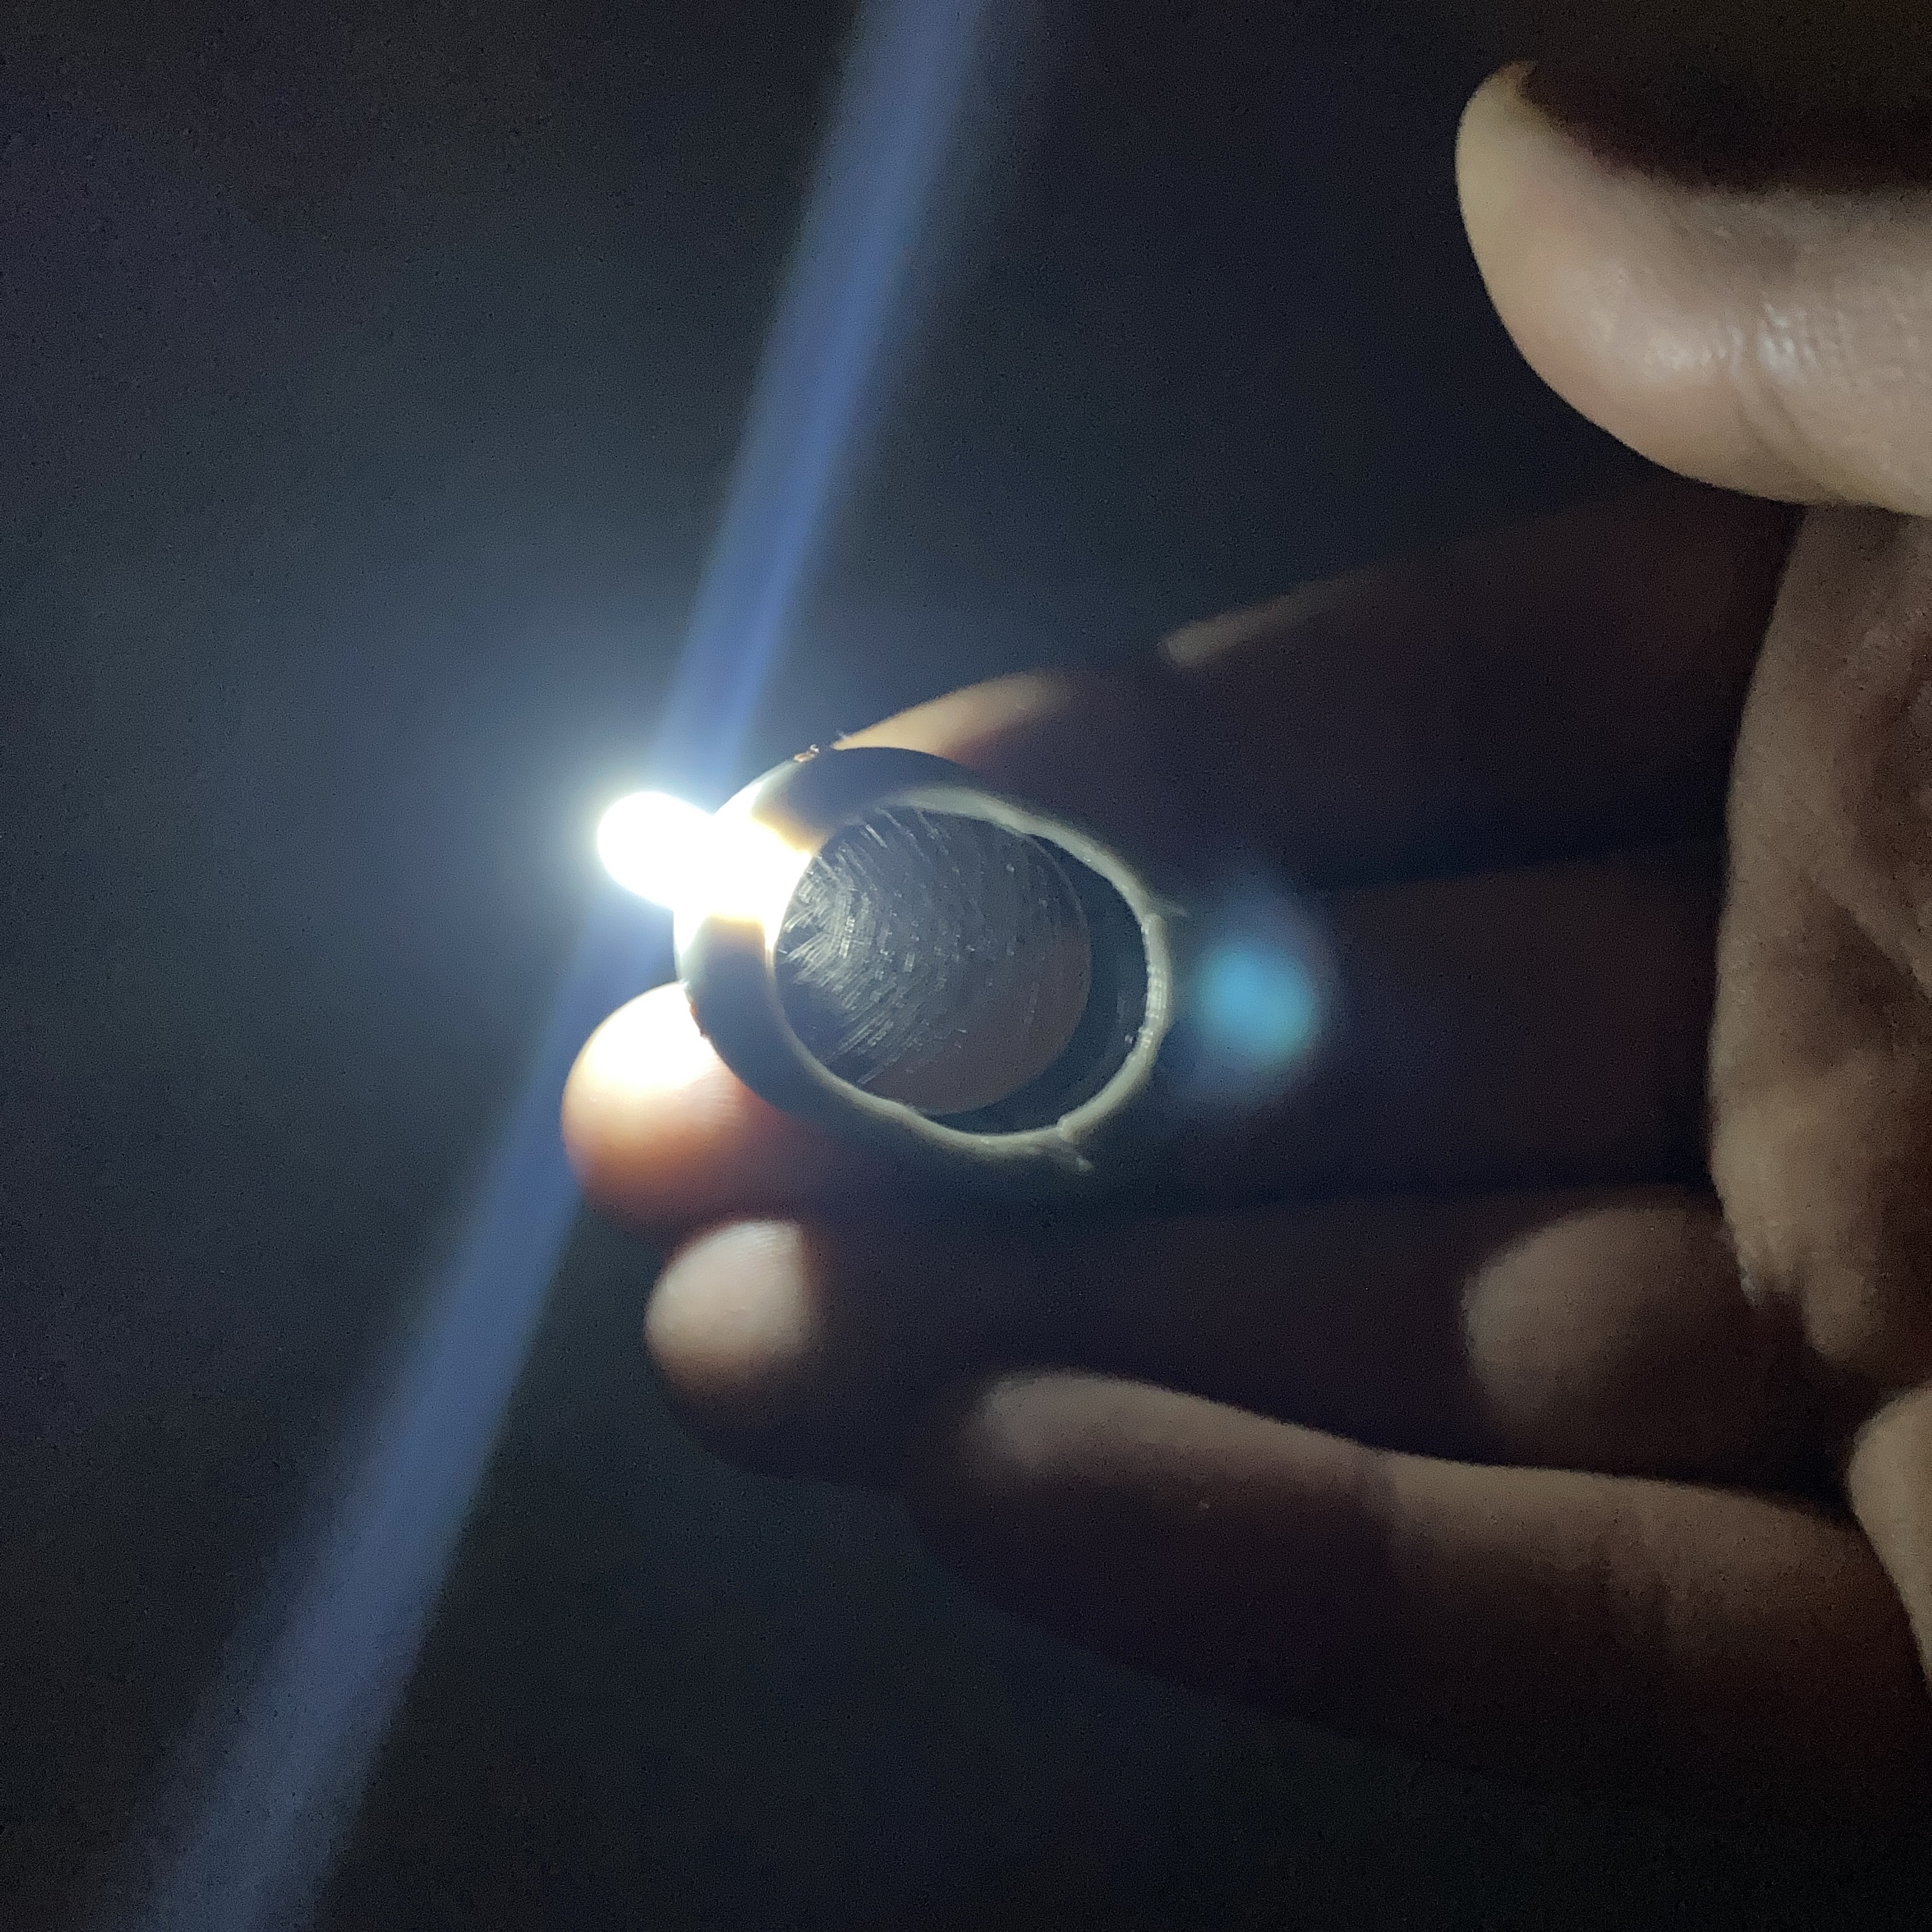
<p><strong>LITTLE-LIGHT</strong></p><p><i>You never know when you might need a little light.</i></p><p>a small, simple little led light you can attach to your keyring. </p><p>most other keyring lights you have to squees to turn on and when you let go they turn off. My design can be turned on / off by sliding the battery forward and back, the light will stay on when in the forward position.</p><p>my design is also one piece, making it quicker and easier to print and assemble.</p><p>You will need:</p><p>5mm LED</p><p>CR2032 battery</p><p>a small length of 1.75mm filament</p><p>tools: needle nose tweezers & clippers to cut down one of the LEDs legs. <img src="https://media.printables.com/media/prints/278125/rich_content/3ed2be0c-9adf-4b5a-966e-167b4d01ed1c/img_9850.jpg#%7B%22uuid%22%3A%22a12c21cd-5260-4785-8793-37463820b5aa%22%2C%22w%22%3A3011%2C%22h%22%3A2247%7D"></p><p> </p><h3>assembly instructions:</h3><p>with the short (-) leg of the LED facing down place a small length of 1.75mm filament between the legs.</p><figure class="image image-style-align-center image_resized" style="width:100%;"><img src="https://media.printables.com/media/prints/278125/rich_content/254fc375-231c-4180-ae39-bd00ec9be7a9/img_9851.jpg#%7B%22uuid%22%3A%221a991f61-777b-45b0-9cec-f3ec1539d344%22%2C%22w%22%3A1713%2C%22h%22%3A1713%7D"></figure><p> </p><p>bend the top (long / +) leg over the filament at a slight sideways angle so the legs don't touch.</p><figure class="image image-style-align-center image_resized" style="width:100%;"><img src="https://media.printables.com/media/prints/278125/rich_content/8ebd9c49-b828-4df0-a4a3-d532a30b5ce0/img_9852.jpg#%7B%22uuid%22%3A%220ddb7a56-777f-4ff7-8109-06dc91cb6578%22%2C%22w%22%3A2092%2C%22h%22%3A2092%7D"></figure><p> </p><p> cut the led leg so it doesn't extend beyond the LED. then pull out the filament.</p><figure class="image image-style-align-center image_resized" style="width:100%;"><img src="https://media.printables.com/media/prints/278125/rich_content/2ad496db-2334-42f7-b51c-b840201bd9b1/img_9853.jpg#%7B%22uuid%22%3A%22e669ffd4-4f0f-4925-b326-628e055a1b6e%22%2C%22w%22%3A1767%2C%22h%22%3A1767%7D"></figure><p> </p><p>with the LED leg facing down slide the LED into the hole at the front of the LITTLE-LIGHT.<img src="https://media.printables.com/media/prints/278125/rich_content/4916635d-0b99-47f5-958c-a6488775c5cb/img_9855.jpg#%7B%22uuid%22%3A%22bf3bbd83-81b3-4062-a34a-95170827c91b%22%2C%22w%22%3A2207%2C%22h%22%3A2207%7D"></p><p> push the LED in so it doesn't obstruct the small horizontal holes.<img class="image_resized" style="width:100%;" src="https://media.printables.com/media/prints/278125/rich_content/40458802-b1bf-4fd4-bec0-fb991c6a1a27/img_9856.jpg#%7B%22uuid%22%3A%220ff3fdfd-456e-47e5-bac3-4e85b36c95d1%22%2C%22w%22%3A983%2C%22h%22%3A983%7D"> </p><p>now take your length of filament and push it through the small horizontal holes.<img src="https://media.printables.com/media/prints/278125/rich_content/44ddd522-7a6b-40e3-9afe-1ead9ddef202/img_9857.jpg#%7B%22uuid%22%3A%223b285bb8-717e-4bd2-8bd1-13bc498f510a%22%2C%22w%22%3A1304%2C%22h%22%3A1304%7D"><img src="https://media.printables.com/media/prints/278125/rich_content/503e9bdb-ed6f-4eb9-8e37-44d88262acb2/img_9858.jpg#%7B%22uuid%22%3A%22d29d755e-68dc-4b34-bba4-27c302bf2e69%22%2C%22w%22%3A1516%2C%22h%22%3A1516%7D"></p><p> then trim flush.<img src="https://media.printables.com/media/prints/278125/rich_content/c7915b1e-e047-47d9-be1d-d523d98c15f2/img_9860.jpg#%7B%22uuid%22%3A%22769a1840-765e-4134-b865-1a2754e5ff8a%22%2C%22w%22%3A1625%2C%22h%22%3A1625%7D"> </p><p>now pop in your CR2032 battery with the + side facing up.<img src="https://media.printables.com/media/prints/278125/rich_content/612d510c-9449-4d89-b367-b822d2a38a91/img_9869.jpg#%7B%22uuid%22%3A%2296f80ce3-06a3-4156-aa04-5e04abbe1d06%22%2C%22w%22%3A1818%2C%22h%22%3A1818%7D"> </p><p> you can use something sharp the scratch up the battery to give your finger more traction BUT BE CAREFUL NOT TO SCRATCH TO DEEP AND DAMAGE THE BATTERY<img src="https://media.printables.com/media/prints/278125/rich_content/7eb31fba-0046-464b-8c11-2eba04df8224/img_9863.jpg#%7B%22uuid%22%3A%2206b5f676-34b7-41ad-83d5-f87dd1566fe6%22%2C%22w%22%3A3024%2C%22h%22%3A3024%7D"></p><p> </p><p>DONE. now slide the battery forward to turn ON the LITTLE LIGHT and back to turn OFF.<img src="https://media.printables.com/media/prints/278125/rich_content/f6ae112e-0d29-4196-9ac6-c6b4b1474c80/7d447ee1-d26c-45b9-ae08-c6e69ddb8a8f.jpg#%7B%22uuid%22%3A%2288c56949-e65e-44a7-843a-3186222155d0%22%2C%22w%22%3A1818%2C%22h%22%3A1818%7D"></p><h3>Print settings</h3><p>supports = no</p><p>wall line count = 5 (will probably work with fewer)</p><p>infill = 20%</p><p>I printed in PETG, other plastics are untested, PLA will probably work but is more brittle.</p><p>it should print in about 20 min.</p><p> </p><p>Happy printing</p><p><strong>~PATCH~</strong></p><p> </p>
With this file you will be able to print LITTLE-LIGHT with your 3D printer. Click on the button and save the file on your computer to work, edit or customize your design. You can also find more 3D designs for printers on LITTLE-LIGHT.