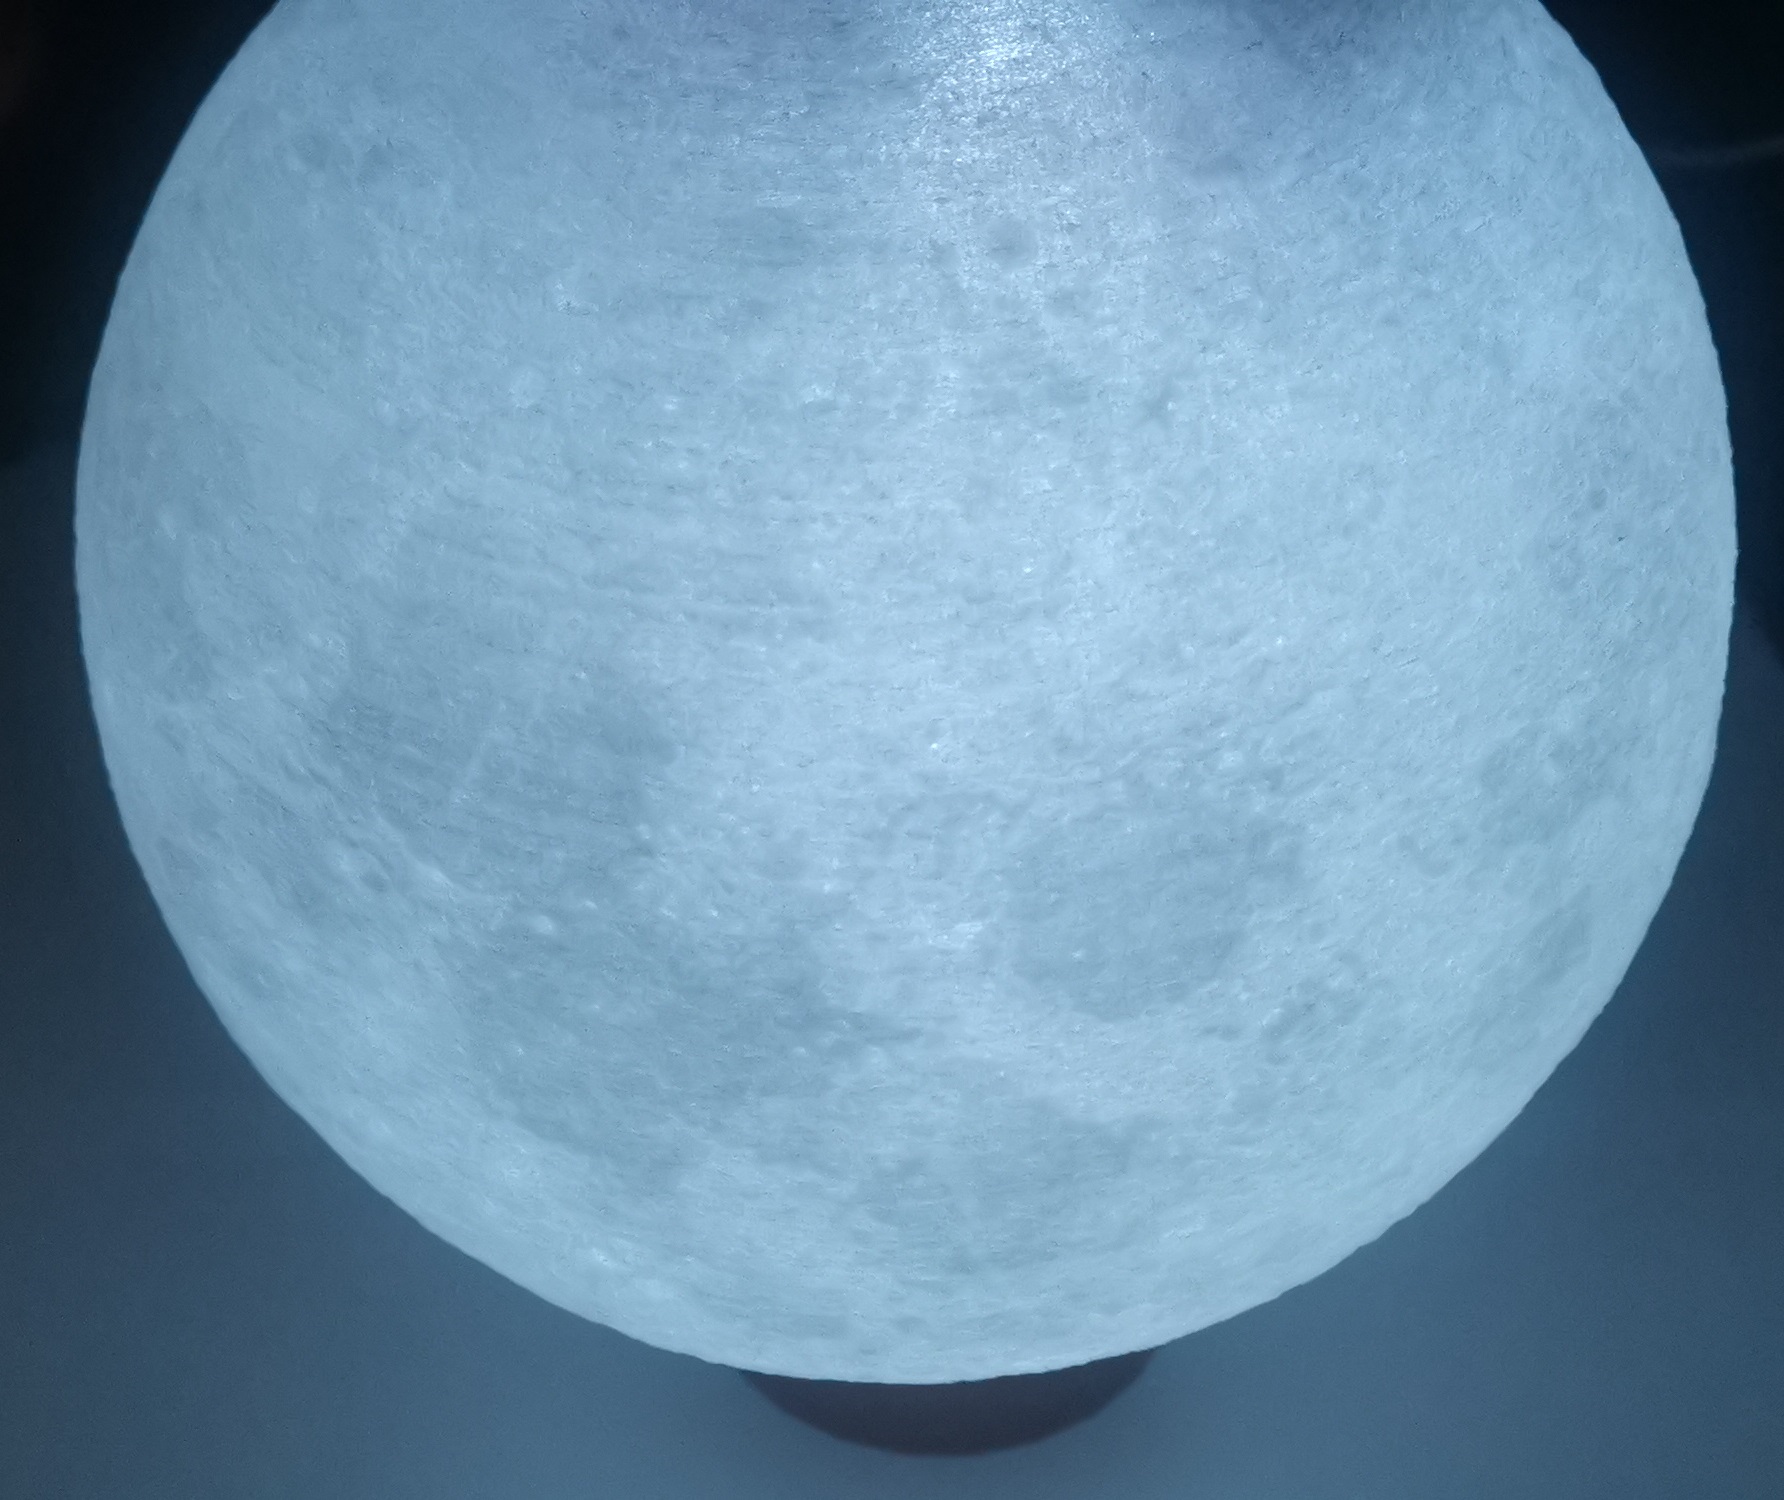
Lithophane Moon LED mod
prusaprinters
<h4>LED Attachment for Lithophane Moon Lamp</h4><p>Simple attachment which provides a tube surface for LEDs to be wrapped around, and to conceal the wireless connectors.</p><h5> </h5><h4>Steps:</h4><p>Parts:</p><ul><li>Filament for moon, I used glow in the dark Prusa PLA.</li><li>Filament for stand</li><li>LED KIT: <a href="https://www.amazon.com.au/gp/product/B07YYZMPLS/?th=1">The one I ordered</a><ul><li><strong>❗Note❗</strong>: Ensure you have wireless (RF) control, not infrared (IR)</li></ul></li></ul><h5>Step 1:</h5><p>Print the Lithophane Moon - <a href="https://www.printables.com/model/23859-designer-lithophane-moon-lamp">Designer Lithophane Moon Lamp</a></p><h5>Step 2:</h5><p>Print the mod, I recommend using the<i> solid-moon-attachment</i> and <i>insert-tube</i></p><p>Check that the moon attachment locks into the moon base</p><h5>Step 3:</h5><p>Run the power through the center of the tube and base (see 5th Picture) and test the lights</p><p>Make sure all the connectors pass through and can/do attach</p><p><strong>Step 4:</strong></p><p>Stick down the LED's in a tight spiral around the <i>insert-tube.</i></p><p>Re-test the LED's to be sure</p><h5>Step 5:</h5><p>Glue the <i>solid-moon-attachment</i> to the <i>insert-tube</i></p><p>Glue the LED strip to the <i>insert-tube</i> as the default adhesive may not be good enough at the top.</p><h5>Step 6:</h5><p>Lock the moon base into the moon.</p><h5>Step 7:</h5><p>Enjoy :)</p>
With this file you will be able to print Lithophane Moon LED mod with your 3D printer. Click on the button and save the file on your computer to work, edit or customize your design. You can also find more 3D designs for printers on Lithophane Moon LED mod.
