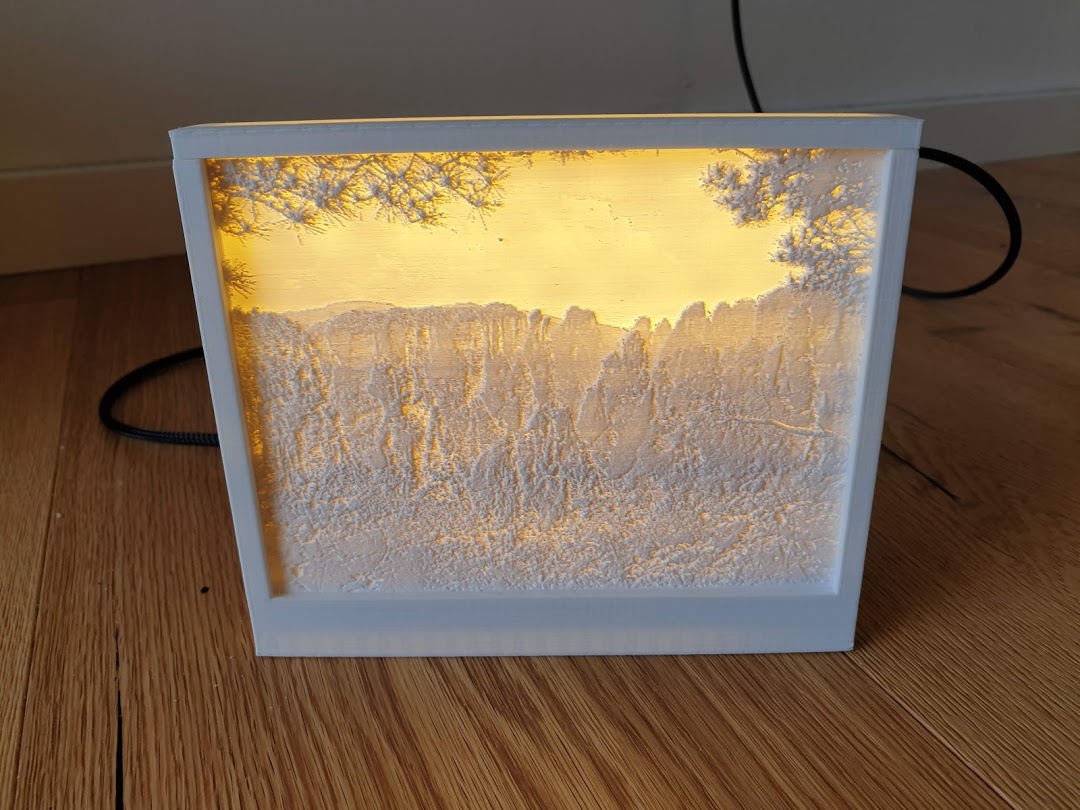
Lithophane Frame
prusaprinters
<p>A frame for lithophanes. Designed to work with 5V LED strips such that it can be USB powered.</p> <p>Also provided as OpenSCAD file to allow for customization.</p> <p>To generate a lithophane to insert into it, resize your photo to 4200 * 3150px and paste it into the template you can download here: <a href="https://drive.google.com/file/d/1MyOOwB9RqiKwXQw9m6zH3yGeR9x760dJ/view">https://drive.google.com/file/d/1MyOOwB9RqiKwXQw9m6zH3yGeR9x760dJ/view</a></p> <p>Then upload to <a href="http://3dp.rocks/lithophane/">http://3dp.rocks/lithophane/</a>.</p> <p>Make sure to use the following settings:</p> <ul> <li>Maximum size: 145mm</li> <li>Thickness: 3mm</li> <li>No border, base, etc.</li> </ul> <p>The frame includes a housing for a 15*21mm rocker switch. The switch_housing_dummy.stl file is provided specifically to test if your switch fits snugly without printing the whole frame. If not, the attached .scad file can be modified but a model of the frame without the switch housing is also provided.</p> <p>After printing, attach and wire up white (5V if you want it powered by USB) LED strips as shown in the photos. If applicable, wire in the switch and finally connect wires 1 and 4 (+5V and ground) of a usb plug to the appropriate wires for the LED strips.</p> <p>The lithophane itself should be printed standing up, with a generous brim for stability, and - if applicable - aligned with the axis on which the bed moves. A low layer height (~0.1mm) is recommended.</p>
With this file you will be able to print Lithophane Frame with your 3D printer. Click on the button and save the file on your computer to work, edit or customize your design. You can also find more 3D designs for printers on Lithophane Frame.
