Lion Spool Holder
prusaprinters
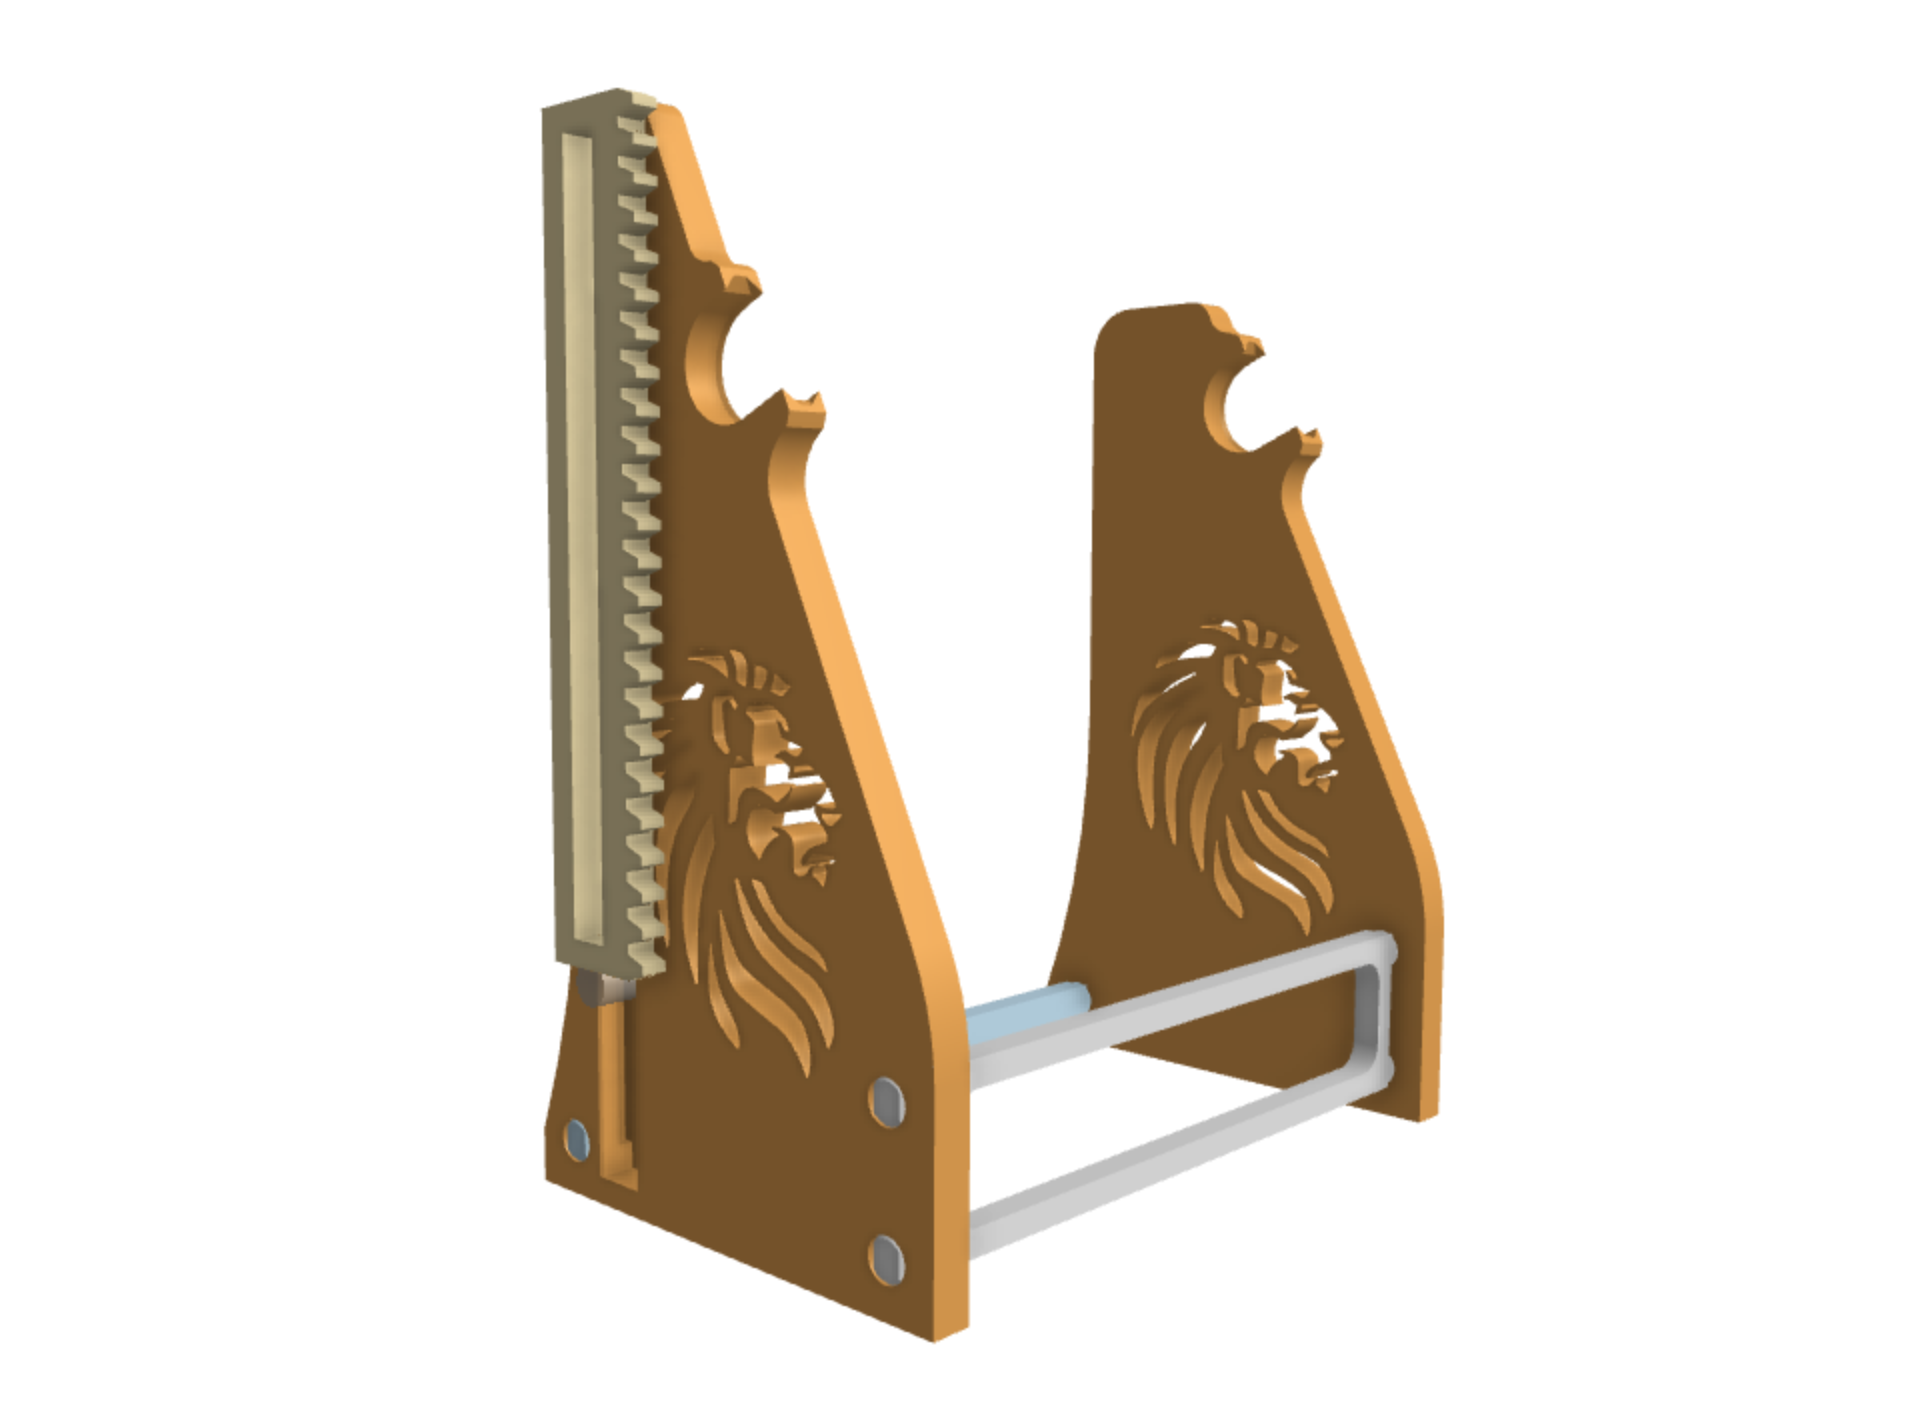
<p>The Lion spool holder is a rewinding spool holder meant to compliment the Prusa MMU2. I find the shipped "buffer" very difficult to load, and the rewinding spool holders that I know about are not very reliable or sturdy.</p> <p>The Lion spool holder aims to be a simple fail-safe rewinding spool holder. Fail-safe here means that when it fails, it will hopefully do so in the least terrible way. For example, one project used a clutch, and when it failed, the whole spool holder would bind and get dragged into the printer. Conversely, a similar failure is not possible in the Lion spool holder because the rack and pinion are loosely coupled and cannot bind.</p> <p> <figure class="media"> <oembed url="https://youtu.be/1az_POU-mag"></oembed> </figure> </p> <p>This project is 100% open and I am publishing the step files. I am happy to also make adjustments that people may want, and happily accept feedback or forks to the project. My aim is to remove or severely reduce the failure of the MMU that comes from the spool holding aspect of the print (for me the existing spool holders contributed about half of all failures).</p> <h3>Print instructions</h3><p>I have included gcode for both 0.6mm and 0.4mm nozzles. (0.4mm is under "User Print Files"). If you make your own gcode, please make sure that you enable elephant foot correction to ensure that that the first layer does not have too tight holes or too fat teeth (I typically use 0.1mm correction). When printing you need one of everything, except that you need 4 washers.</p> <h3>The complete BOM</h3> <p>brace x1<br/> other-brace x1<br/> brace-bottom-back x1<br/> brace-bottom-front x1<br/> rack x1<br/> bumper x1※<br/> filament-holder x1<br/> gear x1<br/> axle x1<br/> washer x4※※<br/> spacer x1<br/> cap x1<br/> spool-clamp-fixed x1※※※<br/> spool-clamp x1※※※</p> <p>※ The bumper is optional and is glued to the bottom of the rack. It's meant to give kindness to the rack if it is dropped into the brace alone, or if the spool is allowed to free spin. It is not necessary for normal operation. Additionally, if you print it, print it with no top/bottom layers and 1 perimeter. It doesn't need to be flexible, it will do it's job even if it seems stiff.</p> <p>※※ While you only need 4 washers, I recommend printing extra as they are easy to lose when you take them off the print bed.</p> <p>※※※ The spool clamps may seem a bit rough at first when screwed together, but they loosen up quickly. Additionally, having them a bit rough helps keep them from falling apart from vibration during printing. If you print with a lower layer height, you can get smoother results; different brand filaments will also change the smoothness (how well it handles overhangs).</p> <h3>Assembly</h3> <p><em>Please refer to attached diagrams of the holder and the spool-clamp.</em></p> <p>The two braces are affixed with the brace-bottom pieces. You should glue them together even if they press fit well, because it will eventually become loose over use/time.</p> <p>The rack should have the bumper glued to the bottom, if you printed it. Additionally, you need to add weight to the rack so that it is approximately 70g. I have used 3/8ths inch nuts to provide weight, but anything metal will do fine. These should be glued into the provided slot, but it's okay if it sticks out a bit. (The slot is 8.25x10x139mm).</p> <p>The spool clamp should be assembled with the following pieces on the axle, starting with the gear at the "bottom". Next, add a washer, a 608zz bearing, a pair of washers, the spool-clamp-fixed, the spacer, another bearing, a final washer, and finally the cap. The gear and the cap should be glued to each end. The spool-clamp can then be screwed onto the whole thing, but of course you would typically add a spool of filament first.</p> <h3>Use/Loading</h3> <p>When adding a spool to the spool-clamp make sure to follow the arrow on the end of the clamp; the filament should be anti-clockwise when unloading filament. You should also place the spool such that it comes out the bottom of the holder. Also, the filament guide is designed so that you can add the filament to it after loading it into the machine.</p> <h3>Extra</h3> <p>Please see the remixes for other parts. Currently there is a solid version of the brace without the lion. There is also a looser version of the rack.</p>
With this file you will be able to print Lion Spool Holder with your 3D printer. Click on the button and save the file on your computer to work, edit or customize your design. You can also find more 3D designs for printers on Lion Spool Holder.