Lion King Lithophane
cults3d
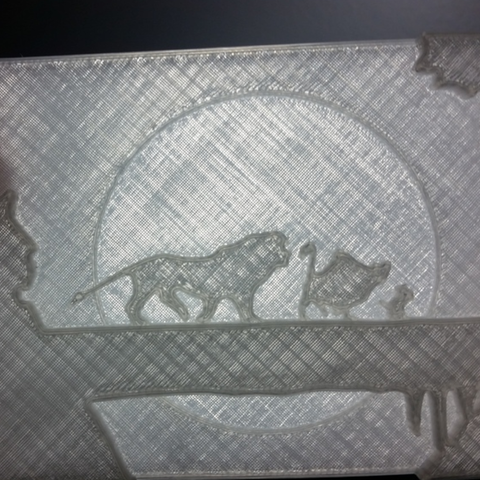
This was a request I had gotten and I'd never heard of a Lithophane so I looked into it and this is what I came up with! I did most of the legwork in getting the images separated into parts in Paint.net. Then after that, I imported them into Tinkercad, arranged them and layered them at different heights so light would travel through them differently. I made a mistake by printing with a low infill, and I would recommend going higher with that. To get an image to SVG, go here: http://image.online-convert.com/convert-to-svg To make the image into a Lithophane, use this tool: http://3dp.rocks/lithophane/ Watch how it's done: https://youtu.be/jH_rpieYP1U Here are my print settings: Printer: Robo3D R1 Filament: Hatchbox Clear PLA Layer Height: 0.3mm Infill: I would recommend going higher than 30% Supports: No Raft: No
With this file you will be able to print Lion King Lithophane with your 3D printer. Click on the button and save the file on your computer to work, edit or customize your design. You can also find more 3D designs for printers on Lion King Lithophane.