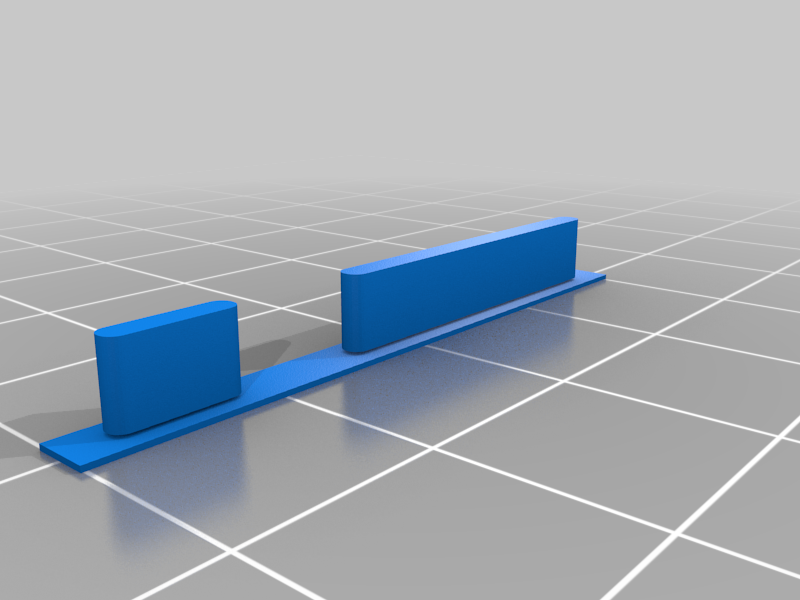
Linx Tablet 12x64 (12x32) Power Volume Buttons Button
thingiverse
Replacement Buttons for the Linx Tablet - A Comprehensive Guide to Upgrading Your Device Are you tired of using outdated buttons on your Linx tablet? Do you want to give it a fresh new look and feel? Look no further! We've got you covered with our comprehensive guide to replacing the buttons on your device. Replacing the buttons on your Linx tablet is a relatively simple process that can be completed at home. With the right tools and a little patience, you can upgrade your device's functionality and style in just a few easy steps. **Why Replace Your Linx Tablet Buttons?** There are several reasons why you might want to replace the buttons on your Linx tablet. Here are a few: * **Aesthetics**: The buttons on your Linx tablet may be looking a bit dull or outdated. Replacing them with new ones can give your device a fresh, modern look. * **Functionality**: Old buttons can start to malfunction over time, causing issues with your device's performance. Replacing them can help ensure that your Linx tablet continues to function smoothly. * **Personalization**: With replacement buttons, you can customize the look and feel of your device to suit your personal style. **What You'll Need** To replace the buttons on your Linx tablet, you'll need a few basic tools and supplies. Here's what you'll need: * Replacement buttons (make sure they're compatible with your device) * A screwdriver (preferably a Phillips head screwdriver) * A plastic spudger or similar tool * A soft cloth **Step-by-Step Instructions** Replacing the buttons on your Linx tablet is a relatively straightforward process. Here's how to do it: 1. **Remove the Back Cover**: Start by removing the back cover of your Linx tablet. This will give you access to the internal components, including the buttons. 2. **Disconnect the Button Connectors**: Use your screwdriver to carefully disconnect the button connectors from the motherboard. 3. **Remove the Old Buttons**: Use your plastic spudger or similar tool to gently pry the old buttons out of their sockets. 4. **Install the New Buttons**: Place the new buttons into their sockets, making sure they're securely seated. 5. **Reconnect the Button Connectors**: Reconnect the button connectors to the motherboard, making sure they're securely attached. 6. **Replace the Back Cover**: Put the back cover back on your Linx tablet, making sure it's securely fastened. **Tips and Tricks** Here are a few tips and tricks to keep in mind when replacing the buttons on your Linx tablet: * Make sure you choose replacement buttons that are compatible with your device. * Use a soft cloth to clean any dust or debris from the button sockets before installing the new buttons. * Be careful not to damage the internal components of your device during the replacement process. **Conclusion** Replacing the buttons on your Linx tablet is a simple and effective way to upgrade its functionality and style. With these easy-to-follow steps, you can give your device a fresh new look and feel in just a few minutes. So why wait? Get started today and take your Linx tablet to the next level!
With this file you will be able to print Linx Tablet 12x64 (12x32) Power Volume Buttons Button with your 3D printer. Click on the button and save the file on your computer to work, edit or customize your design. You can also find more 3D designs for printers on Linx Tablet 12x64 (12x32) Power Volume Buttons Button.
