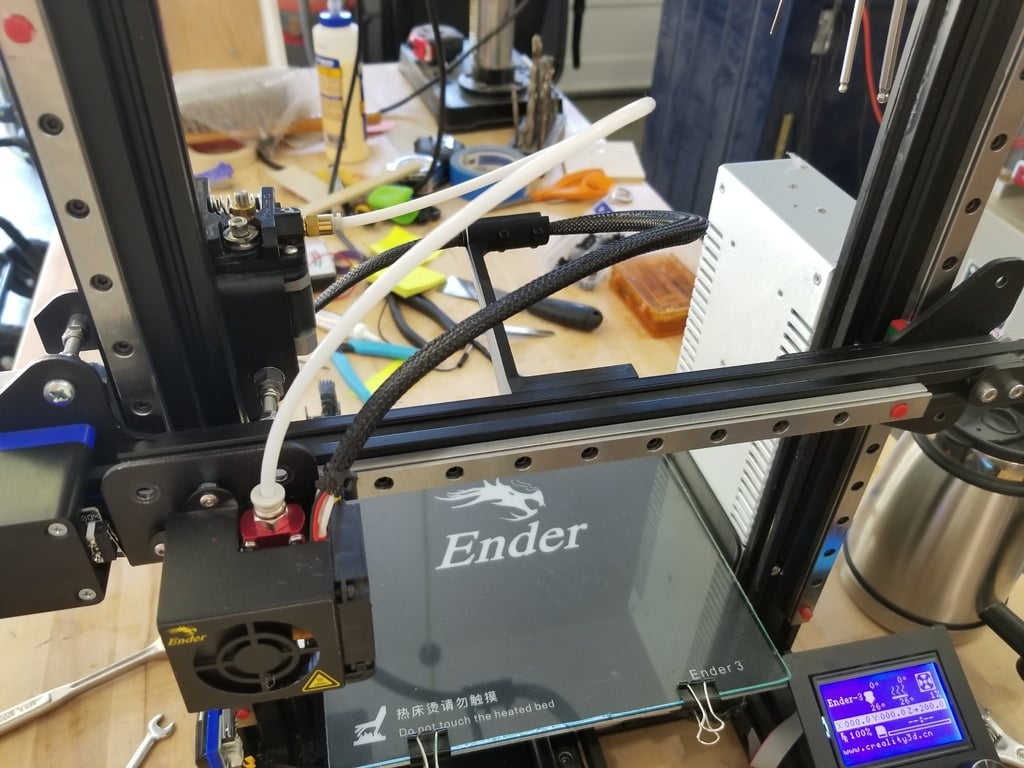
Linear Rail Z Axis Mod for Ender 3
thingiverse
This appears to be an instructional guide on upgrading and modifying a 3D printer, specifically the Z-axis assembly. Here's a breakdown of the text: **Step-by-Step Instructions** 1. **Drill Holes**: Drill holes marked "C" with a 3mm or 1/8" drill bit. 2. **Limit Switch Adapter**: Replace the original limit switch adapter with a new one, which moves the limit switch out 9.25mm. 3. **Disassembly**: Unscrew and disassemble the printer to access various components. 4. **Assembly**: Reassemble the printer, paying attention to the order of assembly to avoid mistakes. **Adjustments** 5. **Post Squaring**: Loosen the bottom two screws and top two screws on the left side, then loosen and tighten the 3 T-Nuts on the right X gantry plate. 6. **Post Spread**: Move the gantry to the top of travel and loosen all four top screws only, then tighten. **Parts List** The guide includes a list of parts needed for the upgrade, including: * Rails (2 x 350mm mgn12 Linear Rails with mgn12H blocks) * Hex Socket Cap Screws (24 x M3x8mm) * T-Nuts (24 x M3) * Left Side components (4 x M3x6mm screws, etc.) * Right Side components (4 x M3x6mm screws, etc.) * Limit Switch Adapter (printed Z Axes Limit Switch Adapter) **Revision History** The guide includes a revision history, which notes changes to the limit switch adapter design over time. **Additional Note** A DXF file of the drill plate is included for users who want to cut new plates.
With this file you will be able to print Linear Rail Z Axis Mod for Ender 3 with your 3D printer. Click on the button and save the file on your computer to work, edit or customize your design. You can also find more 3D designs for printers on Linear Rail Z Axis Mod for Ender 3.
