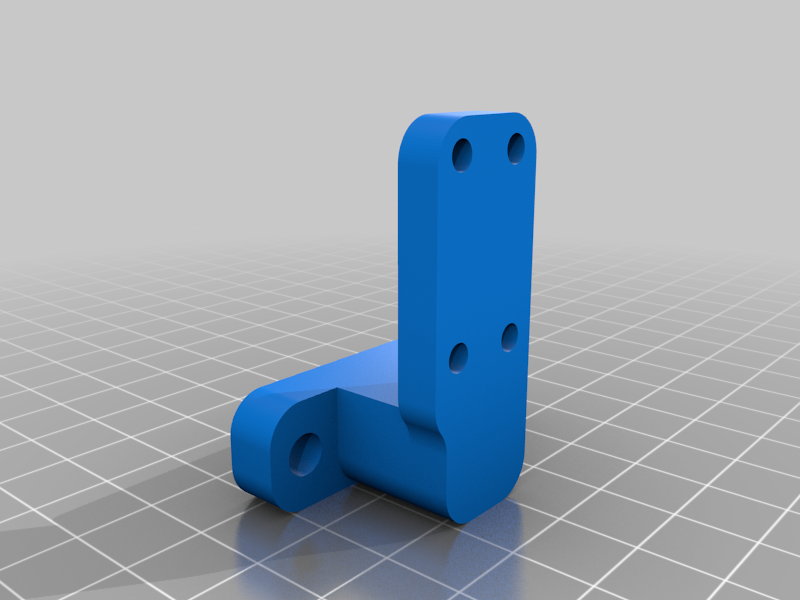
Limit Switch Mount for Millright Mega V
thingiverse
Mounting a limit switch is a relatively straightforward process that requires some basic mechanical skills and attention to detail. To begin with, you'll need to choose the right location for your limit switch, taking into account factors such as accessibility and safety. Once you've identified the perfect spot, it's time to start mounting. First things first, ensure that your workspace is clean and free from any debris or obstacles that might interfere with your work. With a screwdriver in hand, begin by drilling two holes in the mount for the screws, making sure they're aligned properly and at a comfortable distance apart. Next, insert the M5 x 15 screws into their respective holes, ensuring they're seated securely. With the screws in place, carefully position the limit switch onto the mount, aligning it with the screw holes. Gently press down on the switch until it clicks into place, making sure it's firmly secured to the mount. Finally, double-check that everything is secure and functioning as expected before moving forward.
With this file you will be able to print Limit Switch Mount for Millright Mega V with your 3D printer. Click on the button and save the file on your computer to work, edit or customize your design. You can also find more 3D designs for printers on Limit Switch Mount for Millright Mega V.
