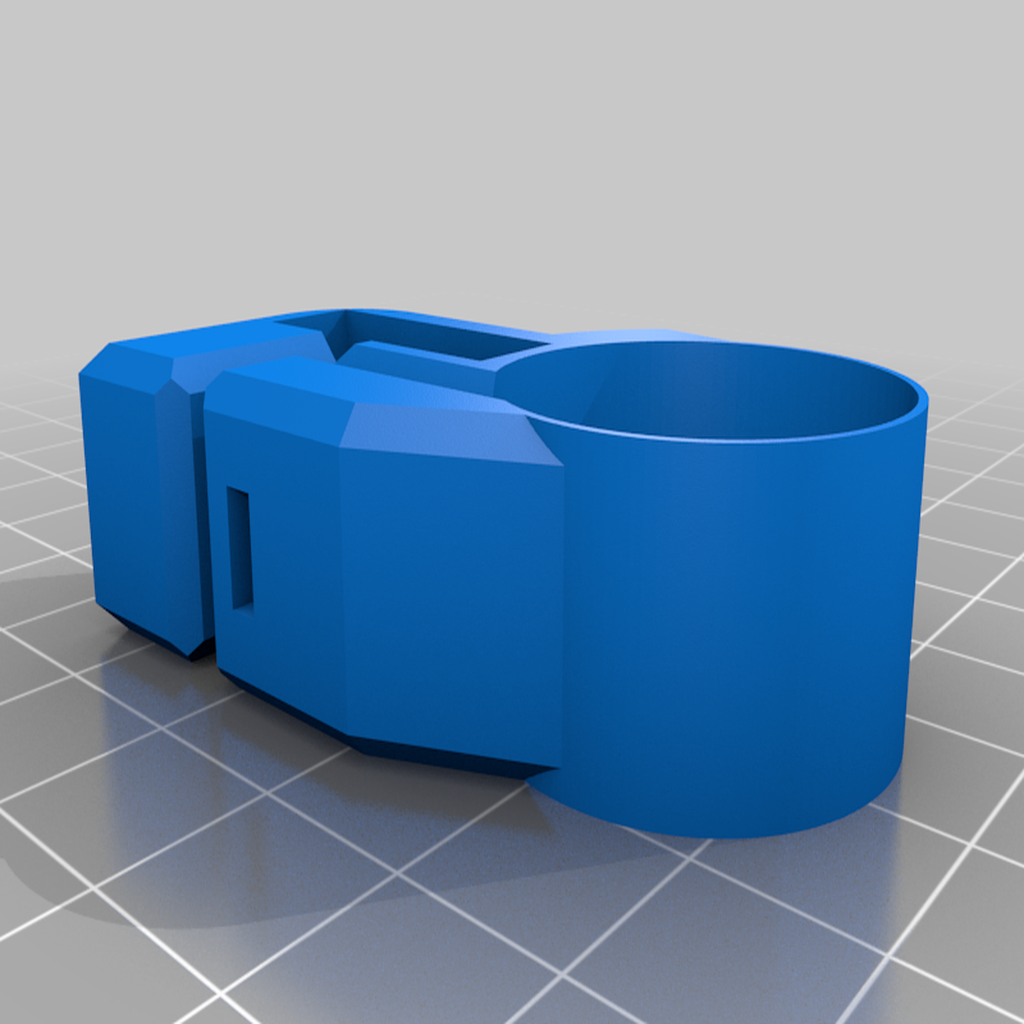
Limit Switch Holder for MPCNC
cults3d
My MPCNC rails are ~23.5mm (give or take .2mm) and these are a snug fit even before the screw reaches the inserted square nut. When upgrading to the dual end-stop firmware for the MPCNC, I wanted to avoid removing the bolts holding the bearings in place to replace the roller plates. I also wanted to avoid running more wires through the gantry conduits as it would have required modifications to my wire management. Print these with three perimeters and ZERO infill. Set perimeter extrusion width to .45mm. Layer height was set to 0.2mm for mine but other layer heights should work fine. I used 5 layers on top and 4 on the bottom. There are no overhangs that would require support - the screw holes have cut-aways that will print clean with these settings. I printed these with eSun PLA+ and there's more than enough flex in the part to allow it to easily slip over the conduit. I haven't tried with regular PLA but it should work fine. When installing, insert the switch before tightening down the screw and make sure the switch is sitting how you want it. The design relies on a single screw to put pressure both on the switch housing and the rail so everything is held in place tightly when the screw is snugged. When tightening, pinch the two ends together hard to line up the screw with the inserted square nut. I used M3x18s and flat square nuts, but the design should allow for up to a M3x20. The screw hole should accommodate 6-32 machine screws as well though the matching nuts will likely not fit. I'm inclined to think they wouldn't be necessary anyway. The holes should allow enough purchase for the screws to self-tap and with 3 perimeters there should be plenty of material to hold the threads.
With this file you will be able to print Limit Switch Holder for MPCNC with your 3D printer. Click on the button and save the file on your computer to work, edit or customize your design. You can also find more 3D designs for printers on Limit Switch Holder for MPCNC.
