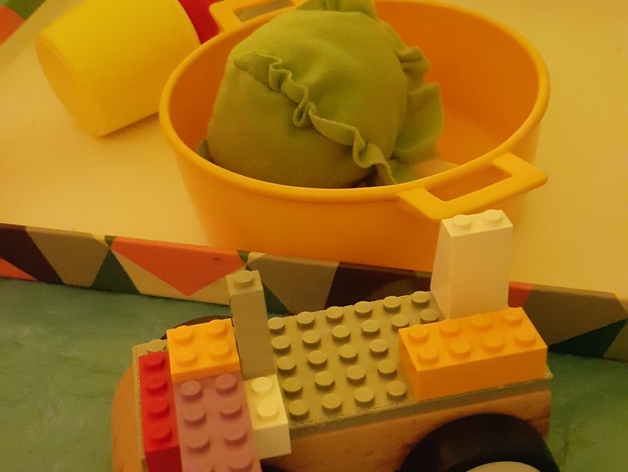
Lillabo to lego converter
thingiverse
Print the two parts separately, then bond them using a strong adhesive such as epoxy. Once they are securely attached, you're ready to combine the LEGO elements with the IKEA Lillabo wooden car. Printing Details Printer Model: Ultimaker 2 Printer Settings: Rafts: Optional (choose wisely) Supports: Not required Notes: Adjust your print settings according to the component being printed. Use low settings for the part that interfaces with the Lillabo car and higher settings for the LEGO plate. When generating G-code, you can easily trim off the lower 2.5 mm of the LEGO plate. Apply epoxy on both sides of the joined parts for a secure bond.
With this file you will be able to print Lillabo to lego converter with your 3D printer. Click on the button and save the file on your computer to work, edit or customize your design. You can also find more 3D designs for printers on Lillabo to lego converter.
