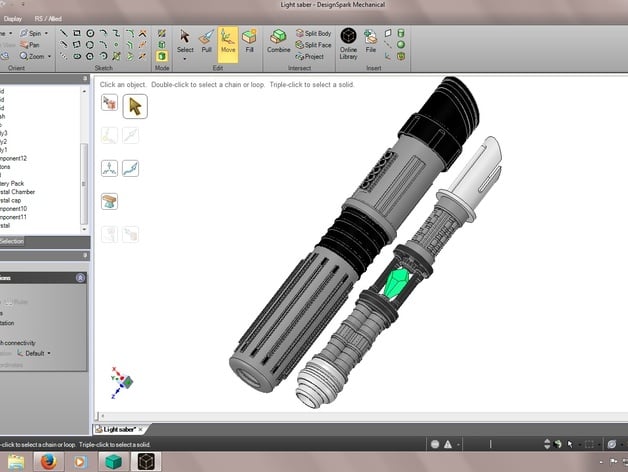
Lightsaber with internal components (Remix)
thingiverse
Fixed the problem with tabs breaking off by making some key adjustments, and I was able to tighten up the internal parts just right. Now the cap sits snugly against the body - a much-needed fix! Make sure to smooth out any rough edges on those flat surfaces with sandpaper, especially since your printer might struggle to get them just right otherwise. As an added bonus, I reworked the crystal part too, giving my slicer exactly what it needed. DesignSpark Mechanical helped me tackle these modifications, and all from measurements taken straight off the original file's dimensions. Go ahead and give those STL files a spin in whatever direction feels best for you; they're now neatly saved with each piece assembled. And by the way, I got them printed on my trusty Zortrax M200. That said, you still have some work to do: body parts 1 and 2 need to be stuck together firmly with glue. Same deal with those ribs - a strong bond is crucial for their stability. Feel free to glue that "End" part onto the battery section too if you think it's necessary, but hey, entirely up to you.
With this file you will be able to print Lightsaber with internal components (Remix) with your 3D printer. Click on the button and save the file on your computer to work, edit or customize your design. You can also find more 3D designs for printers on Lightsaber with internal components (Remix).
