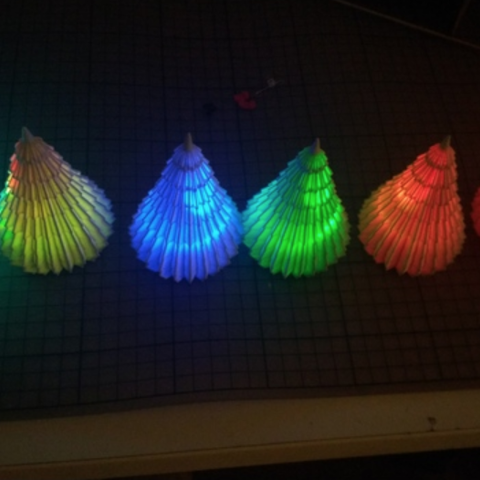
Lighting Christmas Tree RGB LED - auto change color - button cell - DIY
cults3d
This is an easy DIY project that anyone can tackle. The result is a Christmas tree that automatically changes its color, looking extremely cool and creating a fantastic mood at home. https://www.youtube.com/watch?v=qkzKGrSLb4A To get started, you'll need: the attached 3D models printed out (the placeholder can be printed with standard settings, but the Christmas tree should be printed in vase mode - https://goo.gl/YAvigH) a 5mm Cycling RGB LED (https://goo.gl/gdDYvB) one cr3032 coin cell battery - 3V one cr3032 plastic battery holder (https://goo.gl/qMrqX4) hot glue or any other adhesive some hand tools and soldering equipment basic crafting skills To assemble the project, you must connect the positive side of the battery holder to the LED anode and the negative side to the cathode (as shown in the pictures). Next, insert the battery into the battery holder. You can use a small piece of plastic placeholder as a switch by simply pressing it between the battery and the connector, which will interrupt the circuit. Finally, secure everything in place with hot glue within the Christmas tree. If you have any questions, feel free to ask me. Have fun building your project!
With this file you will be able to print Lighting Christmas Tree RGB LED - auto change color - button cell - DIY with your 3D printer. Click on the button and save the file on your computer to work, edit or customize your design. You can also find more 3D designs for printers on Lighting Christmas Tree RGB LED - auto change color - button cell - DIY.
