Lightbox - Lasercutter
thingiverse
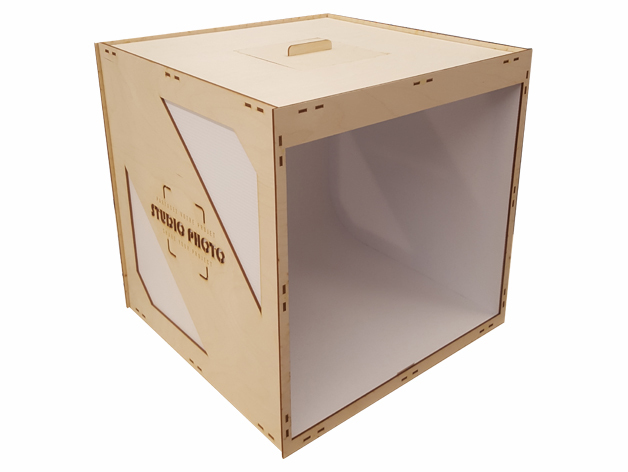
This lightbox is ideal for capturing images of your creations, whether 3D printing or other projects. I designed it initially for fablabs and makerspaces but it can be useful for anyone who wants to produce professional-quality photos. I invite you to read my post where I explain all the steps involved in creating this project. For now, the post is in French, but most browsers translate web pages into your preferred language. http://nicolefodale.ca/2019/05/fab-lab/boite-a-lumiere-decoupe-laser/ I share the SVG file to create the box for all six panels and the handle for the opening on top. If you make one, please let me know by posting a picture here. If you have any questions, just ask and I'll do my best to answer them. NOTE: There is one file with an unnecessary slot called PAN-HAUT-TOP. I initially included this slot to insert cardboard for background changes but when testing the box, it was easy to insert the cardboard on the front side and it stayed in place without any fixings. It's simple to remove the slot using vector software, but I created a new file for those who use the SVG directly with the lasercutter. *** Main Materials *** Plywood of your choice - 3 mm Six panels of 16" x 16" Corrugated polypropylene (usually 4 mm) Five panels of 16" x 16" Cardboard Glue Double-sided tape LED strip Access to a laser cutting machine The purpose of a light box is to illuminate an object from all angles, allowing regular lighting to highlight as much detail as possible on the object. And the main advantage of light boxes is that they enable the production of very soft or even non-existent shadows.
With this file you will be able to print Lightbox - Lasercutter with your 3D printer. Click on the button and save the file on your computer to work, edit or customize your design. You can also find more 3D designs for printers on Lightbox - Lasercutter.
