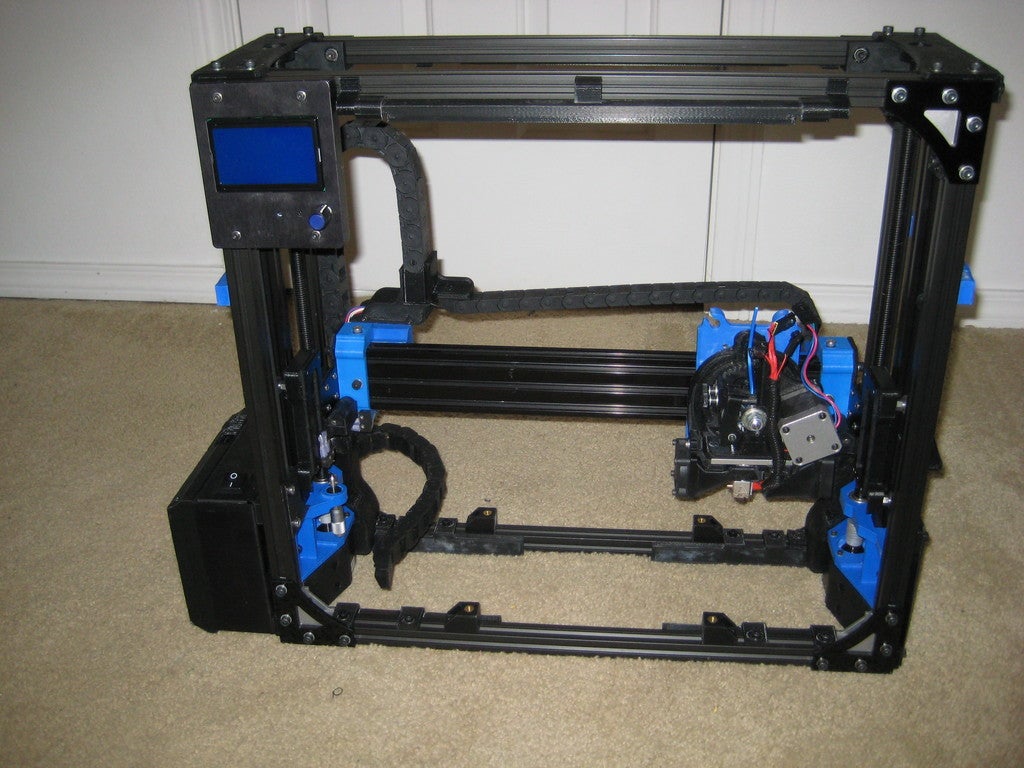
Lightbars 4.0 for extrusion based 3d printers
prusaprinters
<p>This project is an upgrade to my previous lightbar work. It extends the edges of the lightbar to make for more comfortable printing with a printer at eye level, adds 2 new sizes (200mm and 100mm) for use with smaller print beds and printers, introduces a new fully enclosed lightbar mount for use with these extrusion slot covers (<a href="http://www.mcmaster.com/#catalog/122/1939/=14feq5y">http://www.mcmaster.com/#catalog/122/1939/=14feq5y</a>) to run wires from the lightbar to the frame edges fully concealed, and also adds my corner reinforcement covers, which are designed for use with a Taz, but should fit almost any square 20mm extrusion design corners to aid in wire routing from the extrusions to the control box area.</p> <p>Update 1: New 4.5 variant endcaps and mounts are larger for routing wires easier.</p> <h3>Print instructions</h3><h3>Category: 3D Printer Parts Summary</h3> <p>This project is an upgrade to my previous lightbar work. It extends the edges of the lightbar to make for more comfortable printing with a printer at eye level, adds 2 new sizes (200mm and 100mm) for use with smaller print beds and printers, introduces a new fully enclosed lightbar mount for use with these extrusion slot covers (<a href="http://www.mcmaster.com/#catalog/122/1939/=14feq5y">http://www.mcmaster.com/#catalog/122/1939/=14feq5y</a>) to run wires from the lightbar to the frame edges fully concealed, and also adds my corner reinforcement covers, which are designed for use with a Taz, but should fit almost any square 20mm extrusion design corners to aid in wire routing from the extrusions to the control box area.</p> <p>Update 1: New 4.5 variant endcaps and mounts are larger for routing wires easier.</p> <h3> Print Settings</h3> <p><strong>Printer Brand:</strong> LulzBot</p> <p><strong>Printer:</strong> TAZ 5</p> <p><strong>Rafts:</strong> No</p> <p><strong>Supports:</strong> No</p> <p><strong>Resolution:</strong> 0.5mm nozzle, 0.3mm layer heights</p> <p><strong>Infill:</strong> 85%</p> <p><strong>Notes:</strong></p> <p>To print the longest bar you will need a Taz or similar sized printer, and will need to print it diagonally on the bed.</p> <h3> Post-Printing</h3> <p><strong>Instructions</strong></p> <ol> <li>Insert the slot covers (<a href="http://www.mcmaster.com/#catalog/122/1939/=14feq5y">http://www.mcmaster.com/#catalog/122/1939/=14feq5y</a>) into the t-slot that will become your cable run. Typically this will be the top bar and at least one of the side bars. You may wish to purchase extra to install it in the opposite side for asthetic reasons even if you do not intend to run wires in that side. </li> </ol> <ol> <li>Determine where the lightbar end mounts will go, and punch a hole large enough to pass the positive and negitive wire into the surface of the slot cover at that point. </li> </ol> <ol> <li>print all parts. </li> </ol> <ol> <li>Begin assembly of the lightbar. You will want a 12 or 24v 5mm wide "waterproof" light strip. Not so much for any supposed water resistance, but because the waterproof ones have their own lens built in basically. You will need to drill a hole in the center of the endcap that you will route the wires through (a 1/8" drillbit or equivelent should fit) . </li> </ol> <ol> <li>Adhere the light strip to the light bar, feed the wires out through the endcap and then press both endcaps onto the light bar</li> <li>Now carefully feed the wires through the enclosed mounting ends. You should end up with wire prodruding out of the section that will be in contact with the extrusion slot cover with a hole in it. </li> <li>Feed the wire through that hole, and over to the corner. </li> <li>optional - Install one of the corner slot cover pieces. This will give you enough room to conceal wire quick disconnects and pass the wire from the top extrusion into another extrusion slot cover on the side, and then down into the control box.</li> </ol>
With this file you will be able to print Lightbars 4.0 for extrusion based 3d printers with your 3D printer. Click on the button and save the file on your computer to work, edit or customize your design. You can also find more 3D designs for printers on Lightbars 4.0 for extrusion based 3d printers.
