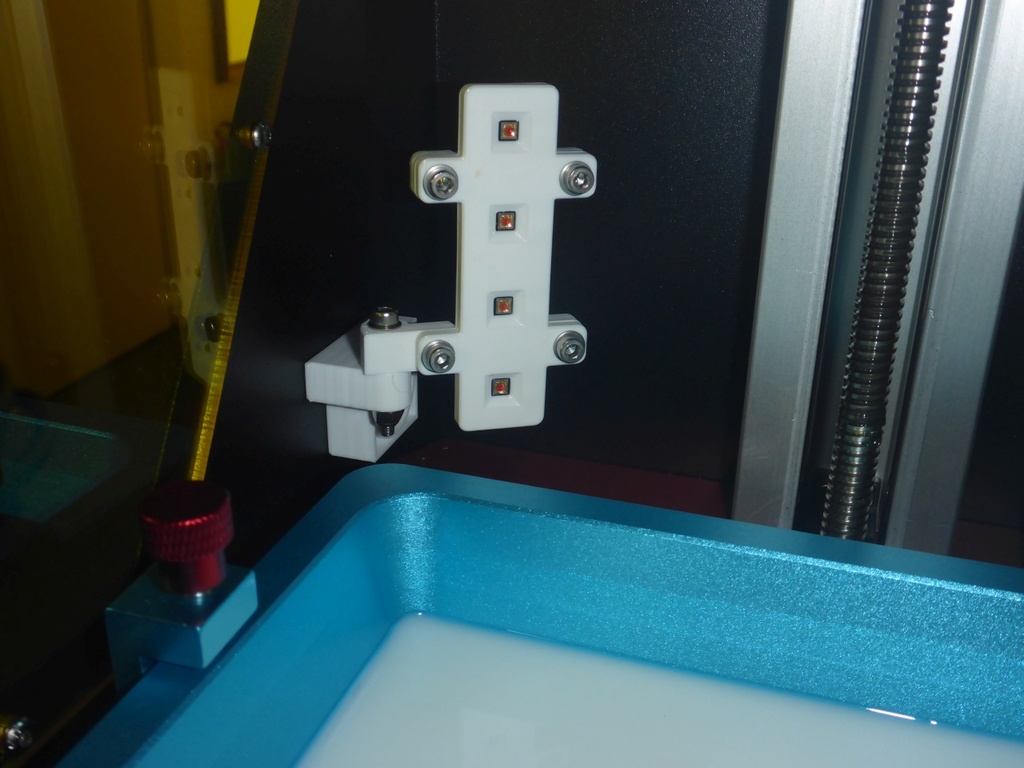
Light up your Photon! :-) (with magnet mount)
thingiverse
*=*=*=*=*=*=*=*=============================*=*=*=*=*=*=*=\r\nAVOID USING UV-, BLUE- OR WHITE-LED AT ALL COSTS!!!\r\nIT COULD PERMANENTLY DAMAGE YOUR RESIN AND/OR PRINTER!\r\nSWITCH TO ORANGE, RED OR AMBER LED INSTEAD!!!\r\n*=*=*=*=*=*=============================*=*=*=*\r\n\r\nAdditional Requirements:\r\nFour M3 x 10mm screws are needed.\r\nOne M3 x 25mm screw is also required.\r\nSix M3 washers will be necessary as well.\r\nFour M3 nuts and one M3 nyloc nut must be included.\r\n\r\nFour OSRAM Oslon SSL 80 LACP7P-KPKR amber LEDs on small star PCBs are needed.\r\nYou can find these at https://www.led-tech.de/de/OSRAM-Oslon-SSL-80-amber-auf-star\r\nDetailed information is available in the LA CP7P (English/Deutsch) PDF, which can be downloaded from https://oled-tech.de/files/8/\r\n\r\nFour 10mm x 10mm heat sinks are also required.\r\nA single 20mm x 10mm Round Neodymium Magnet will suffice.\r\nOne Constant Current Source with a minimum current of 100mA (or possibly 200mA) and at least 15 volts for series operation is necessary.\r\nSome wires will be needed as well.\r\n\r\nUsage:\r\nAssemble the device and adjust its height using the magnet mount.
With this file you will be able to print Light up your Photon! :-) (with magnet mount) with your 3D printer. Click on the button and save the file on your computer to work, edit or customize your design. You can also find more 3D designs for printers on Light up your Photon! :-) (with magnet mount).
