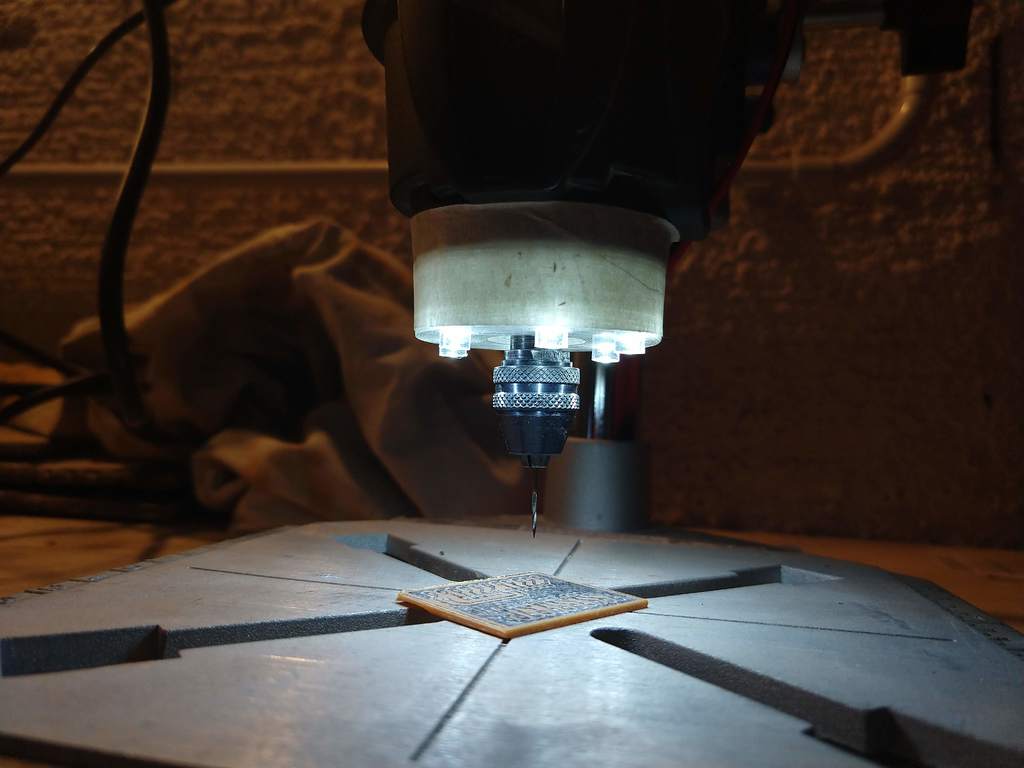
Light-Ring for Dremel 220 Workstation
thingiverse
This is intended for Dremel 220 Workstation. I needed something to light up the work plane while drilling PCBs, and shadows are very boring when you're trying to meet the holes! So I created this simple light-ring, made up by six LEDs and powered by a 12V power supply. ISTRUCTIONS: 1. Weld LEDs together using holder ring.stl as guide. I used six flat-cap LEDs, but you can use any kind of five mm LED. Don't forget limiting resistors! 2. Put it into holder outer.stl. Push firmly. 3. After welding the power chord, close everything using holder cap.stl. Use just a little bit of glue to avoid it accidentally opening up during Dremel operation. Simple LEDs connection scheme is included for your convenience. CAUTION: do not permanently fix the light-ring to the workstation. The light-ring must be movable, since it tightly surrounds the locknut of the workstation (the big black nut). The light-ring must only be placed after assembling Dremel into the workstation. In addition, you can try to use the light-ring to tighten the locknut itself. After that, I used simple paper-tape to fix the light-ring, but one can try using neodymium magnets to create something nicer. Edit 190627: you can find a magnetic version here.
With this file you will be able to print Light-Ring for Dremel 220 Workstation with your 3D printer. Click on the button and save the file on your computer to work, edit or customize your design. You can also find more 3D designs for printers on Light-Ring for Dremel 220 Workstation.
