Light painter
prusaprinters
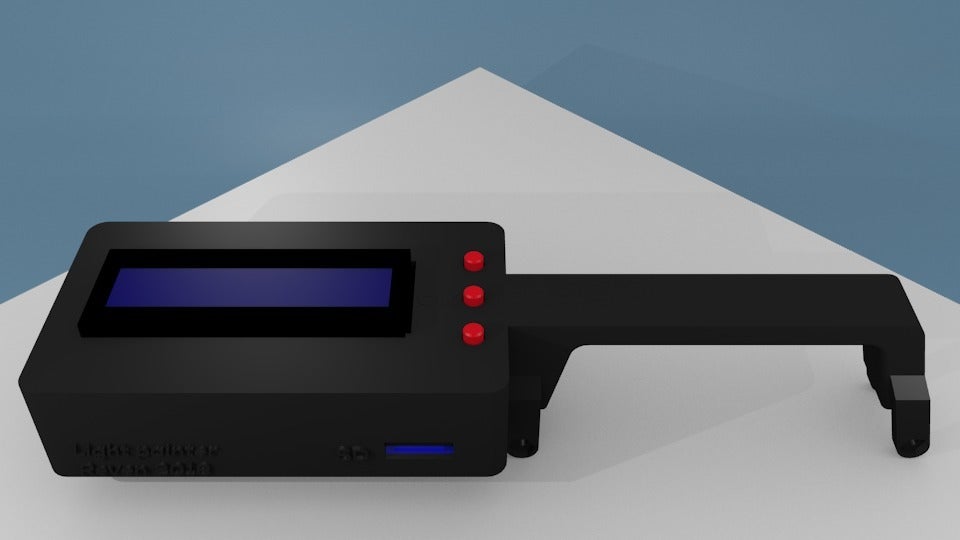
<p>This is my take on a light painter: an Arduino controlled LED strip that can <em>paint</em> images or patterns for long exposure photography.</p> <p>Here are the models for the enclosure, the battery holder support, the buttons and the button support bar. You can find a more detailed explanation of the project and all the components needed <a href="https://en.reven.org/2018/04/04/light-painter/">here</a>. In a nutshell, here's what you'll need:</p> <ul> <li>Arduino UNO.</li> <li>LED strip, any flavor of RGB addressable will work; I used a WS2812 strip <a href="https://amzn.to/2GBhsVL">like this one</a>.</li> <li>8 AA batteries. I use eneloop rechargeable ones.</li> <li><a href="https://amzn.to/2uNKZdr">8xAA battery holder</a>.</li> <li>Alternatively, you could use a LiPo battery, but then you would need protection and charge circuitry.</li> <li><a href="https://amzn.to/2Iq19eQ">UBEC</a> or buck converter to get a stable 5V from our power source</li> <li>Micro SD card reader module. I used <a href="https://amzn.to/2H8wumK">these</a>.</li> <li>1602 LCD + I2c LCD module, <a href="https://amzn.to/2EiU7WF">like this one</a>.</li> <li>24awg cable for Arduino and logic conecctions</li> <li>20awg cable for UBEC to LED strip</li> <li>Momentary push buttons</li> <li>Slide switch</li> </ul> <p>The enclosure is designed for an Arduino, a micro SD card reader module, a 1602 LCD with I2C controller and push buttons. The battery holder support blocks lock in place an 8xAA battery holder. Apart from that you will need an addressable LED strip and an UBEC or buck converter.</p> <h4>Code</h4> <p>The Arduino sketch can be downloaded from GitHub: <a href="https://github.com/reven/Light-painter">https://github.com/reven/Light-painter</a></p> <h4>Minor issues :)</h4> <p>In the build process I've come to realize a few issues with the parts as they are designed. I might address them in a future iteration, but for now these tips could be useful:</p> <ul> <li>The screw tabs are not strong enough. They would need a thicker material or to be printed on the XY plane to have more tensile strength.</li> <li>The pins that hold the Arduino and the SD module in place are way too thin and long to be practical. They break. Easily. This could be fixed with thicker pins that narrow out at the point of contact.</li> <li>The space is tight inside the box, be sure your cables are flexible. There is no room for the UBEC inside the enclosure.</li> <li>I would add some kind of tab or latch to keep the bottom and top halves together.</li> <li>The button system I designed is horrible. It’s really hard to assemble with the push buttons. Once installed it works, but this would be something to definitely improve.<br/> Leave a comment if you have any questions.</li> </ul> <h3>Print instructions</h3><p><strong>Rafts:</strong> No<br/> <strong>Supports:</strong> Yes<br/> <strong>Resolution:</strong> 0.2mm<br/> <strong>Infill:</strong> variable (see notes)</p> <p><strong>Notes:</strong></p> <p>The enclosure and the buttons should be solid. The battery holder blocks can be done at 40% infill, but the tabs should be printed parallel to the XY plane.</p>
With this file you will be able to print Light painter with your 3D printer. Click on the button and save the file on your computer to work, edit or customize your design. You can also find more 3D designs for printers on Light painter.
