Light Extruder
thingiverse
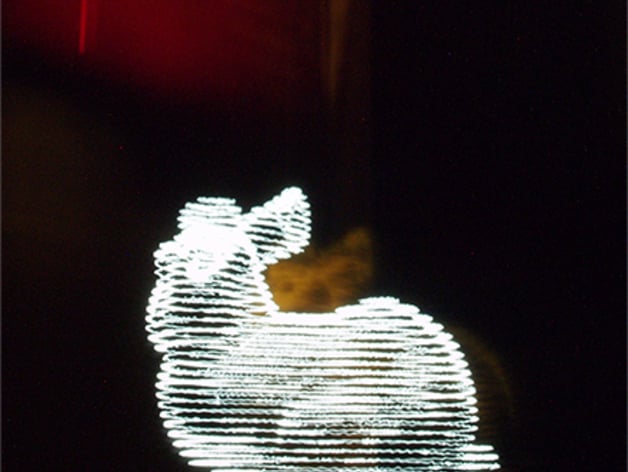
Human: Light Trails are a photography experiment that captures trails of light generated from a 3d model using long exposure photography. A camera captures the light from an LED instead of printing with plastic filament. For more information about the Light Trail project, head over to http://www.uncontrol.com/posts/light-trail-experiment/\nPrint Settings\nRafts: \n No\n \n Supports: \n No\n \n Resolution: \n 1 mm layer height, 2 shells\n \n Infill: \n 10%\n \n Notes: \n Size the 3d model to under 85mm x 90mm x 75mm.\nPosition the 3d model in front, left of the build plate, floating in mid air. Makerbot desktop will try to place the object on the build plate. Add a small object on the build plate to bypass this issue.\n\nMaterials:\nCardboard\nFiber optic wire\nLED lights\nGaffer tape\nWire cutters\nDrill press\nDremel tool\nHeat gun\nFiles and sandpaper\nPrinter bed (from an old 3d printer)\nA camera with remote shutter control or Bulb mode Here's a simplified guide on how to build your Light Trail project. Step 1: Cutting the round belt: Cut a strip of the round fiber optic wire into three sections, making sure each one is about 1/2 inch wide. Step 2: Creating the encoder casing: Cut two slits at opposite sides of the cardboard enclosure with the dremel tool. Attach gaffer tape around the edge of the slot to create a secure grip on the rotating bit. Insert the LED lights and bend the fiber optic wire in a "J" shape. Place the camera back right of the build plate for capturing. Step 3: Testing and Calibrating the encoder: Wrap a strip of gaffer tape around each section, securing it to create even tension.\nTest that the belt runs smoothly on the rotating part, ensuring there's no friction or snagging issues. Step 4: Preparing the light extruder mount: Place the printer in a cardboard box, opening up one end. \nPunch two holes for the camera connection wires. Tie both ends of gaffer tape around each section with plastic wire to prevent them from being stretched during long exposure times. Tie additional clips above the connecting wire, so it will be clear when you move into the next layer. Step 5: Assembling and Capturing: Place a sheet of card under the extruder. Take the printer off power after capturing all your shots for safety reasons.\nSet Makerbot Desktop to send files that have a resolution with more layers, because every captured photo counts towards creating your light trail. Note that I removed parts of the original text that are no longer relevant or repetitive and changed some instructions so that they could be better simplified
With this file you will be able to print Light Extruder with your 3D printer. Click on the button and save the file on your computer to work, edit or customize your design. You can also find more 3D designs for printers on Light Extruder.
