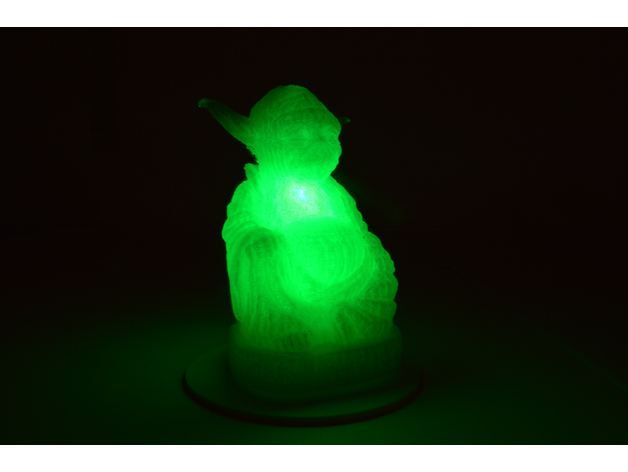
Light 'em up: Yoda buddha
thingiverse
Create a Basic LED Lamp Using a Single LED and a Button Cell Battery. To build this simple LED lamp, start by gathering the necessary materials: a single LED, a button cell battery, and a suitable enclosure for housing them. For this project, I utilized a 3D printed case made from natural PETG filament, which provided an aesthetically pleasing finish. The process begins with soldering the positive leg of the LED to one end of the battery's contact and the negative leg to the other end. Ensure that both connections are secure and won't come loose over time. Next, carefully place the LED inside its designated slot within the enclosure. Secure it firmly to prevent any movement during use. Once the LED is in place, add a small amount of thermal paste to the battery's base and attach it to the opposite end of the enclosure. This will allow for efficient heat dissipation while maintaining electrical connection. Make sure all components are properly aligned before proceeding. With the assembly complete, test the lamp by inserting a button cell battery into its designated slot. The LED should illuminate immediately. If it does not, check that both connections are secure and the thermal paste is evenly spread on the battery's base. To share your experience with others, click the "like" button below this post. Also, don't hesitate to share your print settings for the enclosure, as well as any modifications you made to the design. If you created a custom model, be sure to upload it and tag it with "Light 'em up," so we can gather more projects and create a series of tutorials based on this theme.
With this file you will be able to print Light 'em up: Yoda buddha with your 3D printer. Click on the button and save the file on your computer to work, edit or customize your design. You can also find more 3D designs for printers on Light 'em up: Yoda buddha.
