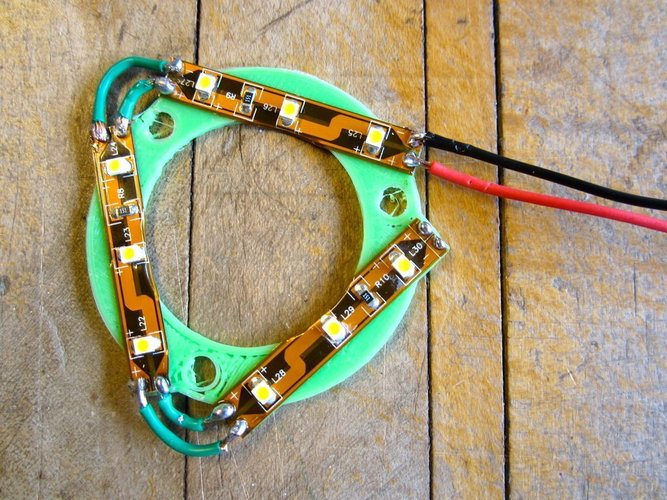
Light Bracket for Rostock Max
pinshape
Summary This simple bracket attaches LED light strips to the print head of a Rostock Max printer, creating a smooth flat surface for the adhesive-backed lights. The LEDs can be cut into three-part strips and fitted onto the track, requiring three sets for a total of nine LEDs. For areas where the lights hang over the edge, bend the strip and secure it in place. Next, connect the LEDs by soldering "+" to "+" and "-" to "-," then attach them to your power source. It's crucial to cover the solder connections with RTV silicon to prevent short circuits when using metal tools on plastic components. This bracket fits snugly, so ensure the arms don't rub against the platform's small corners. Edit: The light strip used in this project is available at http://amzn.com/B002QQ48TK
With this file you will be able to print Light Bracket for Rostock Max with your 3D printer. Click on the button and save the file on your computer to work, edit or customize your design. You can also find more 3D designs for printers on Light Bracket for Rostock Max.
