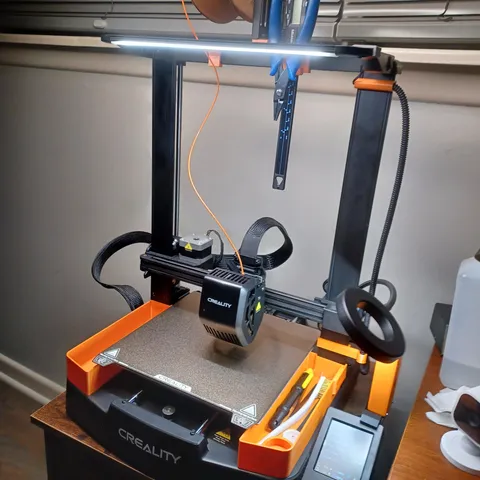
Light Bar Wiring Conduit - Ender 3 V3
prusaprinters
The new Light Bar for the Ender 3 V3 SE is OK, except they leave you hanging on how to run the wires to the Motherboard. The instructions don't mention that you need to drill a ¼ inch hole in the top of your right Z-rail. Which if you screw up, would imply it's covered under warranty… NOT! Plus I didn't want to take off the gantry and risk misaligning something. This alternative uses 1/8 inch Split Wire Loom (Amazon) and three printed parts. The clips all just snap-in… The hardest part of this install is getting the wire into the conduit; Cut a 2 foot (24 inch) length, you can trim later. And make sure it's split ahead of time. Use a butter knife or something to open the split and work the wire in a little at a time..Update 12/21/23 - Added an STL for the Conduit Passthrough flipped 180 degrees; This will put the Supports where they are easy to remove vs. digging them out of the inner area with those delicate mounting tabs.
With this file you will be able to print Light Bar Wiring Conduit - Ender 3 V3 with your 3D printer. Click on the button and save the file on your computer to work, edit or customize your design. You can also find more 3D designs for printers on Light Bar Wiring Conduit - Ender 3 V3.
