Lidar mount
thingiverse
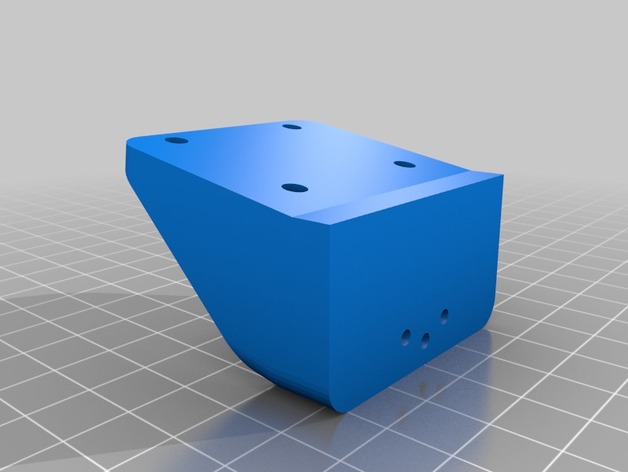
Mounting a Lidar Lite sensor involves a few straightforward steps. The process starts by ensuring the necessary components are on hand and easily accessible. This may include the Lidar Lite sensor itself, the mounting bracket, and any necessary screws or fasteners. To initiate the mounting procedure, carefully grasp the Lidar Lite sensor and securely position it over the mounting area of the designated space. With the Lidar Lite properly positioned, use the screws provided to attach the device firmly to the surrounding structure. Throughout this process, maintaining a consistent angle is key. Positioning the Lidar Lite sensor in line with its intended orientation is essential for achieving optimal functionality and precise measurements. Once securely fastened, verify that all connections are stable and function as expected. After successfully mounting the Lidar Lite sensor, inspect its position to ensure accurate placement. Verify that no damage has occurred during the installation process, and confirm that all components are in good working order. By adhering to these guidelines, individuals can ensure a smooth and efficient mounting experience for their Lidar Lite sensor.
With this file you will be able to print Lidar mount with your 3D printer. Click on the button and save the file on your computer to work, edit or customize your design. You can also find more 3D designs for printers on Lidar mount.