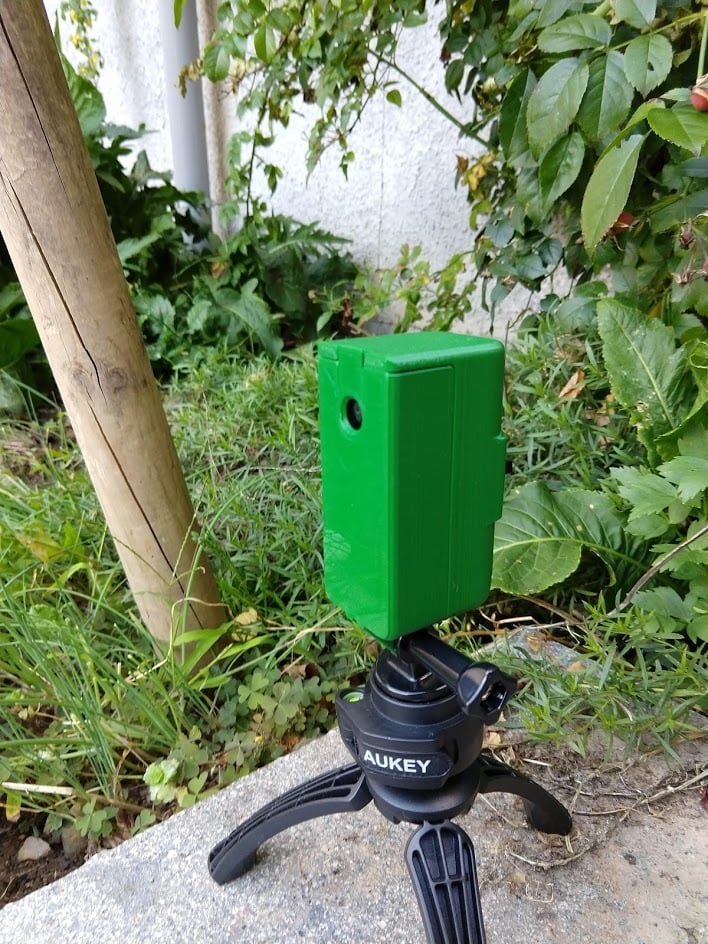
Li-Ion Battery-Powered PiZero Screwless Camera Housing
thingiverse
This is a remix of gowen's PiZero Vertical Screwless Camera Housings. I wanted to create a battery-powered camera with motion detection for short-term observations, such as monitoring what that neighbor's cat does in your garden when you're not there. I already knew and liked gowen's camera housing and realized that a 18650 lithium-ion battery would fit perfectly inside. Thank you, gowen, for the original design and for providing the Solidworks files! Just a few words of warning: lithium-ion batteries are hazardous if mishandled (by undercharging, overcharging, short-circuiting, burning, piercing, etc.). Don't use them unless you know what you're doing. And, of course, I am not responsible for any damage that can occur while building or using this device. Watch some videos of lithium battery fires on YouTube to develop a sense of caution. Plan for the (unlikely but possible) event of your battery catching fire. Think about how you want to get rid of the battery or fire in case anything happens. What you need: 1) Each of the following parts: base, top, clamp, batt-minus 2) One of the two batt-plus parts: part-plus-button if your 18650 battery is bottom-top, part-plus-flat for flat-topped batteries 3) Said 18650 battery. You only need 0.5A, so the C-value isn't that important. I suggest getting a good brand (Samsung, Panasonic, nothing with "fire" or "ultra" in the name). Protected cells are a bit on the long side, but you might be able to fit one in by modifying the batt-minus part. 4) A TP4056 charging and battery protection circuit (unless the battery has one included). Like this one: https://www.amazon.com/TP4056-Lithium-Battery-Charger-Module/dp/B06XV5PVW6/ref=sr_1_2?ie=UTF8&qid=1536875972&sr=8-2&keywords=TP4056+protection 5) A sliding switch that fits mine. This is the most complicated part to source, I think. 6) A Raspberry Pi Zero W 7) I used a LipoShim (https://shop.pimoroni.com/products/lipo-shim) for stepping up the battery's 3.7V to 5V - and furthermore, the LipoShim shuts power off when the voltage reaches 3V. 8) Some flexible cables that can support a few amperes. The ones I used were originally connected to a NEMA17 stepper motor 9) A Raspberry ZERO Camera Module (mind the cable - it's different for full-size raspberries and zeroes) 10) A Class 10 MicroSD card, 16GB should be enough 11) Soldering Iron and some tools See below for further instructions.
With this file you will be able to print Li-Ion Battery-Powered PiZero Screwless Camera Housing with your 3D printer. Click on the button and save the file on your computer to work, edit or customize your design. You can also find more 3D designs for printers on Li-Ion Battery-Powered PiZero Screwless Camera Housing .
