LGX to Linear Rail Mount
prusaprinters
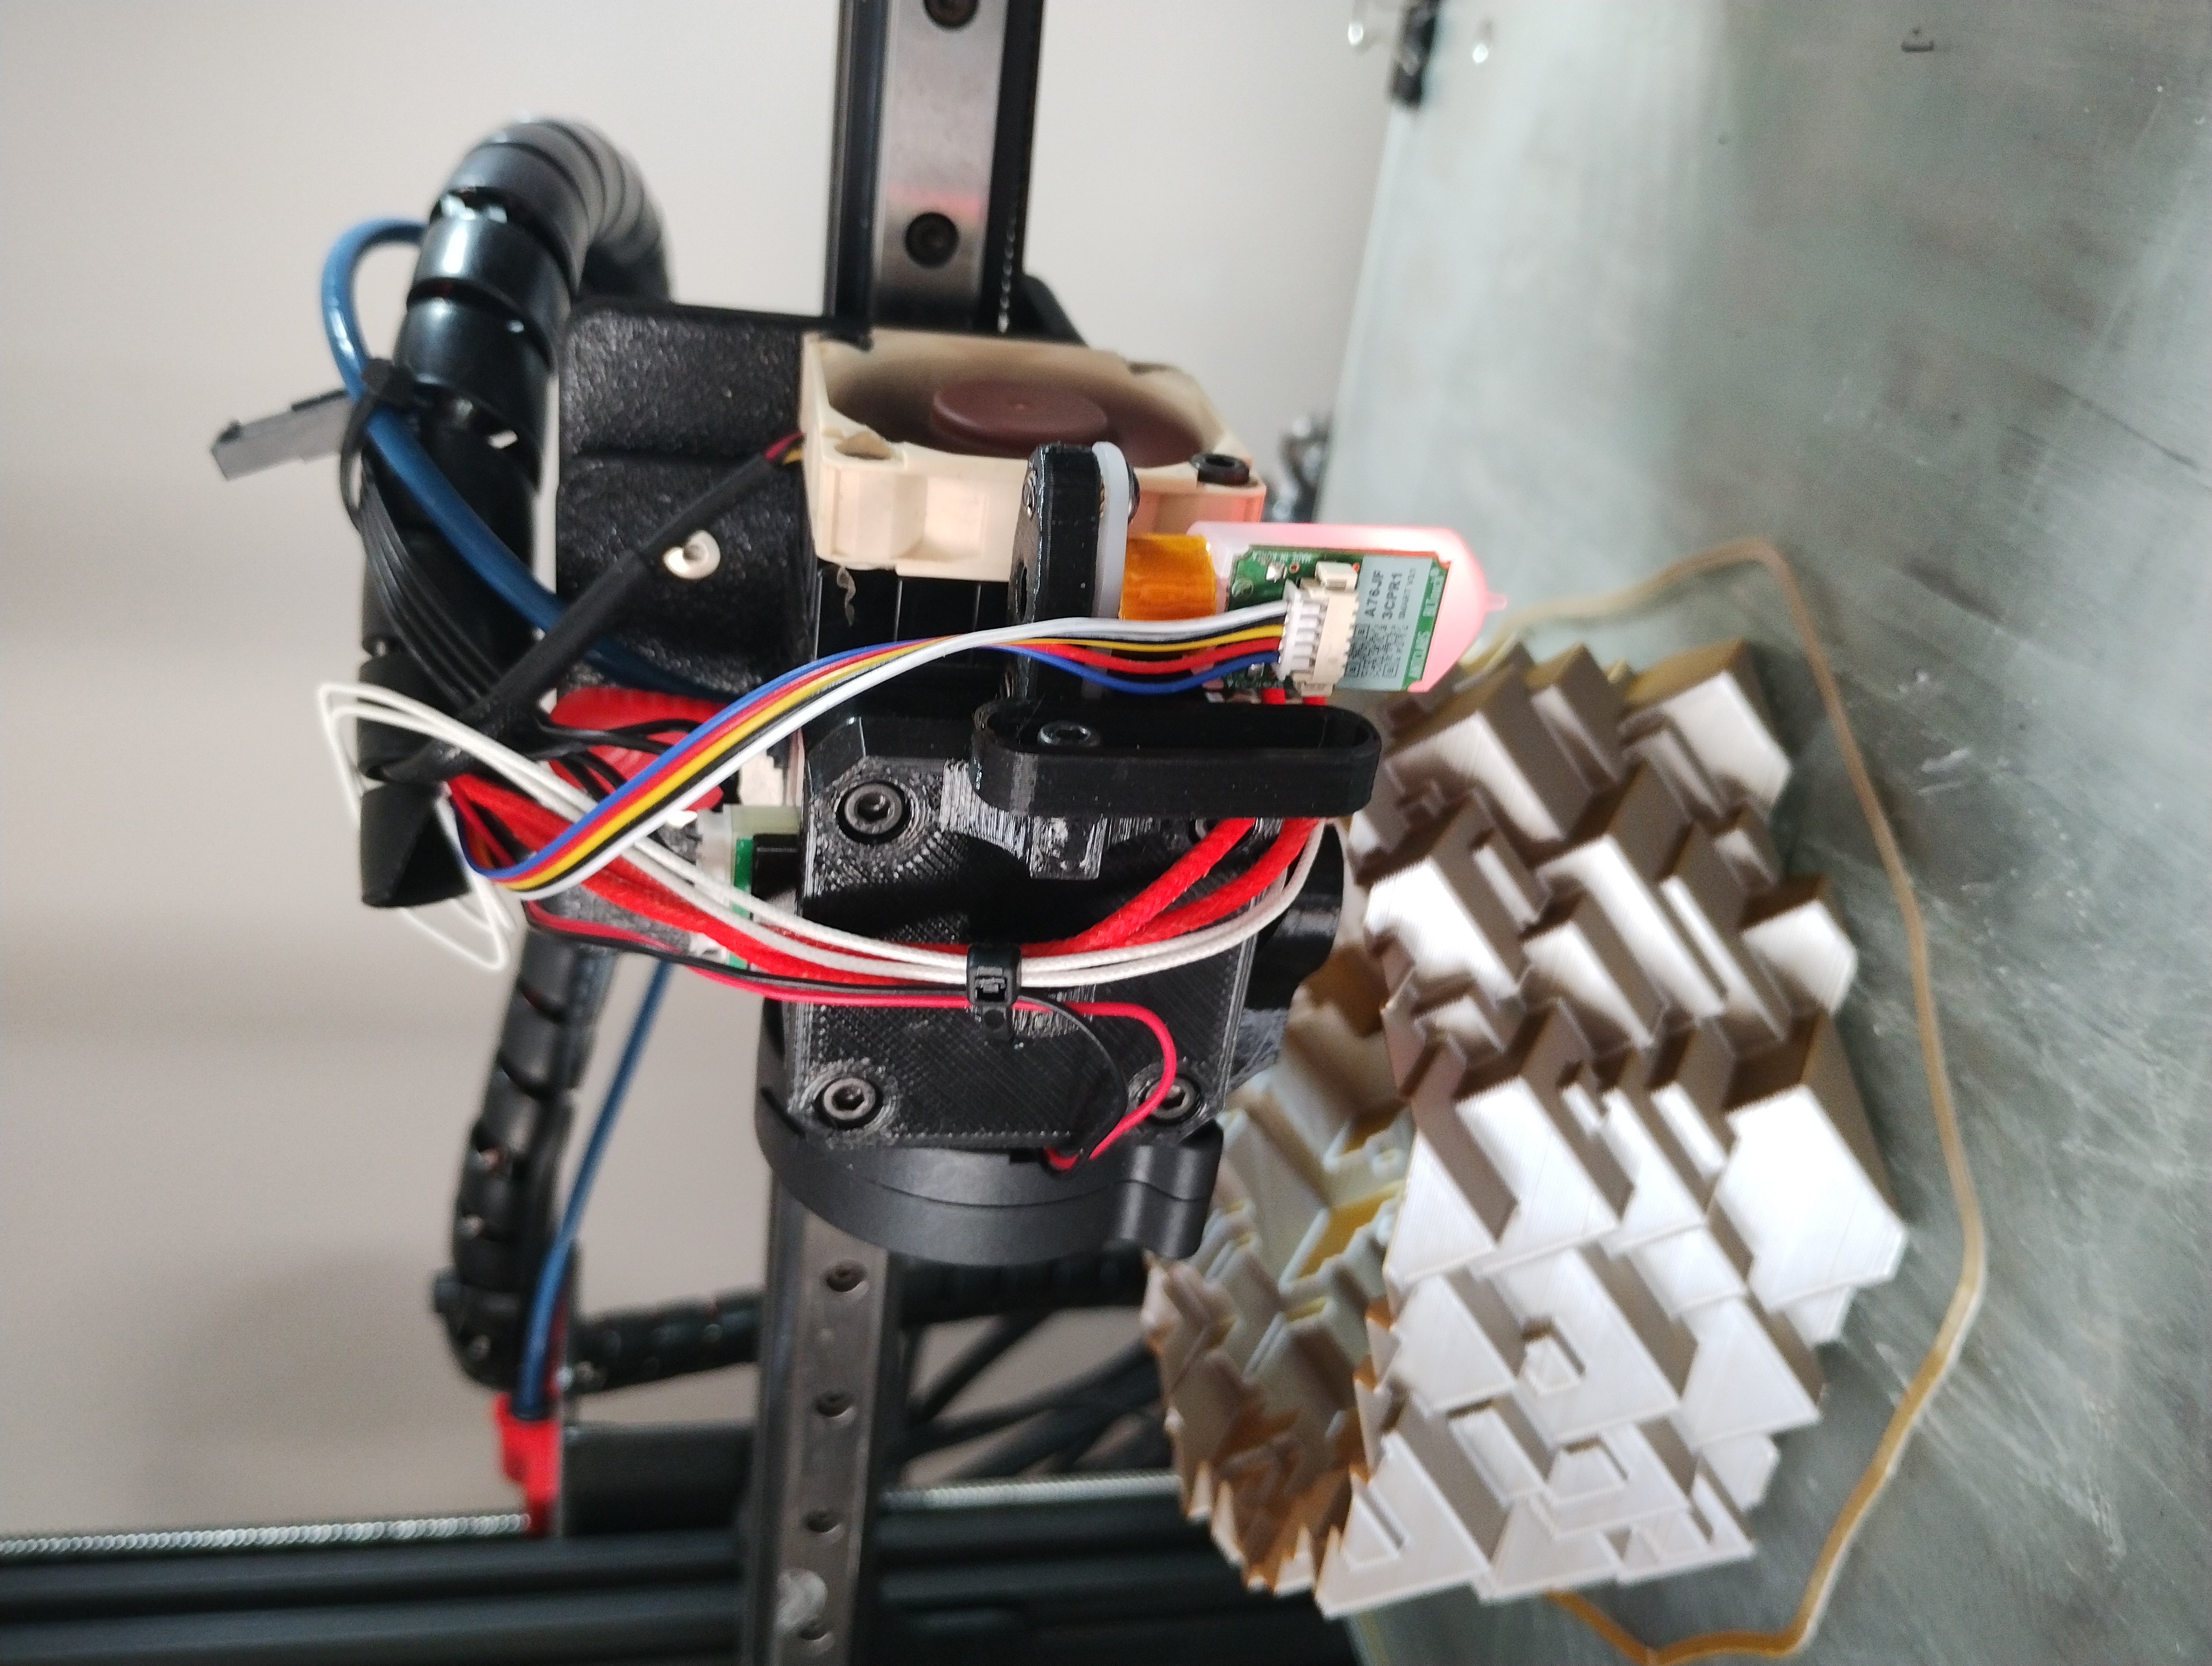
<p>This mount adapts the existing holes on an LGX FF (which has lots of holes in awkward places) and lets me mount it to linear rails. The design allows for the entire extruder/print head combo to be lifted off the rail by undoing two screws. It will fit MGN12H linear rails. </p><p>There's a lot of hardware needed. I used a lot of low socket head cap screws but button heads should work as far as I am aware. I've not tested it so no promises. </p><p>Hardware:</p><p>5x M3 heat set inserts (I used 3D Jake's own brand ones)</p><p>4x M3x8mm button head screws (BH)</p><p>6x M3x8+ countersunk screws</p><p>1x M3x16 low socket cap screw (LSC)</p><p>1x M3x30 LSC</p><p>4x M3x25 socket head cap screws (SHC)</p><p>1x M3x8 SHC</p><p>2x M3x6+ BH</p><p>Where I have a + after the length, this is the minimum length and as long as you have clearance you can go longer. These are just what I have used.</p><p>The Solidworks assembly won't upload so I have substituted it for a step. The rest of my files are there, any parts that are missing are just the generic parts available for download off of Bondtech's website.</p><p>This will likely need a new belt. I purchased around 1.4m of gates belt, you can probably get away with 1.2m but I am not sure of the exact length used as I never originally intended to upload this so did not record the amount used.</p><p>All parts were printed in PET-G on my Voron V0.1 as a prototype. After two months of printing I have yet to see any sag or droop yet. If you intend to use an enclosure then ABS or ASA would be a better option.</p>
With this file you will be able to print LGX to Linear Rail Mount with your 3D printer. Click on the button and save the file on your computer to work, edit or customize your design. You can also find more 3D designs for printers on LGX to Linear Rail Mount.