Lex-Lox by TraxPert (for Scalextric Sport track)
thingiverse
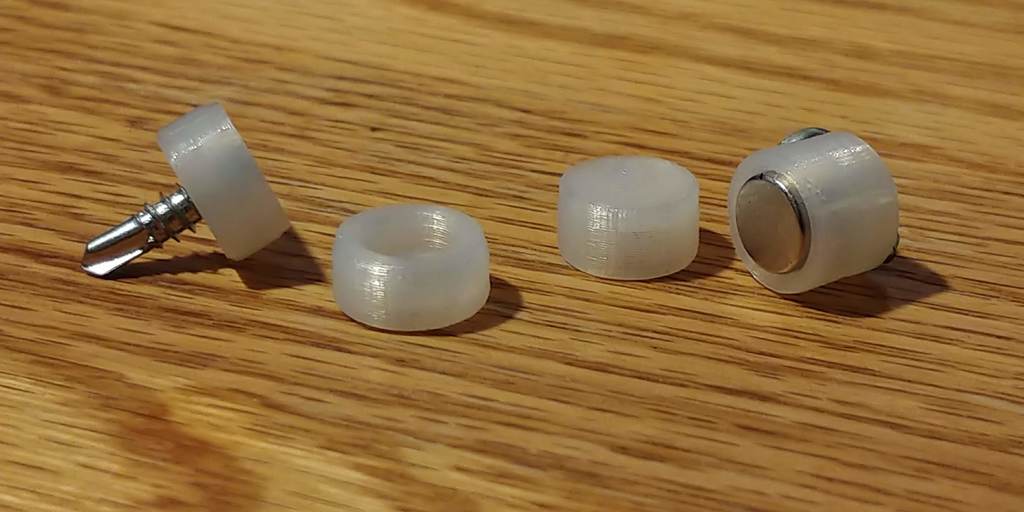
This is a custom designed (with permission from Kevan, aka CaptainKev, who invented them) setup for the Lex-Lox track attachment system by TraxPert (Kevan). Read more about how it works here and watch the video linked below: https://www.slotforum.com/forums/index.php?showtopic=73146 It is highly recommended that you run test prints of each piece before printing a lot. Small variations in filament diameter can affect the fit of the pieces. The spikes, designed for an 8x4mm round magnet (or a bit of steel) to be inserted in the pocket, are meant to be loose in the round holes on the bottom of the track. They should slide in and out easily. If they don't, then reduce your extrusion multiplier and try again. Don't push it all the way in the socket if it's not just falling in, because you may not be able to get it out! You should only need a couple spikes, as they are meant only to locate where you will screw in the buttons. The buttons, which you will be printing dozens of, should fit snugly in the track sockets. Use a screw as a handle when you test, so that you can easily remove it once inserted, since you'll need to install the buttons when they are not in the track. If they are loose, then increase your extrusion multiplier (EM). If you can't get them into the sockets, then reduce your EM. Once you've nailed the EM for fit, then you can go ahead and print up however many you need for your project. The tall spike is for Scalextric Sport Digital pieces, such as lane changers, lap counters, and single lane pieces, which are all about 2mm taller than standard Sport pieces. See the video below for how to use this system: https://youtu.be/IXIwYdaNJsw
With this file you will be able to print Lex-Lox by TraxPert (for Scalextric Sport track) with your 3D printer. Click on the button and save the file on your computer to work, edit or customize your design. You can also find more 3D designs for printers on Lex-Lox by TraxPert (for Scalextric Sport track).