Levitating Pen Holder
prusaprinters
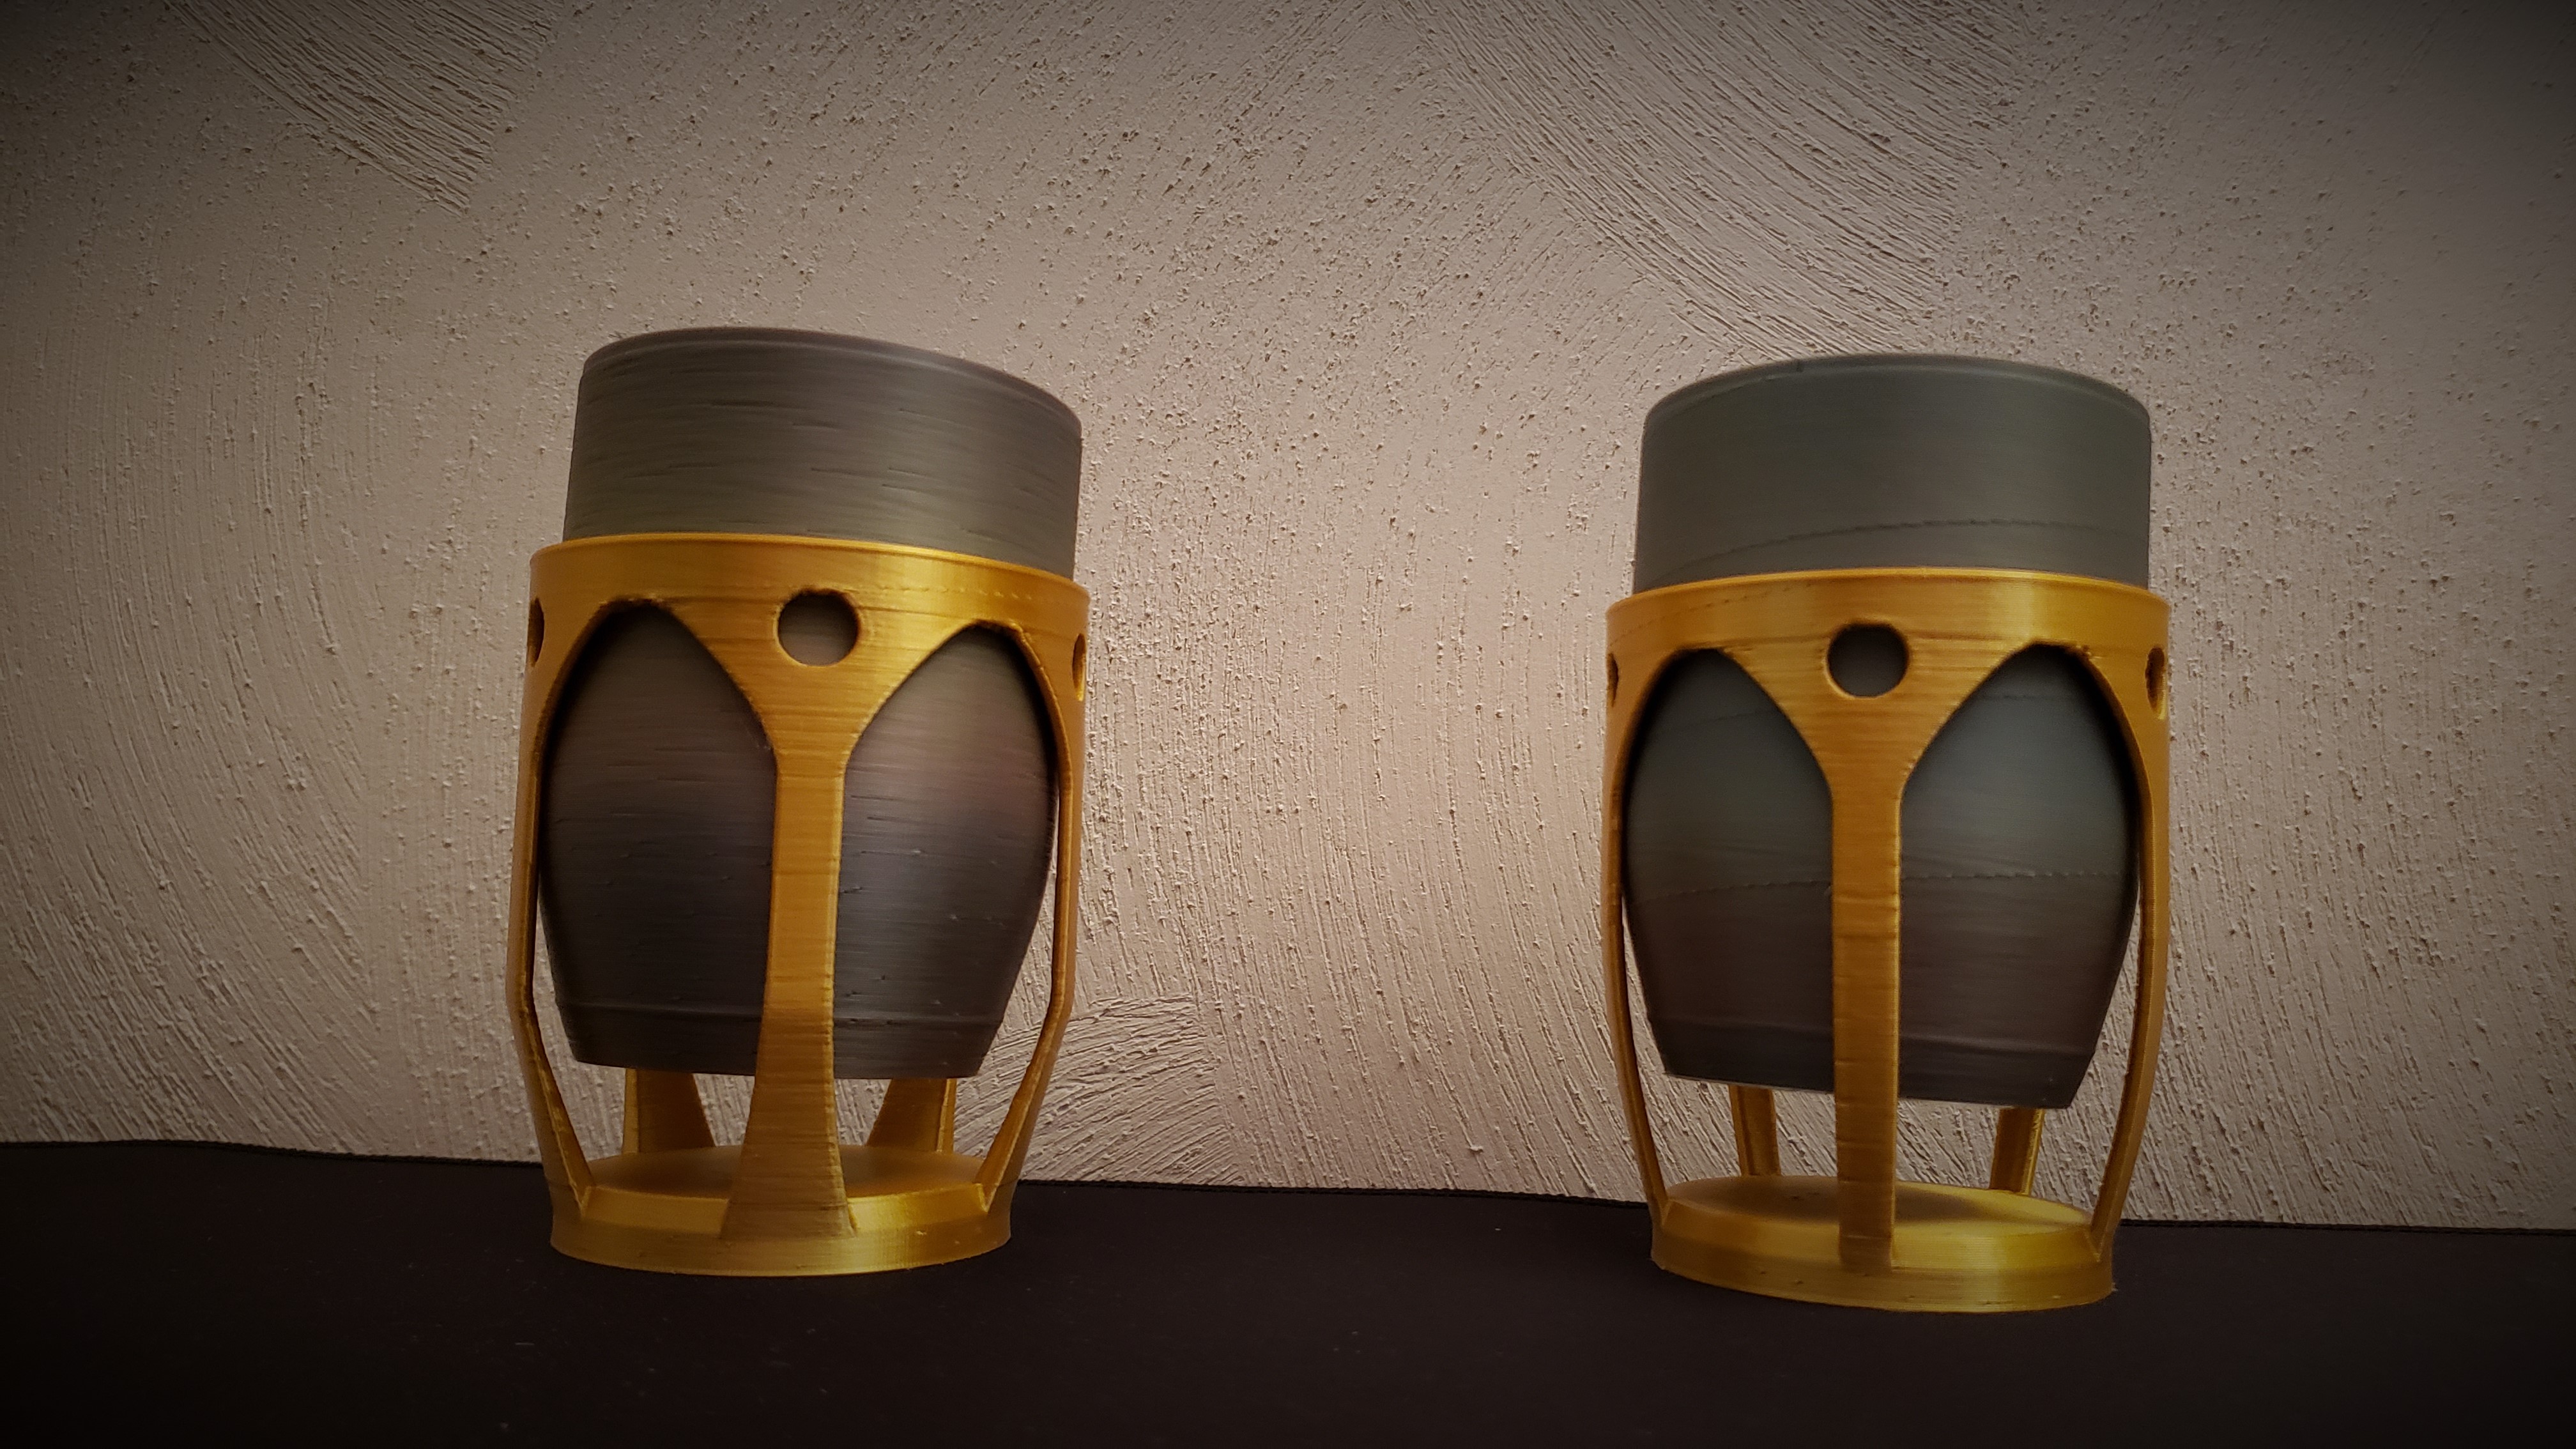
<p>Here is a video of the pen holder in action:</p><p><a href="https://www.youtube.com/shorts/Va2n5-3Yjgo">https://www.youtube.com/shorts/Va2n5-3Yjgo</a></p><p> </p><p>There are two versions of the base to choose from. The "Angled Columns" version is a little easier to print, but the main difference is how they look visually. </p><p>It uses three magnets, two in the base and one in the cup. I used magnets from Amazon that were advertised as “stronger than N35”, and 1.26 inches in diameter x 0.08 inches thick. </p><p> </p><p><strong>Printing Instructions:</strong></p><p><strong>Cup:</strong> 0.6mm nozzle, 0.3mm layer height.</p><p><strong>Base:</strong> 0.6mm nozzle, 0.3mm layer height, 3 perimeters. I strongly recommend using a modifier in PrusaSlicer to set all print speeds to 25mm/s or lower for the vertical columns to prevent them from wobbling while printing. </p><p>Smaller nozzle sizes and layer heights should work fine as well. </p><p>The easiest way to add in the magnets is to add a color swap in PrusaSlicer at the start of the layer that bridges over the magnet holes. I like to do it that way because the slicer will give an estimate of how long it will be before the magnet needs to be added. I put a drop of super glue on the bottom faces of the magnets to keep them from spinning around/rattling. </p><p>Make sure the magnetic fields are aligned to oppose each other before you seal them in!</p><p> </p>
With this file you will be able to print Levitating Pen Holder with your 3D printer. Click on the button and save the file on your computer to work, edit or customize your design. You can also find more 3D designs for printers on Levitating Pen Holder.