Leveling JGAURORA-A5
thingiverse
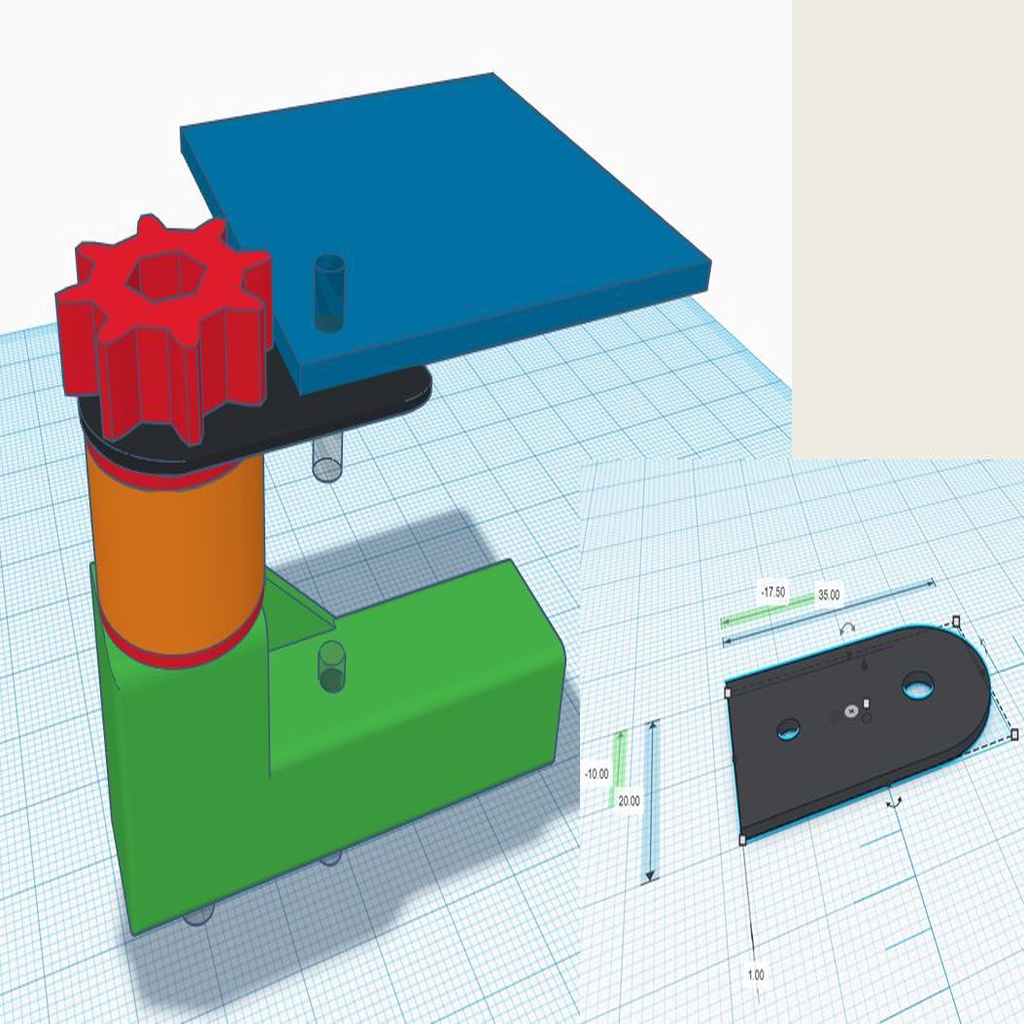
This part concerns the JGAURORA-A5. The adjustment screws are located on top. To access the rear adjustment screws from in front, simply reach through the printer and make the adjustment from above. Used: - Print the STL file. The angles are different for right and left. I printed my angles from PLA because they don't get very hot. - Screws with nuts Length specification of the screws = thread length. - 4x M3 20-22mm - 4x M3 10mm countersink for the heating bed. - 4x M4 50mm - In this case, I decided on silicone pads instead of springs. Diameter is 20mm - Spacers for M3 with 9mm and M4 with a diameter of 20mm. (since the guides are not 100% even, I compensated the difference at one point by using more spacers) The M4 nuts are pressed into the adjustment wheel until they reach the bottom. The M3 nuts on the holders in the same way. When installing, pay attention to the fact that the holders are screwed in parallel to the U-rails. Since there is only 1mm of space between the holders and the housing. See picture. Furthermore, a thermal insulation mat (about 1cm thick) was glued to the underside of the heating bed. This raised the heating bed and the end switch had to be adjusted accordingly. For this upgrade, not only are the STL files shown here used for printing, but also a 1mm thick metal plate is required. The connection between the adjustment screw and the heating bed has been made as described in the drawing from the 1mm metal sheet. The reason for this is that the heating bed does not take up unnecessary space from the print area. There is a small spacer between the metal connection and the heating bed, so that there is little heat transfer to the metal. The silicone pads will remain at low temperatures.
With this file you will be able to print Leveling JGAURORA-A5 with your 3D printer. Click on the button and save the file on your computer to work, edit or customize your design. You can also find more 3D designs for printers on Leveling JGAURORA-A5.