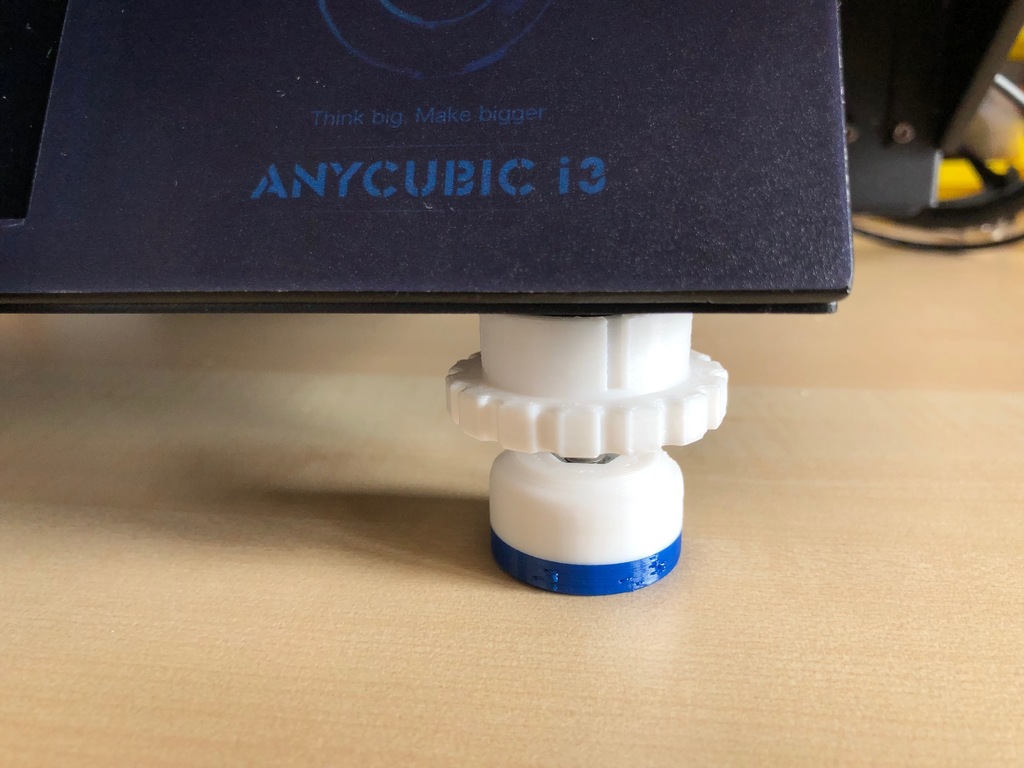
Leveling Element for AnyCubic MEGA
thingiverse
To assemble a leveling element, we need the following parts: 1 x Screw DIN 933 M6 x 16 1 x Nut DIN 934 First, press the screw into the leveler. It may be helpful to attach it with some temporary adhesive at the top. Next, clip on the foot support. This should still turn after installation. Then, push the nut into the hex head of the foot. Tighten the screw and you're done. I printed the foot from two materials. The lower part is TPU for better traction. TIP: Switching materials during printing: Generate GCODE in CURA 3.6 and edit it in a text editor. Search for CUSTOM in the GCODE (Shift+F in the text editor). Delete everything between M83 and M82, and replace with the following code: Melody M300 S1318 P240 M300 S0 P120 M300 S1396 P120 M300 S1567 P120 M300 S0 P120 M300 S2093 P720 M300 S0 P180 End Melody G91; relative position G1 F300 Z15.0; lift the nozzle 15mm to avoid sticking G4 S30; wait 30 seconds Pause the print on the display when the 30 seconds are up. The printer will automatically move the nozzle another 2cm up after 30 seconds. Now you can switch filament. Play the Melody again briefly. Now the printer is in pause mode.
With this file you will be able to print Leveling Element for AnyCubic MEGA with your 3D printer. Click on the button and save the file on your computer to work, edit or customize your design. You can also find more 3D designs for printers on Leveling Element for AnyCubic MEGA.
