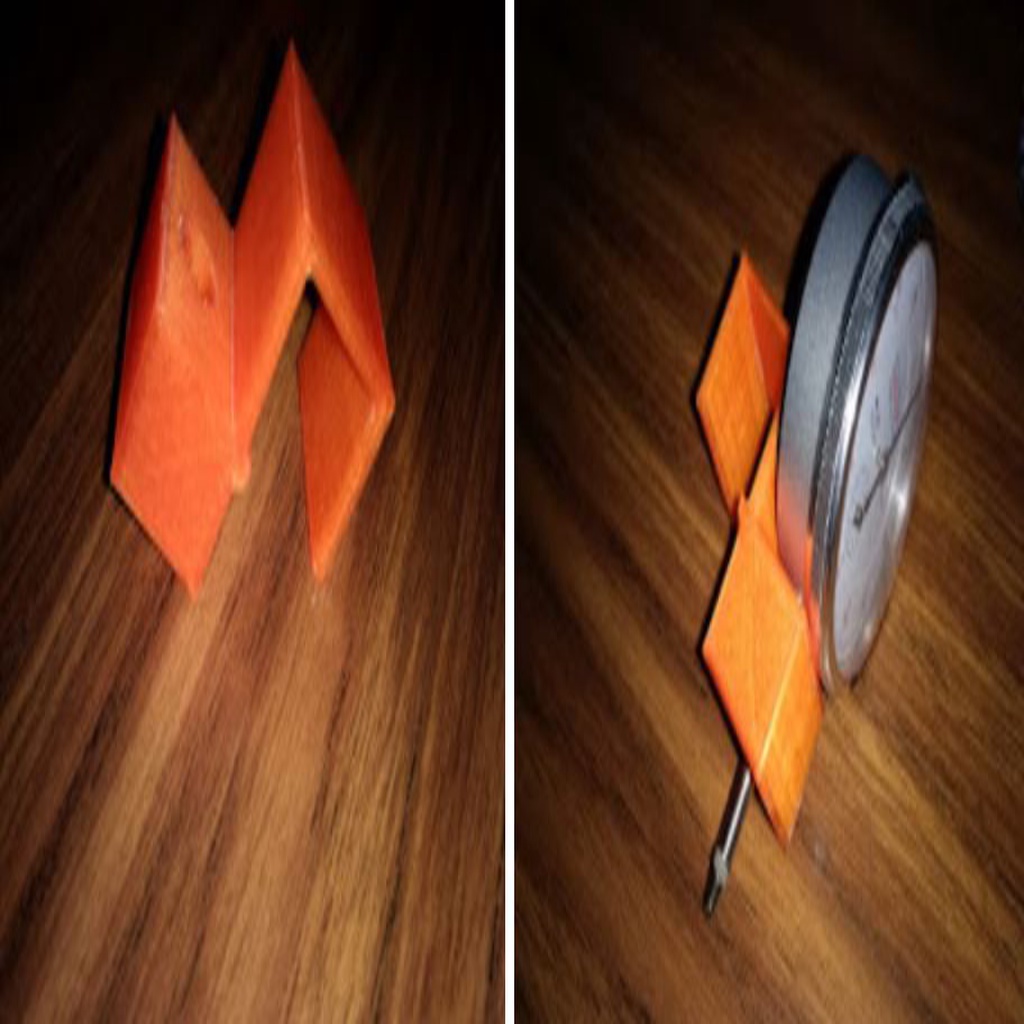
level gauge holder for Chiron
prusaprinters
<p>This simply clips onto the rail and holds the dial gauge firmly. You can easily slide the holder on the rail left and right. Use this and the dial gauge to easily level the bed.</p> <p>How to use:</p> <ol> <li><p>Without the gauge on, home all axis</p> </li> <li><p>Put the gauge on the rail as shown, it should be able to slide left and right when needed.</p> </li> <li><p>As seen in the picture, I have found that the gauge should read between 25 and 35 for all spots measured. (scale is in 0.01mm ticks) Just manually move the bed to the back and measure the front left and then front right. Adjust the bed knobs as needed to get the gauge to read between the 25 and 35. Do the same for the rest of the bed by manually sliding the bed forward to the center and then the back. No need to move the Z axis at all.</p> </li> </ol> <p>Print it in any material, PLA ABS or PETG. I didn't use any supports.</p> <ul> <li>3 perimeters, to give it some strength</li> <li>15% infill at least</li> <li>0.3mm layer height is good</li> </ul> <h3>Print Settings</h3> <p><strong>Printer Brand:</strong></p> <p>Anycubic</p> <p class="detail-setting printer"><strong>Printer: </strong> <div><p>Large Size Chiron</p></div> <p><strong>Rafts:</strong></p> <p>Doesn't Matter</p> <p class="detail-setting supports"><strong>Supports: </strong> <div><p>No</p></div> <p><strong>Resolution:</strong></p> <p>0.3mm</p> <p class="detail-setting infill"><strong>Infill: </strong> <div><p>15% at least</p></div> <p><strong>Filament:</strong> any any orange is always good</p> </p></p></p> Category: 3D Printer Accessories
With this file you will be able to print level gauge holder for Chiron with your 3D printer. Click on the button and save the file on your computer to work, edit or customize your design. You can also find more 3D designs for printers on level gauge holder for Chiron.
