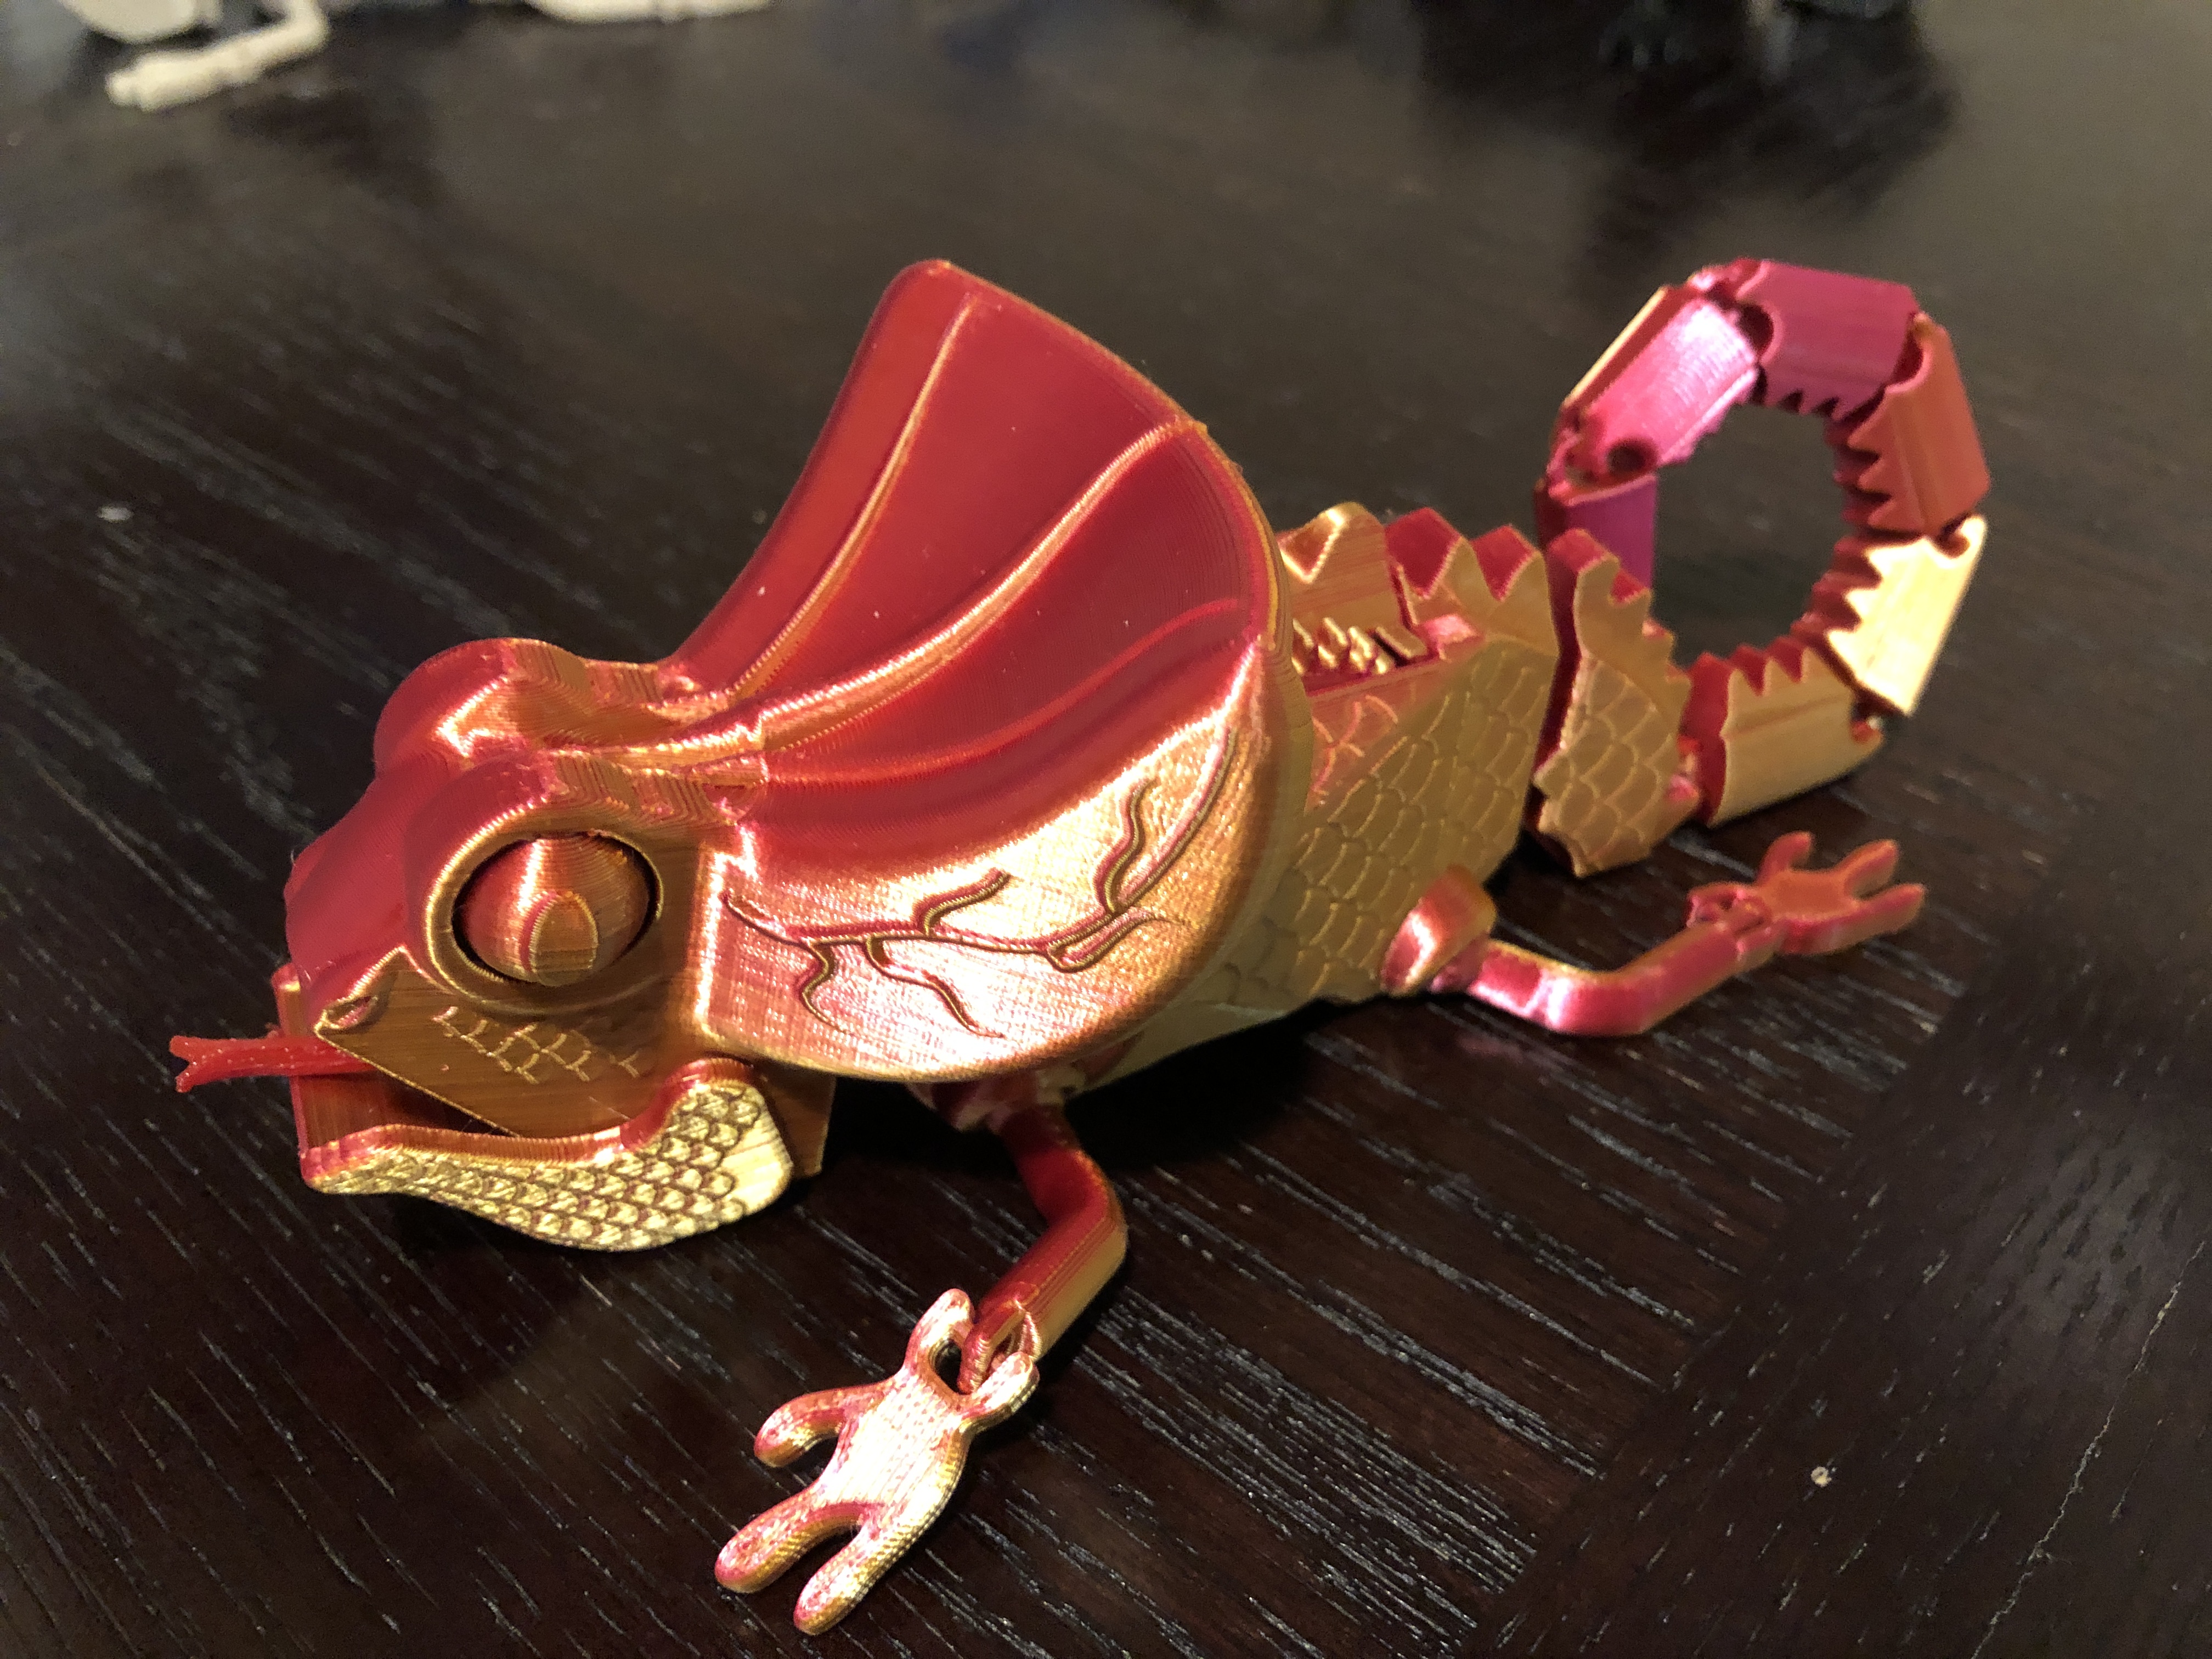
Lenny the Happy Articulated Mechanical Lizard w Print-in-place GearBox 100% 3D printed easy 2 step assembly
prusaprinters
<p><a href="https://www.youtube.com/shorts/cN22IXL_Mlg">https://www.youtube.com/shorts/cN22IXL_Mlg</a></p><p><strong>Print Versions at the bottom of downloads page</strong></p><p><strong>Edit#2 09-09-2022. adding 100% scale stl files scale down to fit your print bed (80% is all that fits on my MK3s+. Sorry for the problems and a huge thank you to the people that have reached out to let me know about problems</strong></p><p><strong>Edit 09-09-2022. I had accidentally added the new body and gearbox at different scales. Thank You to djbkom for letting me know. I have fixed the gear box to now be at the same scale as the Stronger Joint version body</strong></p><p><strong>Edit 08-25-2022: Added 3MF and STL “LennyStronger Joints” which is the main body with much stronger neck joint. Please download parts at the bottom marked “New”</strong></p><p><strong>Thank you to IXPatch for pointing this problem out to me!</strong></p><p><strong>If anyone has problems with this model working, please let me know so I can try to fix it.</strong></p><p>Introduction:</p><p>I started 3Dprinting and using Fusion 360 this past January and have really enjoyed making this model (most of the time). There was also frustration and I went through about 3kg of filament testing and re-testing parts and fit. I have printed a lot of toy models to give to nieces, nephews and cousins and wanted to be able to give out something I designed myself. I had NO idea how to do this when I got the idea but loved the challenge. </p><p>Printing Instructions:</p><p>There are three parts- The Body, The Print-in-Place Gear box and the Tongue/strap. All were printed at .2 layer height. My best successes have been with Hatchbox PLA and MatterHackers Quantum. I have printed this on my Prusa Mk3s and on my son's Ender3v2</p><figure class="image image_resized" style="width:68.36%;"><img src="https://media.printables.com/media/prints/223089/rich_content/c6539481-9a6c-4b16-bb1d-ca10c2bab204/3fac7953-7edc-433d-b242-a87afd310006.jpeg#%7B%22uuid%22%3A%222426d93d-0d92-4e24-a786-a813f8caafe2%22%2C%22w%22%3A4032%2C%22h%22%3A3024%7D"></figure><p>The Body and gearbox are printed with PLA and can be printed together but should use some different settings (which is easy with Prusaslicer). The G-Code and 3MF files have the correct modifiers added for successful printing. </p><p>The Tongue/Strap should be printed in TPU at .2 layer height ( I used Cheetah 95A from NinjaTek). If you print it in PLA it may work for a short time before it breaks.</p><p>The Body is printed at .2 quality, 2 perimeters, 6 top and 4 bottom layers with 5% infill and I added a 50% infill modifier to the legs and ball joints for strength. (if you use too much infill, the tail will be heavy and hard to move with the gears).</p><p>The Gearbox needs to be printed with the gears against the build plate. I used .2 quality, 4 perimeters with 15% infill 6 top and 4 bottom layers.</p><p> </p><p>Post Print Processing:</p><p>After removing the Gearbox from the build plate, give the gears a few spins. If they don't turn freely, grab the small gear with two fingers and give it a twist, with some filaments (silk and eSun PLA+) I've had to do this.</p><p>After removing the body wiggle the tail pieces to make sure they are free.</p><p> </p><p>Assembly:</p><p> </p><p>The Gearbox will slide into the top of the body (it can be a little tight but should definitely fit) just hold the pins a bit as you snap it in. It will go down flush, with the top of the gear slightly protruding like in the picture below.</p><figure class="image image_resized" style="width:89.3%;"><img src="https://media.printables.com/media/prints/223089/rich_content/567bd25f-d29a-47e3-a24e-9af316c1f97e/29aebe1d-4e4c-4ee8-84cb-439d665c8aab.jpeg#%7B%22uuid%22%3A%2218568d28-d27b-4351-8d7a-25f4c05eb90b%22%2C%22w%22%3A4032%2C%22h%22%3A3024%7D"></figure><figure class="image image_resized" style="width:92.66%;"><img src="https://media.printables.com/media/prints/223089/rich_content/c6ffa17c-d761-435e-b5b9-165541d0400f/097e2931-f729-4da5-a58a-6cdf3604eb86.jpeg#%7B%22uuid%22%3A%227aea0ca6-173f-49b5-9f86-a86b0837a4f7%22%2C%22w%22%3A4032%2C%22h%22%3A3024%7D"></figure><p>Next drop the tongue down through the mouth and thread it through the tail</p><figure class="image"><img src="https://media.printables.com/media/prints/223089/rich_content/b42fab18-7144-40f7-bd64-c457a3685c24/aab69a75-c1c3-4825-a0f0-495c5a5fadc9.jpeg#%7B%22uuid%22%3A%22bd631466-59cb-4638-aac6-f5935b67263b%22%2C%22w%22%3A4032%2C%22h%22%3A3024%7D"></figure><figure class="image image-style-align-left image_resized" style="width:44.76%;"><img src="https://media.printables.com/media/prints/223089/rich_content/4937abe1-a9e7-44a9-a7b1-e698b0e52dd2/0146584d-cbe8-433a-a440-3e8b2080e0d4.jpeg#%7B%22uuid%22%3A%226dc77dd7-7571-4fbf-bc84-7c152037f023%22%2C%22w%22%3A4032%2C%22h%22%3A3024%7D"></figure><figure class="image image-style-align-right image_resized" style="width:46.7%;"><img src="https://media.printables.com/media/prints/223089/rich_content/9438a0a0-7e77-474e-b952-19b8dfc658b7/d2f5abe3-cc25-45be-9587-a8817f778a05.jpeg#%7B%22uuid%22%3A%226a5290b5-bca9-40d6-8729-a232367a12f2%22%2C%22w%22%3A4032%2C%22h%22%3A3024%7D"></figure><figure class="image image_resized" style="width:92.37%;"><img src="https://media.printables.com/media/prints/223089/rich_content/ef8e5eb2-b056-4c2c-ad31-60b89e0ad385/193dbb54-7f15-4971-81cd-12b6fd46a9ae.jpeg#%7B%22uuid%22%3A%22935a43c8-7910-4e7a-a325-310e5094aea5%22%2C%22w%22%3A4032%2C%22h%22%3A3024%7D"></figure><p>Push the hole in the strap over the pin on the end of the tail and your done!</p><p>Optional Steps:</p><p>You can put a drop of lubricant on the gears where they spin on the pins and if the strap doesn't want to stay on the tail pin, you could use a drop of super glue (I haven't needed to do this)</p><p>I would really enjoy seeing someone's make of this and if you have any problems with the model, let me know so I can try to help.</p><p>Thank You</p><p> </p>
With this file you will be able to print Lenny the Happy Articulated Mechanical Lizard w Print-in-place GearBox 100% 3D printed easy 2 step assembly with your 3D printer. Click on the button and save the file on your computer to work, edit or customize your design. You can also find more 3D designs for printers on Lenny the Happy Articulated Mechanical Lizard w Print-in-place GearBox 100% 3D printed easy 2 step assembly.
