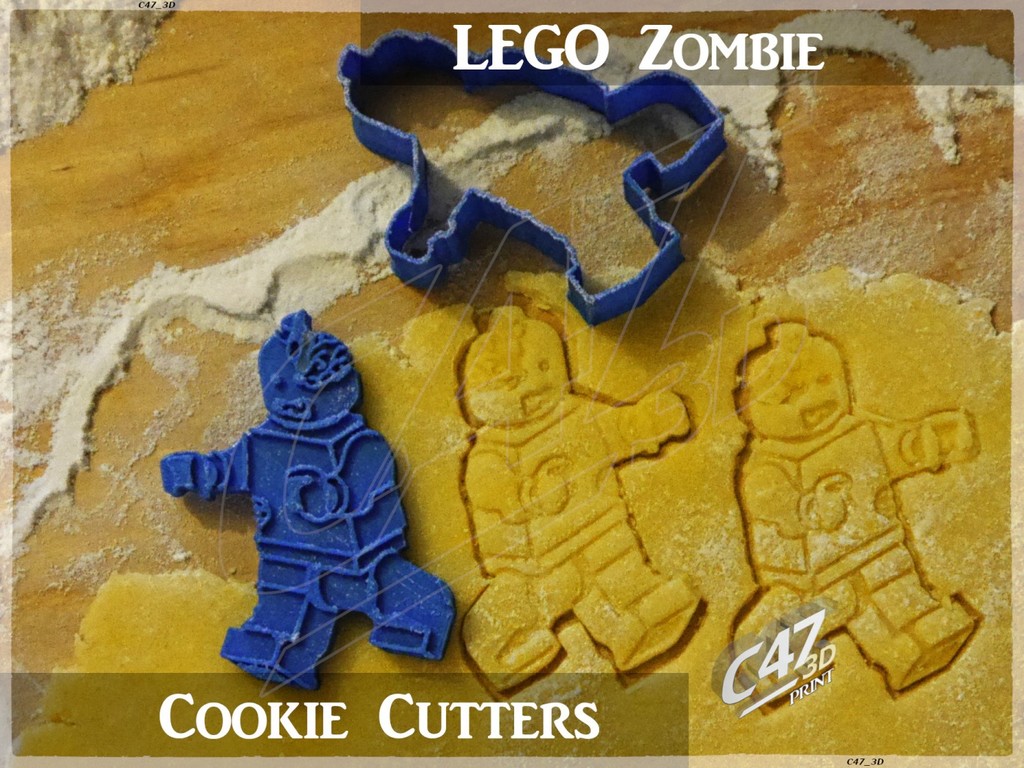
Lego Zombie Cookie Cutter
thingiverse
Zombified version of my Lego Minifigure Cookiecutter Original: <a href="https://www.thingiverse.com/thing:4985253"><img src="https://cdn.thingiverse.com/assets/61/64/32/d6/09/card_preview_Lego_Cookie_Minifig_iso_1_TG.jpg"></a> --- *May not be usefull with 'sticky' dough* Made in Blender 3D Printed on Creality Ender 3 with Dark Blue SmartFit PLA from Print-ME Butter cookies on photos - **recipe on the bottom** --- The difference between a *stamp* and *stamp_short* is the use of filament *Stamp_short* is more flat (lowered base) but may be harder to use You can save around 25% of filament printing short version (maybe even more, depending on your slicer options) --- May be a little difficult to get a nice shape The most difficult part is the brain Use some flour on top of dough for cleaner cut --- **More cookie cutters:** <a href="https://www.thingiverse.com/C47_3D/collections/cookie-cutters"><img src="https://cdn.thingiverse.com/assets/b7/71/6b/c9/e7/card_preview_suzanne_cookie_5_TG.jpg"></a> --- <b>Butter cookies recipe</b> 300g (~10.6 oz) wheat flour 150g (~5,3oz) butter 70g (~2,5oz) powdered sugar 1 egg, cold 1 small flat spoon of baking powder pinch of salt *You can add 30g (~1oz) of cocoa for chocolate taste. Use 30g (~1oz) LESS flour and 10g (~0.33oz) MORE sugar then* Mix everything until fully combined. Put in the fridge for at least 1 hour. Then knead it for a while, pin out the dough to around 5mm (~0.4") and cut the shapes with cookie cutter. Bake with 180*C (~355*F) - with both top and bottom heaters on - for few minutes (depends on dough thickness, oven and it's settings) - *I baked mine for about 6-7min*. Pull them out when they will get a darker color on top. ---
With this file you will be able to print Lego Zombie Cookie Cutter with your 3D printer. Click on the button and save the file on your computer to work, edit or customize your design. You can also find more 3D designs for printers on Lego Zombie Cookie Cutter.
