LED strip mounting
thingiverse
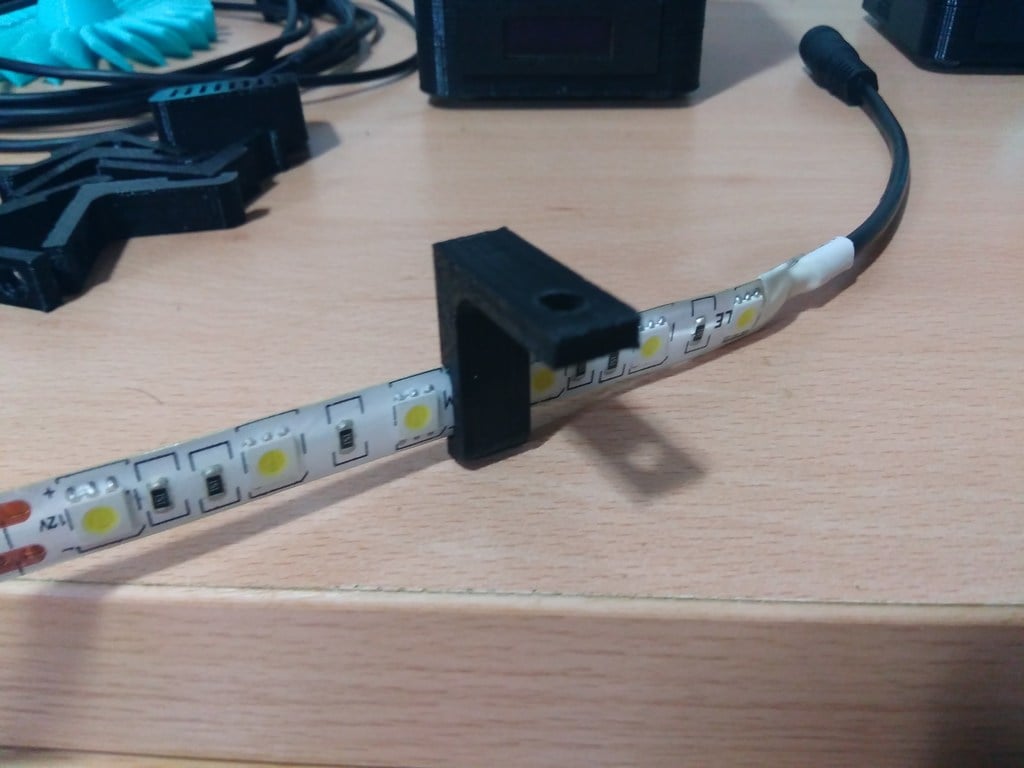
Installing a Brightening Kitchen Ambiance with Strips Elevate your kitchen's aesthetic appeal and functionality by seamlessly integrating LED strip lighting into its space. The original concept, courtesy of Sdsyc, serves as the perfect starting point for this project. To begin, carefully remove any existing trim or molding from around the kitchen area where you plan to mount the LED strips. This will provide a smooth surface for the strips to adhere to. Next, measure and cut the LED strips to size using a precision cutting tool. Ensure they are long enough to cover the desired area while leaving some excess for trimming. Apply a small amount of adhesive to the back of each strip and press them firmly onto the designated surface. Start from one end and work your way down to avoid any air bubbles or misalignment. Secure the strips in place using double-sided tape, making sure they are evenly spaced and flush with the surrounding trim. This will create a sleek, uniform appearance. As you install each strip, test its brightness and color consistency to guarantee optimal performance. Make any necessary adjustments before moving on to the next section. Once all strips are securely mounted and adjusted, connect them to a power source using the provided wiring and connectors. Be sure to follow proper electrical safety guidelines during this process. Finally, inspect your handiwork to ensure that everything is functioning as intended and looks visually appealing. With these steps, you'll be able to transform your kitchen into a vibrant and inviting space with the help of LED strip lighting.
With this file you will be able to print LED strip mounting with your 3D printer. Click on the button and save the file on your computer to work, edit or customize your design. You can also find more 3D designs for printers on LED strip mounting .