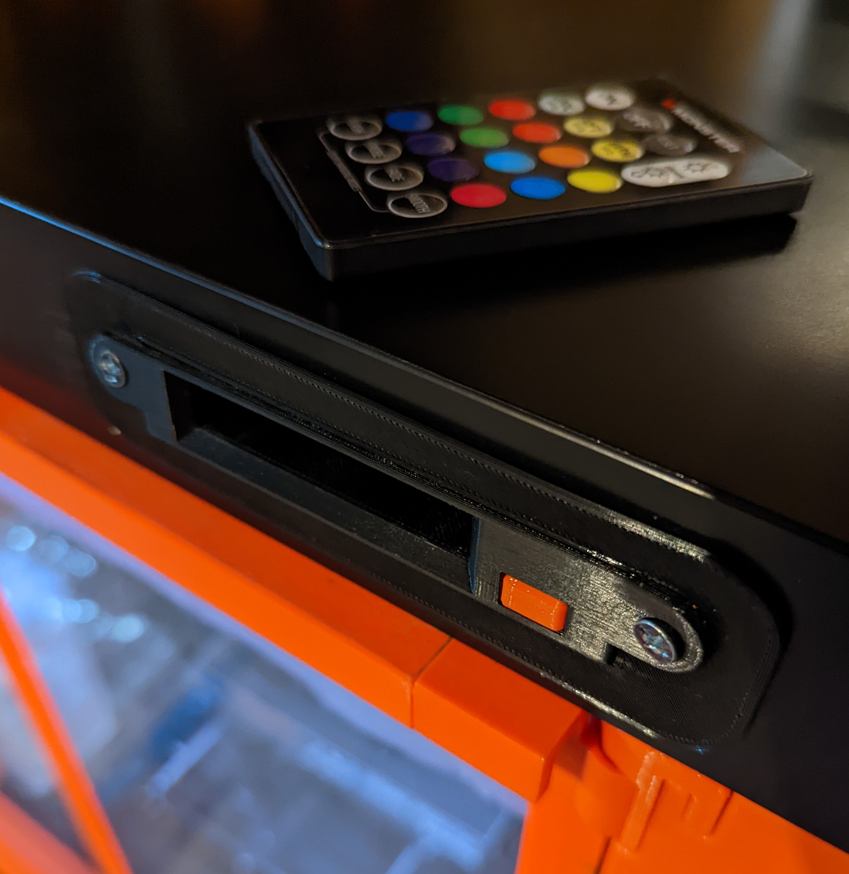
LED Remote Holder (Updated 19 Oct 2022)
prusaprinters
<p>After creating my <a href="https://www.printables.com/model/79792-slack-lack-resized">Slack Lack Enclosure,</a> and adding LED lighting to it, I needed a place to hold the LED Remote. I used the design of the <a href="https://www.printables.com/model/51462-expandable-steel-sheet-holder-mk-mini">Expandable Steel Sheet Holder</a> to create a pocket within the upper Ikea table of the Enclosure.</p><p>I used an LED lighting kit from Amazon similar to <a href="https://www.amazon.com/Monster-Multi-Color-Customizable-USB-Powered-Installation/dp/B097G5GYP1/ref=sr_1_2?crid=3IBPCGUKCC3VM&keywords=led+light+strip+rgb+monster&qid=1663177800&sprefix=led+light+strip+rgb+monster%2Caps%2C105&sr=8-2">this one</a>, and sized the remote holder accordingly.</p><p>Building:</p><p>Cut a hole in the Ikea Lack table where the LED Remote Holder will be used. The hole needs to be 90mm wide and 17mm tall. Behind this cut, clear away the inner contents of the Lack table to a depth of 113mm (see the attached photo as reference).</p><p>Assemble the LED Remote Holder, following the Exploded View picture as a guide. Use four M3 bolts and nuts to attach the Top and Bottom pieces. Remember to include the moving parts (Button, Arm, Rocker, and Pusher) inside the Holder.</p><p>The Cover piece is only needed if the hole in the Enclosure has rough edges or has gaps around the edges (I had both). If you need to use the Cover piece, slide the LED Remote Holder through it.</p><p>Slide the LED Remote Holder (with or without the Cover piece) into the hole, then use 2 small wood screws to secure it in place. The screws will only be secured into the outer (black) face of the Ikea Lack table, on each side of the hole you cut out.</p><p>Thanks to Whity for the original design of the Expandable Steel Sheet Holder.</p><p>-----</p><p>UPDATE 19 Oct 2022: The Bottom piece has been modified to include a spring which keeps the Button pushed out. Use a compression spring, 3mm in diameter, and about 12mm long. Insert it into the small cutout area at the rear of the button holder area of the Bottom piece. When printing, choose either the original Bottom piece, or this new updated piece.</p>
With this file you will be able to print LED Remote Holder (Updated 19 Oct 2022) with your 3D printer. Click on the button and save the file on your computer to work, edit or customize your design. You can also find more 3D designs for printers on LED Remote Holder (Updated 19 Oct 2022).
