LED Matrix Modular Case System
thingiverse
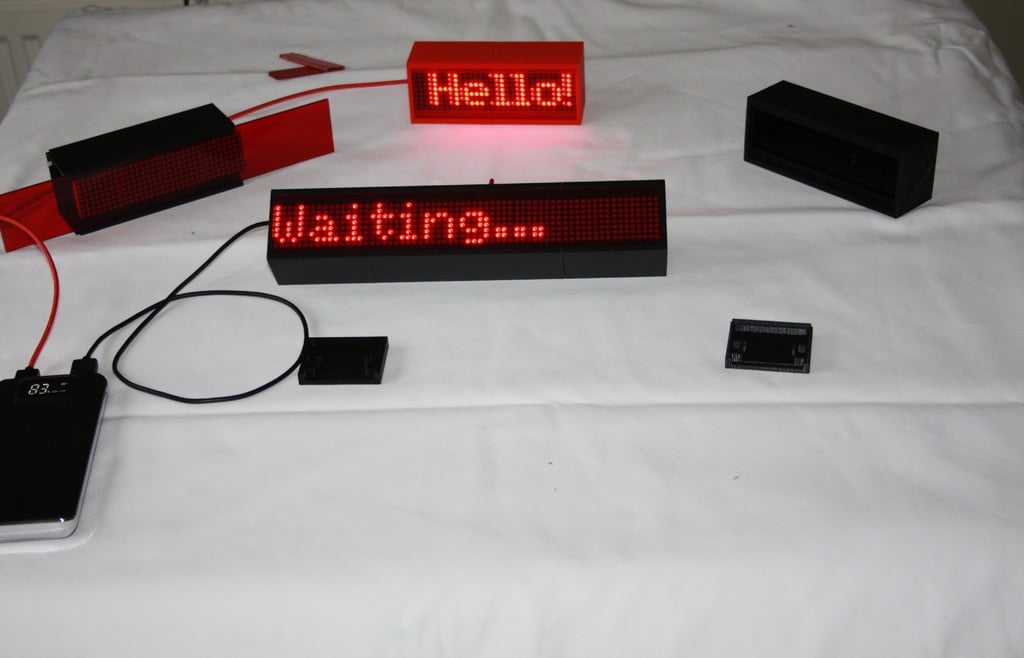
I have designed a set of modular components for building cases for popular cascadable dot matrix LED display modules. The MAX7219 Dot Matrix Display Modules I used measure approximately 130mm x 32mm x 12mm. The design accommodates any number of these modules by stacking the case parts in various configurations. For example, to accommodate a single module, you can use either a middle section paired with one male end cap and one female end cap, or simply one male end and one female end. To build a two-module setup, you can use a middle section along with one male end and one female end, or two middle sections paired with one male end cap and one female end cap. For three modules, you'll need two middle sections, one male end, and one female end. The parts "click" together using a tongue-and-groove system, where the male part features a tongue and the female part has a corresponding groove. As designed, these components print well on a Vertex 8400 printer with a 0.35mm nozzle and fit together smoothly. Each case part includes a slot for the LED module to slide into, as well as side "cheeks" that keep the devices aligned. The case also features a front slot for accommodating a piece of 3.0mm thick red transparent acrylic sheet. To ensure a good sliding fit in the slots, cut the acrylic sheet to 45.0mm in height. Cut the acrylic sheet to the desired length based on the number of modules you're using. The rear cavity of the case offers ample space for accommodating an Arduino Micro or ESP8266 NodeMCU controller board. To secure the electronics, use sticky pads to attach them to the back of the LED module and then slide the complete assembly into the case. After printing the parts, make a small slot in the rear of the case for a USB power lead. The provided SketchUp files enable you to adapt the design for other LED modules, controllers, or components. I used SketchUp Make version 17.3.116. When printing these components, consider using a "brim" on the bottom layer to help them stick to the bed. However, be aware that this may require cleaning out the groove in the middle section with a knife or similar tool after printing. To ensure the tongue-and-groove system works correctly with your printer, print the male and female end caps first as test pieces. Fitting and releasing the parts continuously will wear down the system and affect the fit over time.
With this file you will be able to print LED Matrix Modular Case System with your 3D printer. Click on the button and save the file on your computer to work, edit or customize your design. You can also find more 3D designs for printers on LED Matrix Modular Case System.
