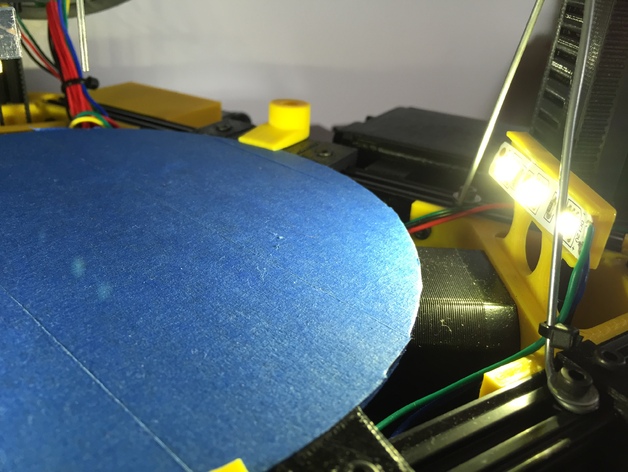
LED lights for Mini Kossel
thingiverse
Install vibrant lights on your print bed without overburdening your effector! You'll need self-adhesive LED strip lights, which are widely available at electronics stores - get ones that can be cut to any length you prefer. Each bracket will require (1) 25mm strip with 3 LEDs, so calculate accordingly for the number of brackets you plan to print. In addition to the LED strips, grab a few extra parts: (2) 4-5mm longer bolts for each stepper motor. This is a good idea, as it will help ensure better mounting stability, particularly when adding multiple brackets to both the X and Y towers. Here's what you need to do: Print the number of brackets you wish to install. A note about mounting: adding one on the Z tower might be excessive, given the brightness it would produce. Remove the top two bolts from each stepper motor and swap them out with 4-5mm longer bolts - for instance, I used 12mm bolts instead of 8mm ones. This simple upgrade makes a big difference in how secure your motors stay. Take the self-adhesive LED strips and affix them to the brackets securely. Finally, connect the LEDs through a switch and attach them directly to your main 12V supply.
With this file you will be able to print LED lights for Mini Kossel with your 3D printer. Click on the button and save the file on your computer to work, edit or customize your design. You can also find more 3D designs for printers on LED lights for Mini Kossel.
