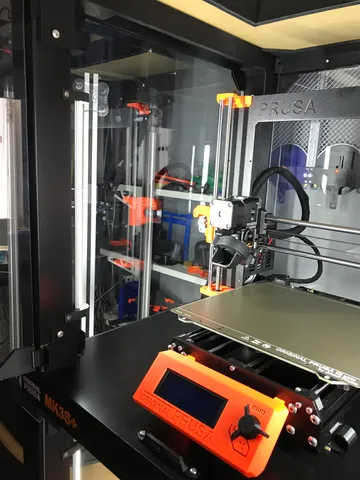
LED lighting on Ikea Lack enclosure
prusaprinters
The lightbars (30 cm) are available in a Yellow or white light version! Attache (or glue if needed) the tube top and bot (bottom) on the end of the led bar. Drill a hole 12 mm (location can be found by ussing the closed bottom holder as drilling marker (put some tape on the bottom and use a marker to mark the drill spot) and place the cable support. Attach the holder withe closed bottom about 6 cm above the top op the lack table, the location ot the top holder can be measured or by placing the lamp to find the correct highedConnect the correct cableside from the dimmer to the desired location (soldering) so the lamps on bothe sides will have power. after connecting the plugs in the LED bar give the wire a 2-3 cm extr alength/space so you enough lenght tho pull the lamp out of the holder if you want to change the angle of the lightThis is a set you can buy on Amazon Attention the link is the yellow light version. If you scroll down a little you find from the same brand the white light version
With this file you will be able to print LED lighting on Ikea Lack enclosure with your 3D printer. Click on the button and save the file on your computer to work, edit or customize your design. You can also find more 3D designs for printers on LED lighting on Ikea Lack enclosure.
