LED Lightbar Holder for Prusa i3 Under-MMU mounting.
prusaprinters
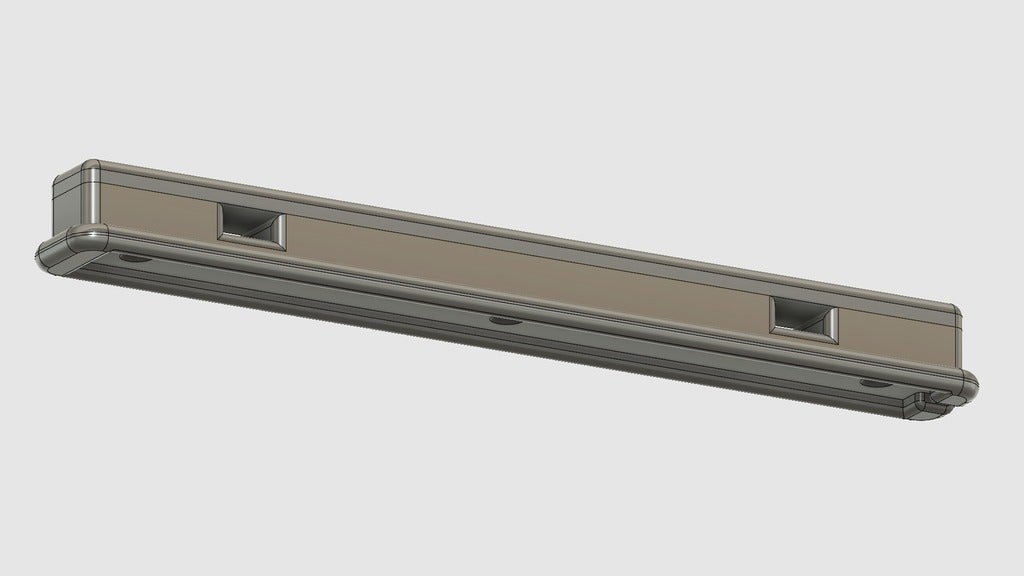
<p>An LED light bar holder which fits under the MMU unit by clamping onto the underside of its two lower (horizontal) supports.</p> <p>Because it sits just behind the top frame gantry, there is little light shining into one's eyes (unless the printer's high up on a shelf!), but it still provides a good broad spread of illumination around the build plate.</p> <p>This design can be reapplied to suit other purposes too, the LED strip holder likely then being the part mostly used.</p> <h3> Print Settings</h3> <p><strong>Printer Brand:</strong></p> <p>Prusa</p> <p><p class="detail-setting printer"><strong>Printer: </strong> <div><p>i3 MK3</p></div><strong>Rafts:</strong></p> <p>Doesn't Matter</p> <p><p class="detail-setting supports"><strong>Supports: </strong> <div><p>Doesn't Matter</p></div><strong>Resolution:</strong></p> <p>0.2mm Quality</p> <p><p class="detail-setting infill"><strong>Infill: </strong> <div><p>15%</p></div><br/> <strong>Filament:</strong><br/> [</p> <h3> Generic PLA ](http://www.amazon.com/s?url=search-alias&field-keywords=Generic+PLA&tag=thingiverse09-20) Black, orange or colour to suit. <br/> <p class="detail-setting notes"><strong>Notes: </strong> </p><div><p>Using brims by default, saving on filament (& the environment!) as opposed to using a raft.</p></div> Post-Printing</h3> <p><strong>Piecing it together...</strong></p> <h3> <div><p>Using 3x M3 x 20mm countersunk machine screws, place the screws with their heads through the LED side of the LED mounting bar. rnrnUsing the LED strip, <a href="https://www.ebay.co.uk/itm/2-4-6X12V-LED-Car-Interior-White-Strip-Lights-Bar-Lamp-Car-Van-Caravan-Boat-Home/223067435724" rel="nofollow">https://www.ebay.co.uk/itm/2-4-6X12V-LED-Car-Interior-White-Strip-Lights-Bar-Lamp-Car-Van-Caravan-Boat-Home/223067435724</a>, slide the LED strip itself out of the thin black bezel surrounding it, to prepare it for fixing to the holder - and taking care with its power leads at the board end to avoid breaking the soldered joints.rnrnAttach the bare LED strip (if possible with power lead still attached) to the inside of the recess in the lower section, with an 8 or 9mm wide x 170mm long strip of clear gel tape, e.g. <a href="https://www.ebay.co.uk/itm/Double-sided-Clear-Transparent-Acrylic-Gel-Foam-Adhesive-Tape-8-10-15-25mm-S9I1/401655663511.rn(This" rel="nofollow">https://www.ebay.co.uk/itm/Double-sided-Clear-Transparent-Acrylic-Gel-Foam-Adhesive-Tape-8-10-15-25mm-S9I1/401655663511.rn(This</a> will also hold the M3 machine screws in place.) rnThe LED strip does get warm when left on for extended periods, but the gel tape is made to be heat resistant (the glue on plain sticky foam pads is not capable for this job).rnA small amount of either hot or flexible glue can be placed onto the end of the strip where it exits the LED mount, to help reinforce the power lead solder connections while moving things around & fitting it all into place.rnrnThen, place the middle section onto the 3x M3 machine screws and press the two printed sections together.rnrnLastly, fit the 2 recesses on top of the middle section onto the two lower struts of the MMU unit and fit the remaining top section through the MMU support frame and onto the M3 screws. Finally, using a set of 3x washers/ spring washers and either nyloc or plain hex nuts, secure the whole LED strip holder in place.rnrnThere is a groove in one end of the LED frame to allow neat routing of the 12v power lead to its supply and it may be a good idea to fit a section of heat-shrink tubing to this end to cover the power lead ends where they're soldered to the LED strip, adding some strain relief to the lead terminals as well.rnrnAnd there you have it!</p></div> <p class="detail-image"><img src="https://cdn.thingiverse.com/assets/cd/94/c9/34/aa/Pre-Installation\_Assembly.jpg"/></p> <p class="detail-caption"><strong>Pre-Installation arrangement. Note the c/sunk screws held in place behind the LED strip.</strong></p> <p class="detail-image"><img src="https://cdn.thingiverse.com/assets/e0/7d/d0/36/15/Installed\_LED\_Under-MMU\_Lightbar.jpg"/></p> <p class="detail-caption"><strong>Installed Lightbar, with heatshrink tubing added (Light intensity reduced to aid photo).</strong></p> How I Designed This</h3> <p><strong>Born of necessity...</strong></p> <div><p>After acquiring the MMU unit, I've had to relocate the LED strip as the MMU supports prevented use of the gantry's 6mm width for supporting it.rnrnWith the best place for mounting the LED strip still being somewhere around the top of the printer, the underside of the MMU unit close to the gantry seemed the best place, as this allowed the light source to be centered over the middle travel area of the heatbed.rnrnIt was then a simple method of centering (in CAD) the two mounting grooves in the LED strip holder to the two underside supports of the MMU unit.</p></div></p></p></p> Category: 3D Printer Accessories
With this file you will be able to print LED Lightbar Holder for Prusa i3 Under-MMU mounting. with your 3D printer. Click on the button and save the file on your computer to work, edit or customize your design. You can also find more 3D designs for printers on LED Lightbar Holder for Prusa i3 Under-MMU mounting..