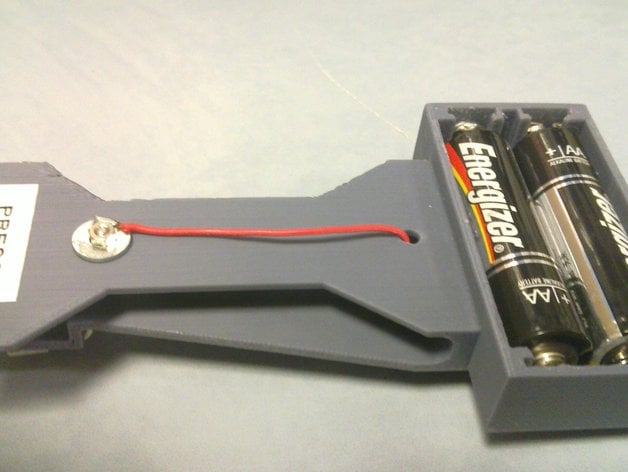
LED Light for cardboard box (3D Printer Heat shroud) with momentary push button
thingiverse
We constructed a custom cover for our 3D printer using a cardboard box to improve temperature regulation and prevent ABS warping. To observe the print process, I created a viewing window and secured it with packing tape; the only additional component needed was a light source. This solution can be easily adapted to suit any situation where a makeshift light is required. Thanks to semih86 for sharing their innovative battery box design. Here are the step-by-step instructions: 1. Secure an LED light (sourced from HobbyKing) to the underside of the Z-axis end stop. 2. Attach the assembly to the cardboard box using only two small cuts, minimizing heat loss and ensuring a secure connection. 3. Use small screws to establish reliable switch contacts. To facilitate connections, we soldered wires onto washers and created battery terminals from washers and spare springs. During the printing process, it was discovered that orienting the assembly sideways significantly reduced the complexity of removing support material from the flexible switch lever component; however, your mileage may vary. For an optimal appearance, print the top surface flat ( STL as-is ).
With this file you will be able to print LED Light for cardboard box (3D Printer Heat shroud) with momentary push button with your 3D printer. Click on the button and save the file on your computer to work, edit or customize your design. You can also find more 3D designs for printers on LED Light for cardboard box (3D Printer Heat shroud) with momentary push button.
