LED Flashlight
thingiverse
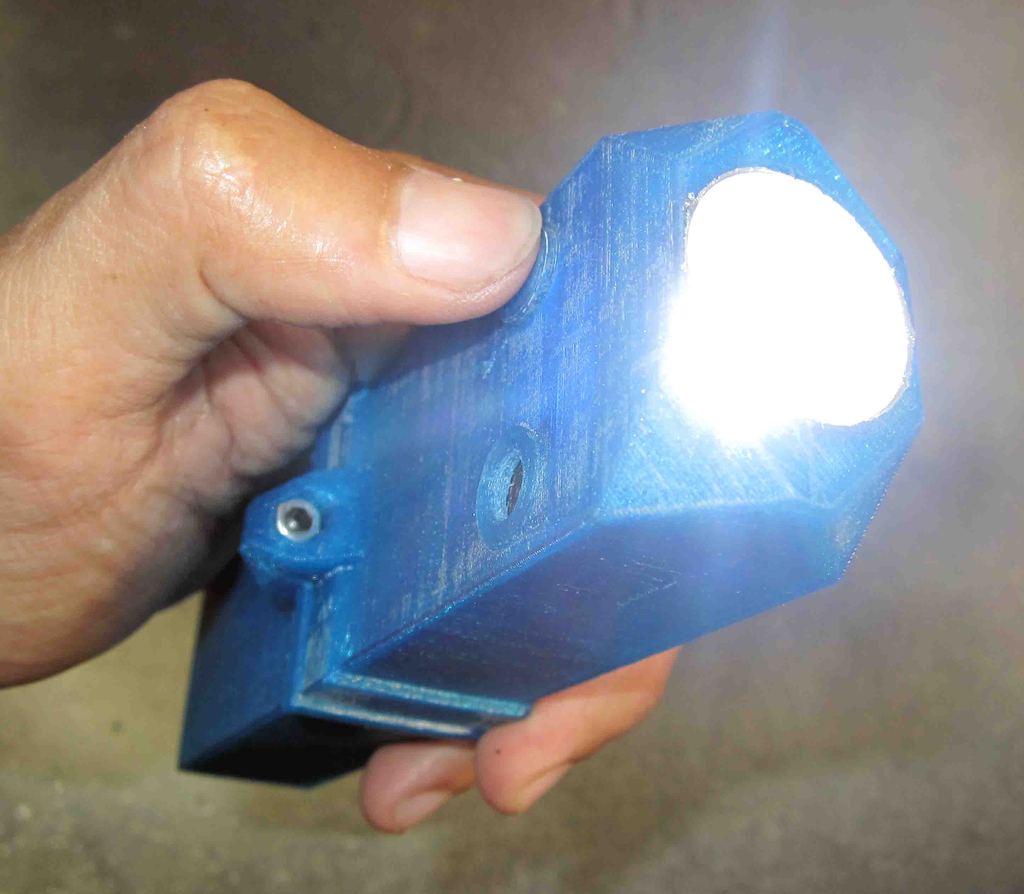
This flashlight I've been using for about three months now has been giving me great results, although it was a bit of a challenge to install its components. The concept behind this project came from Instructables, where you can find the original tutorial at http://www.instructables.com/id/LED-Torch-2 - I simply substituted some components with what I had on hand. The electronic parts I used include: 1. An 8 mm straw hat LED 2. A 6.8Ohm resistor with a tolerance of 5% 3. A diode IN 4007 4. A push button switch available at http://www.ebay.com/itm/10x-Red-Push-Button-Switch-6-Pins-Latching-DPDT-Tact-Tactile-Self-locking-DPDT-/380810457498 5. A DC power jack as shown in the image at http://www.p-wholesale.com/upimg/5/121a2/dc-power-jack-570.jpg 6. A 4V, 1200mA battery 7. Two 3mm allen socket bolts, each 10mm long 8. Two 3mm hex screw nuts I've also attached a new diagram for your reference - this flashlight can stay lit for more than eight hours on a single charge, which takes about an hour and a half using a 5V, 1A adapter.
With this file you will be able to print LED Flashlight with your 3D printer. Click on the button and save the file on your computer to work, edit or customize your design. You can also find more 3D designs for printers on LED Flashlight.