LED Brace Covers for Azza's Z-Braces
thingiverse
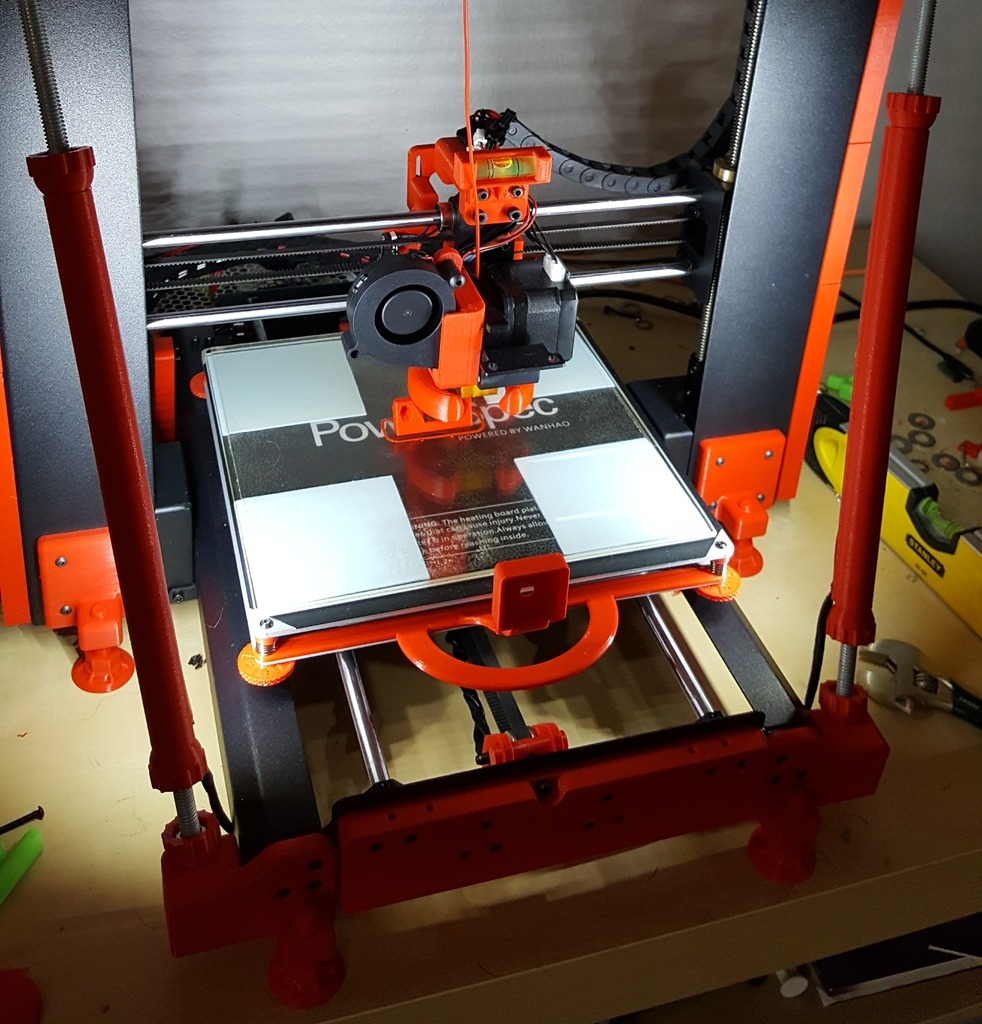
I'm adding a feature to my build station. It's getting harder to see my prints at night when checking up on them before bed. So, I decided to make some LED covers for my Z-Brace Thingi. I started with the snap-on type, but they didn't work out for me. That's why I went with a full slide-on version instead. You'll need four more balls from Azza's Z-Brace Thingi to hold this in place on your braces where you want it. These are designed for 8mm self-adhesive strip LEDs like the ones found here: https://smile.amazon.com/gp/product/B06XCMNDVY. Each cover has a flat side and a cup that holds your balls in place perfectly. This allows you to attach two covers on each brace, tighten them down, and they'll never move until you decide to move them again. Simply insert the rods into the covers so that the flat sides touch each other, then add your ball/nut combo. Next, apply your LED strip and adjust it for effect. You can use these with white or RGB strips. It's up to you how you wire them up. If you choose RGBs, be sure to do your research on how to connect them so that your controller can change the colors. The raw Fusion360 file is available here: http://a360.co/2tZztJg. I wired my white LEDs directly to my power supply, so when the PSU turns on, the lights come on. However, your mileage may vary. I won't be supporting or responsible for your electrical setup in this regard - that's entirely up to you.
With this file you will be able to print LED Brace Covers for Azza's Z-Braces with your 3D printer. Click on the button and save the file on your computer to work, edit or customize your design. You can also find more 3D designs for printers on LED Brace Covers for Azza's Z-Braces.