Led Bar Hosing Display
sketchfab
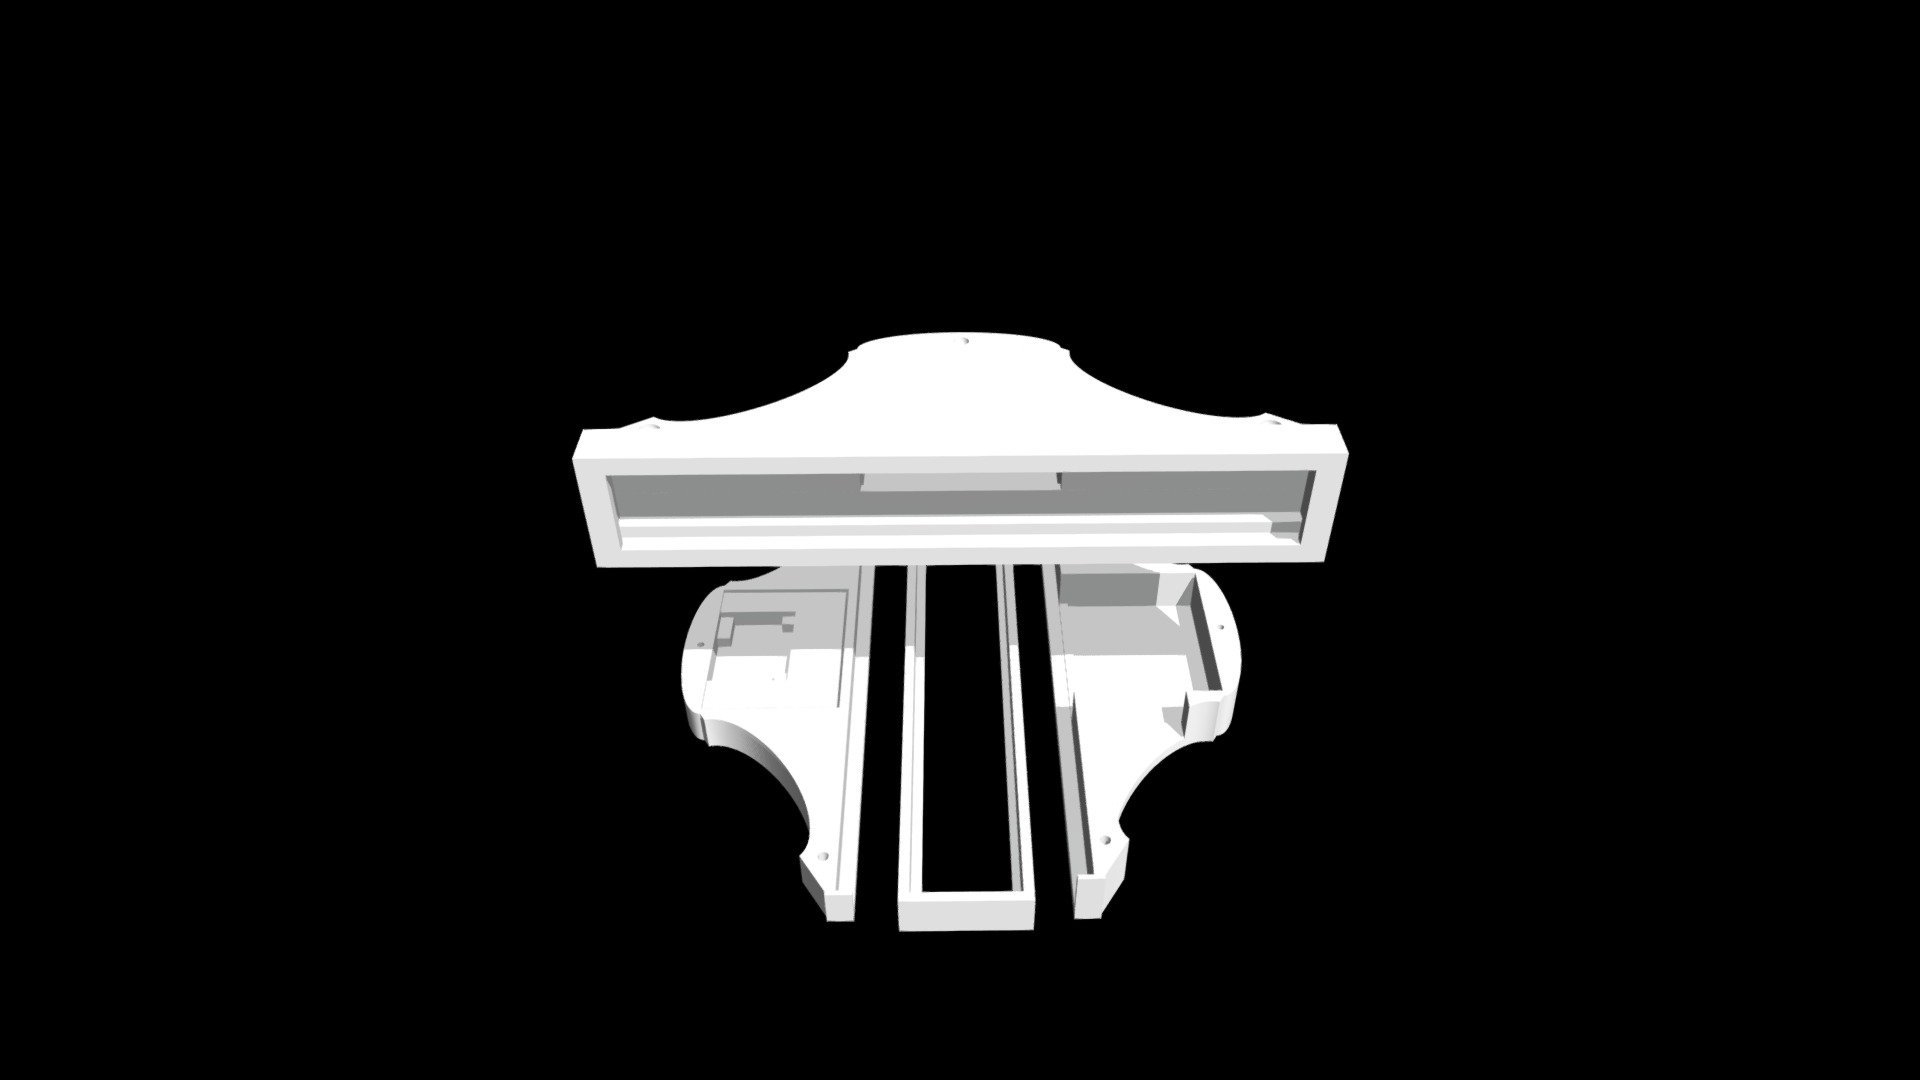
A Deep Dive into My Custom Lighting Bar Build for the Back of My Electric Skateboard As an avid enthusiast of electric skateboarding, I've always been on the lookout for innovative ways to enhance my riding experience. One area that's particularly caught my attention is the rear lighting system of my e-skater. In this article, we'll take a comprehensive look at the process of building a custom lighting bar specifically designed for the back of an electric skateboard. I embarked on this project with a clear goal in mind: to create a sleek and functional lighting system that not only provides exceptional visibility but also complements the aesthetic appeal of my e-skater. The journey was filled with experimentation, trial and error, and a deep dive into the world of LED technology. The first step involved selecting the perfect components for my lighting bar. I opted for high-intensity LEDs, carefully choosing those that would provide maximum light output while minimizing power consumption. To ensure seamless integration with my e-skater's electronics, I selected a waterproof enclosure that could withstand various environmental conditions. With the components in hand, I set out to design and build the actual lighting bar. This involved crafting a sturdy aluminum frame that would support the LEDs and provide a sleek, aerodynamic profile. The frame was carefully crafted to ensure optimal airflow, preventing heat buildup and ensuring prolonged LED lifespan. The next step involved wiring the LEDs and connecting them to my e-skater's power supply. I employed high-quality cables and connectors to guarantee reliable connections and prevent electrical shorts. To add an extra layer of safety, I incorporated a fuse into the circuit, protecting against overcurrents and potential damage to the electronics. Once the lighting bar was complete, it was time for installation. This involved carefully mounting the bar onto the rear of my e-skater using a combination of screws and adhesives. To ensure secure attachment and prevent any rattling or vibrations during use, I applied a liberal amount of silicone sealant around the mounting points. With the lighting bar securely in place, it was time to put it through its paces. I took my e-skater out for a spin, testing the lighting bar's performance under various conditions. The results were nothing short of impressive – the high-intensity LEDs provided exceptional visibility, illuminating the path ahead with ease. As I continued to ride, I noticed that the lighting bar not only enhanced my riding experience but also added a touch of personal style to my e-skater. The sleek design and vibrant LED lights created a truly unique look that set me apart from other riders on the road. In conclusion, building a custom lighting bar for the back of an electric skateboard was a rewarding project that allowed me to push the boundaries of innovation and creativity. With careful planning, precise execution, and a keen eye for detail, I was able to create a truly exceptional lighting system that has taken my e-skater to new heights.
With this file you will be able to print Led Bar Hosing Display with your 3D printer. Click on the button and save the file on your computer to work, edit or customize your design. You can also find more 3D designs for printers on Led Bar Hosing Display.