Leather patches (laser-cut)
thingiverse
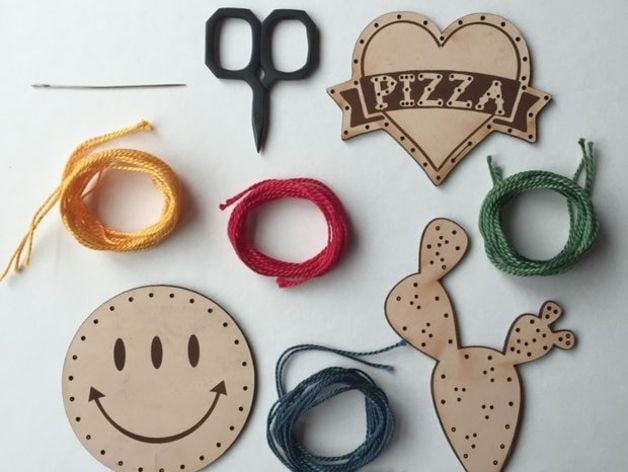
Here we have a custom designed leather patch that can be attached to anything you please. These leather patches are a great activity to add some flare to all of your belongings. We used a Trotec Laser Cutter to produce these patches. How I Designed This Step 1: Bring a Design! Bring a design you have that you would like to turn into a patch. Hint: Using a black lined image will work the best. Step 2: Add holes to the image A good idea is to add holes to your design so you can sew through easily. The holes should be .04" in diameter, adjust according to needle size. They should also be evenly spaced around the edges. Using different types of color thread will add color to your design. Here we made holes around the word pizza to make it stand out (once the thread has been sewn). Step 3: Cut em out! This step is where the magic happens. We used a raw piece of leather (1/8" thick). The thicker the leather, the more willing it is to keep its shape. The Trotec Laser Cutter will take care of the cutting. Taping down the leather on the bed ensures it's flat. Step 4: Sew the non attached thread Sewing the inside details of your design should be done before you sew the attachable thread. The example below shows how we added the design of the heart before we attached it to the jacket. Step 5: Sew your works of art real good Finally, attach/sew your leather patches for the world to see. Note how we used thread as cheese on the pizza sign and little threads around the cactus as needles. This can also be used as an easy way of creating product labels.
With this file you will be able to print Leather patches (laser-cut) with your 3D printer. Click on the button and save the file on your computer to work, edit or customize your design. You can also find more 3D designs for printers on Leather patches (laser-cut).
