Leather Craft Table Stitching Pony
thingiverse
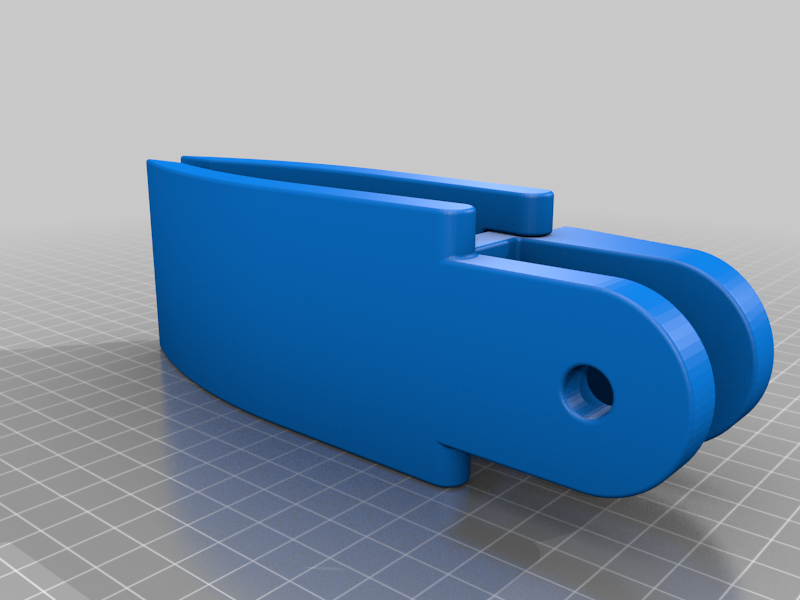
This is a versatile sewing clamp designed specifically for leathercraft. Some assembly is required. Pending update: Slim profile set Update: 12/06/20: The ClampTop has been updated to version 3, requiring two ClampNuts for improved construction. A 20cm clearance clamp file has also been updated, and it's recommended to rotate 45 degrees to fit on the Ender 3 build plate. 04/06/20: A new set of V2 screws has been uploaded, allowing for printing in a flat configuration with less infill and increased strength. These screws should be printed along the X or Y axis, without rotating them. 03/06/20: The ClampBot has undergone an update, and it's recommended to print the V2 version with the strong nut laid flat. This new version offers improved strength while reducing support requirements. 02/06/20: A mistake was made, and the V2 clamp top has been updated to allow for full folding. The original update is now obsolete. A high-tolerance file will be uploaded later. Look out for the V2 version, which includes a 5mm extension added to the pivot point. 01/06/20: To prevent snapping of the hinge, please use support blocker in Cura for the ClampTop when printing. Refer to the video from CHEP at https://www.youtube.com/watch?v=su_m5zV9rvA for further guidance. 28/5/20: A high-tolerance set has been uploaded, featuring a tolerance adjustment of 0.5mm radius between joints and screws. The TorTest file can be used if you're unsure about your printer's tolerance level. Tolerances will range from 0.25 to 0.5mm over 6mm and 10mm joints. 27/5/20: The top and bottom parts have been updated to enable folding into a compact size. Printing instructions: ClampTop: print in the given orientation with at least two walls and 20% infill, requiring support. ClampBot: print flat, with no support required. Increase wall count for added rigidity, and assemble using super glue or epoxy. ScrewSet: print in the given orientation with at least four walls and 60% infill, with no support. If needed, increase bed adhesive. For improved strength, use V2 screws printed along the X or Y axis at 20% infill. Assembly: Apply a small amount of adhesive to one end of the screw thread, then insert it into the top. The strong nut should be inserted into the ClampBot.
With this file you will be able to print Leather Craft Table Stitching Pony with your 3D printer. Click on the button and save the file on your computer to work, edit or customize your design. You can also find more 3D designs for printers on Leather Craft Table Stitching Pony.
